- 6,456

- Manila, PH
- TakuKanonji22
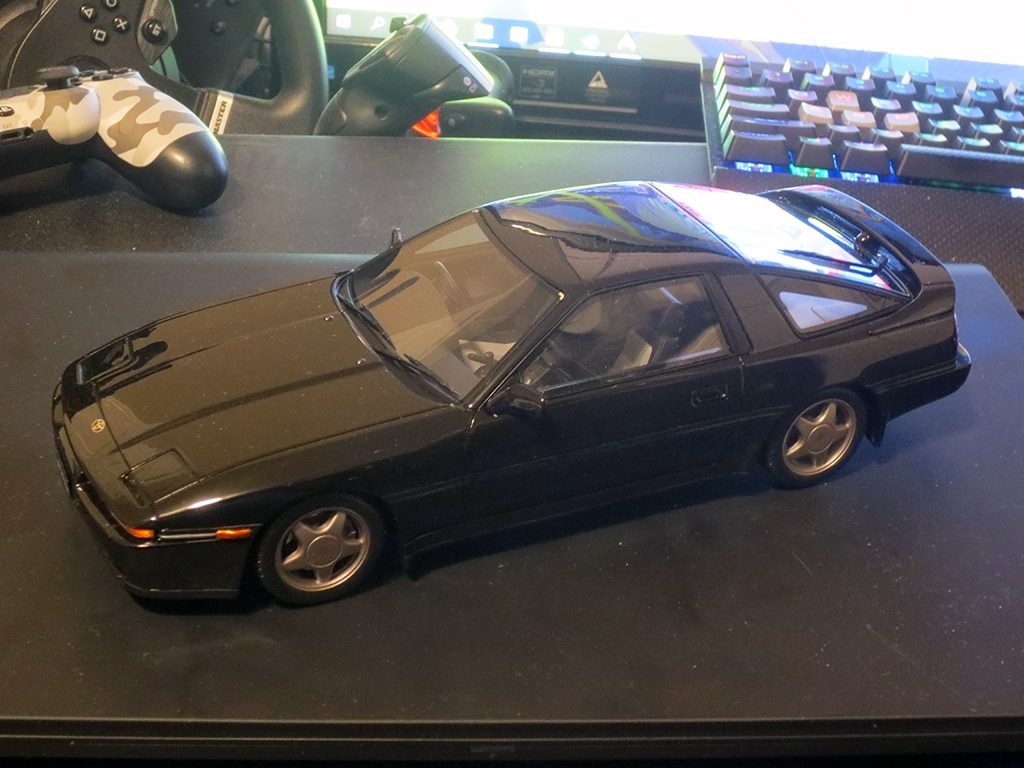
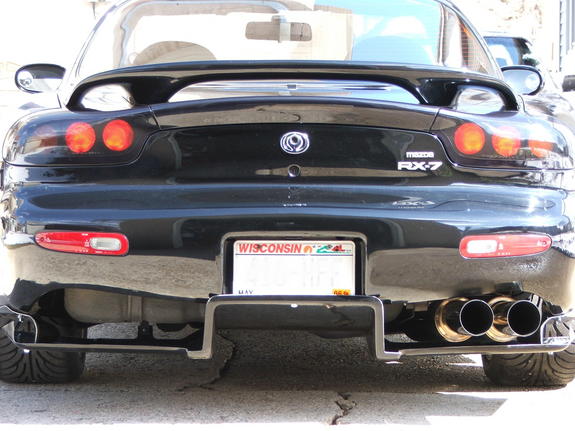
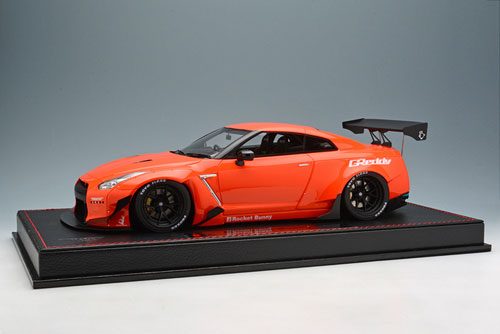
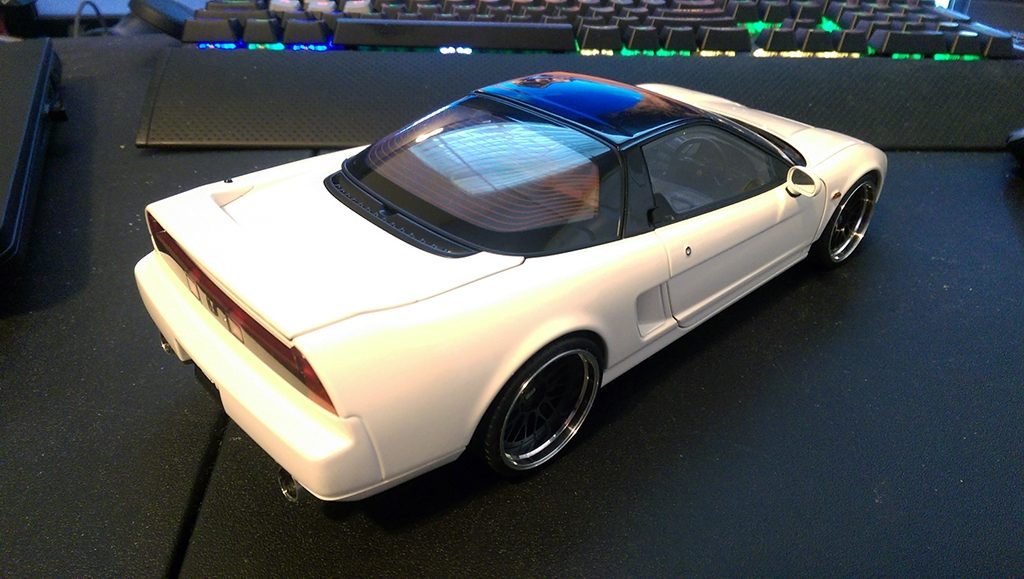
Kinda thinking if I should get this:

And let this theme ring in my head:
And let this theme ring in my head:
Last edited:

10 months later:
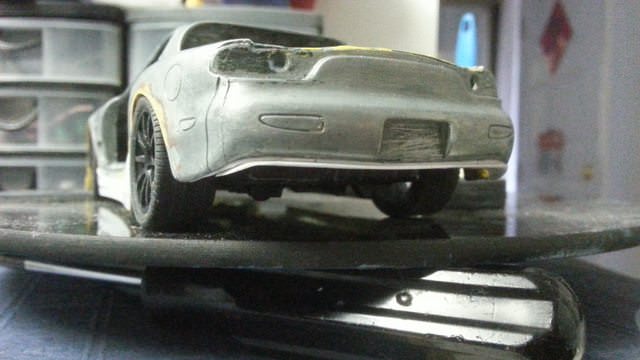
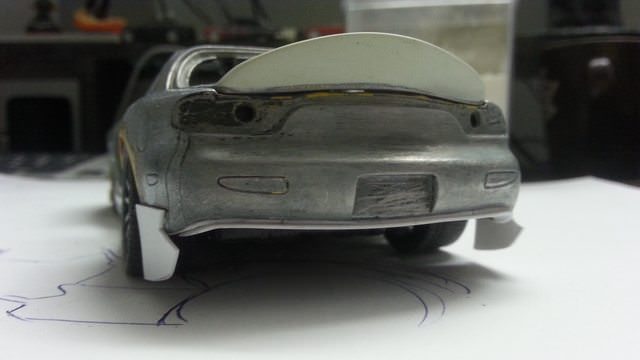
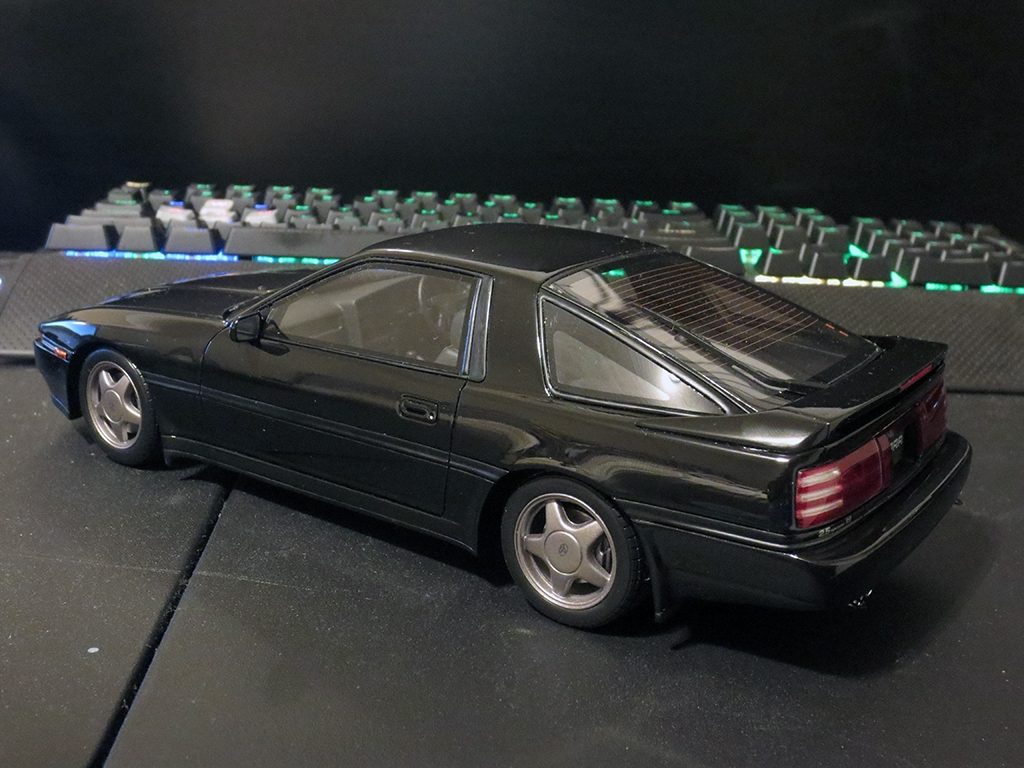
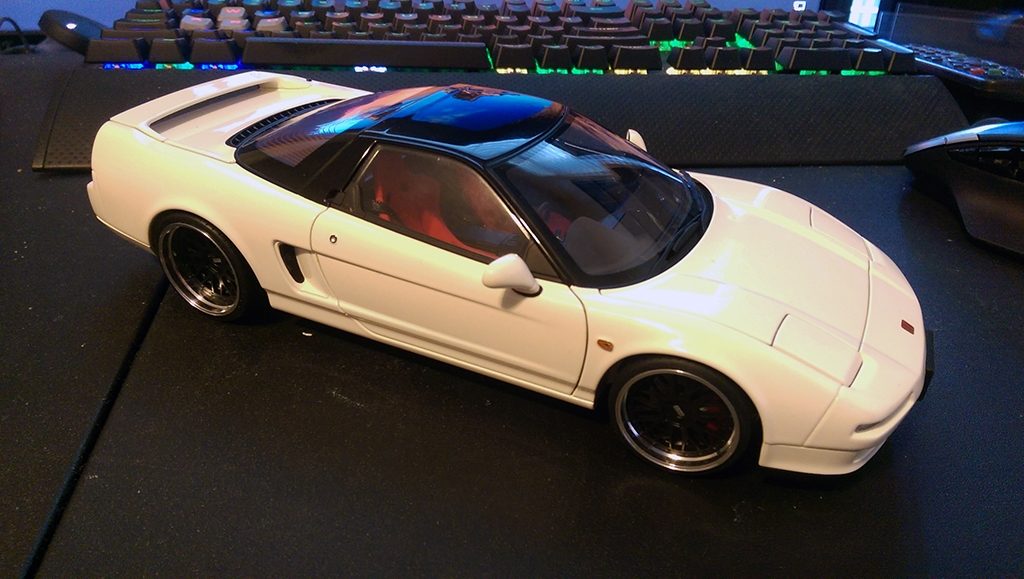
Woot, it's back again. I've only glued the one piece of styrene to the bumper I meant to do many months ago. I did end up trimming off the sides, but I'm looking into adding a Rocket Bunny panel on the back quarter.....
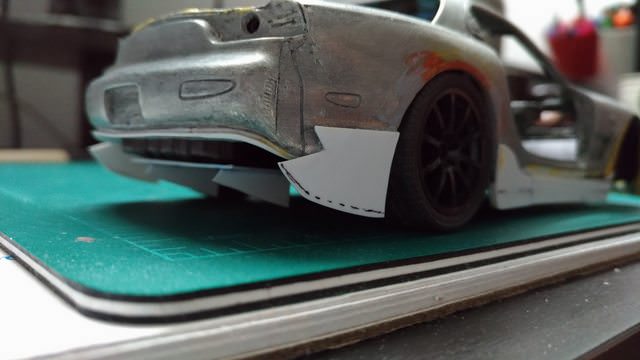
which I'm doing right meow:
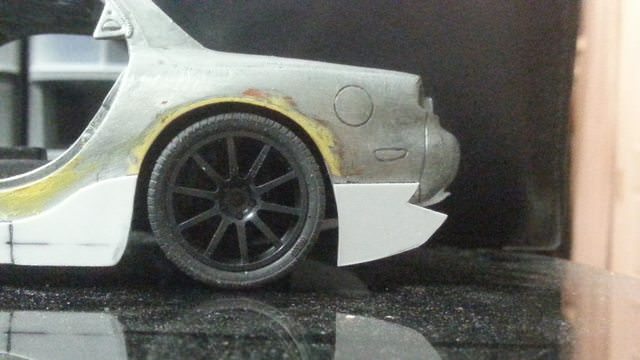
Kinda "tall". It is flush with the side skirt on both the top and bottom edges...
maybe I'll trim off 1mm from the bottom just so the back end isn't sitting as low.
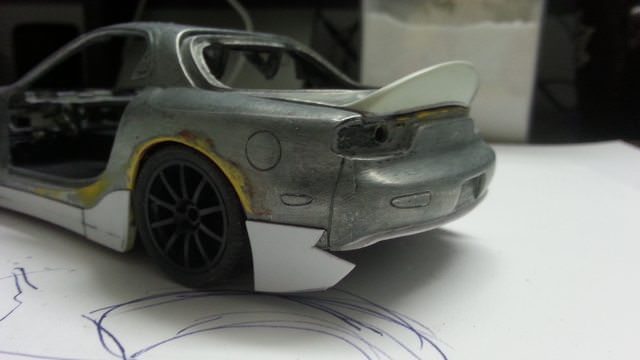
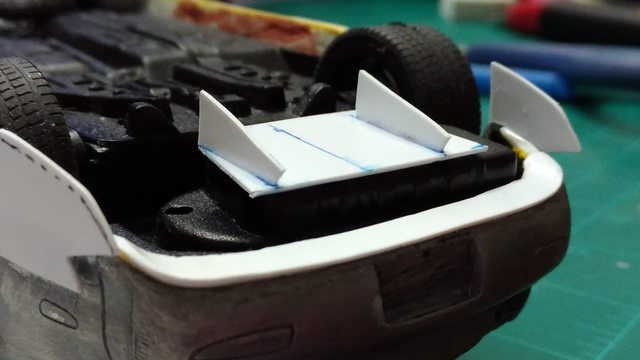
This is how the relationship between the wing plays out so far:


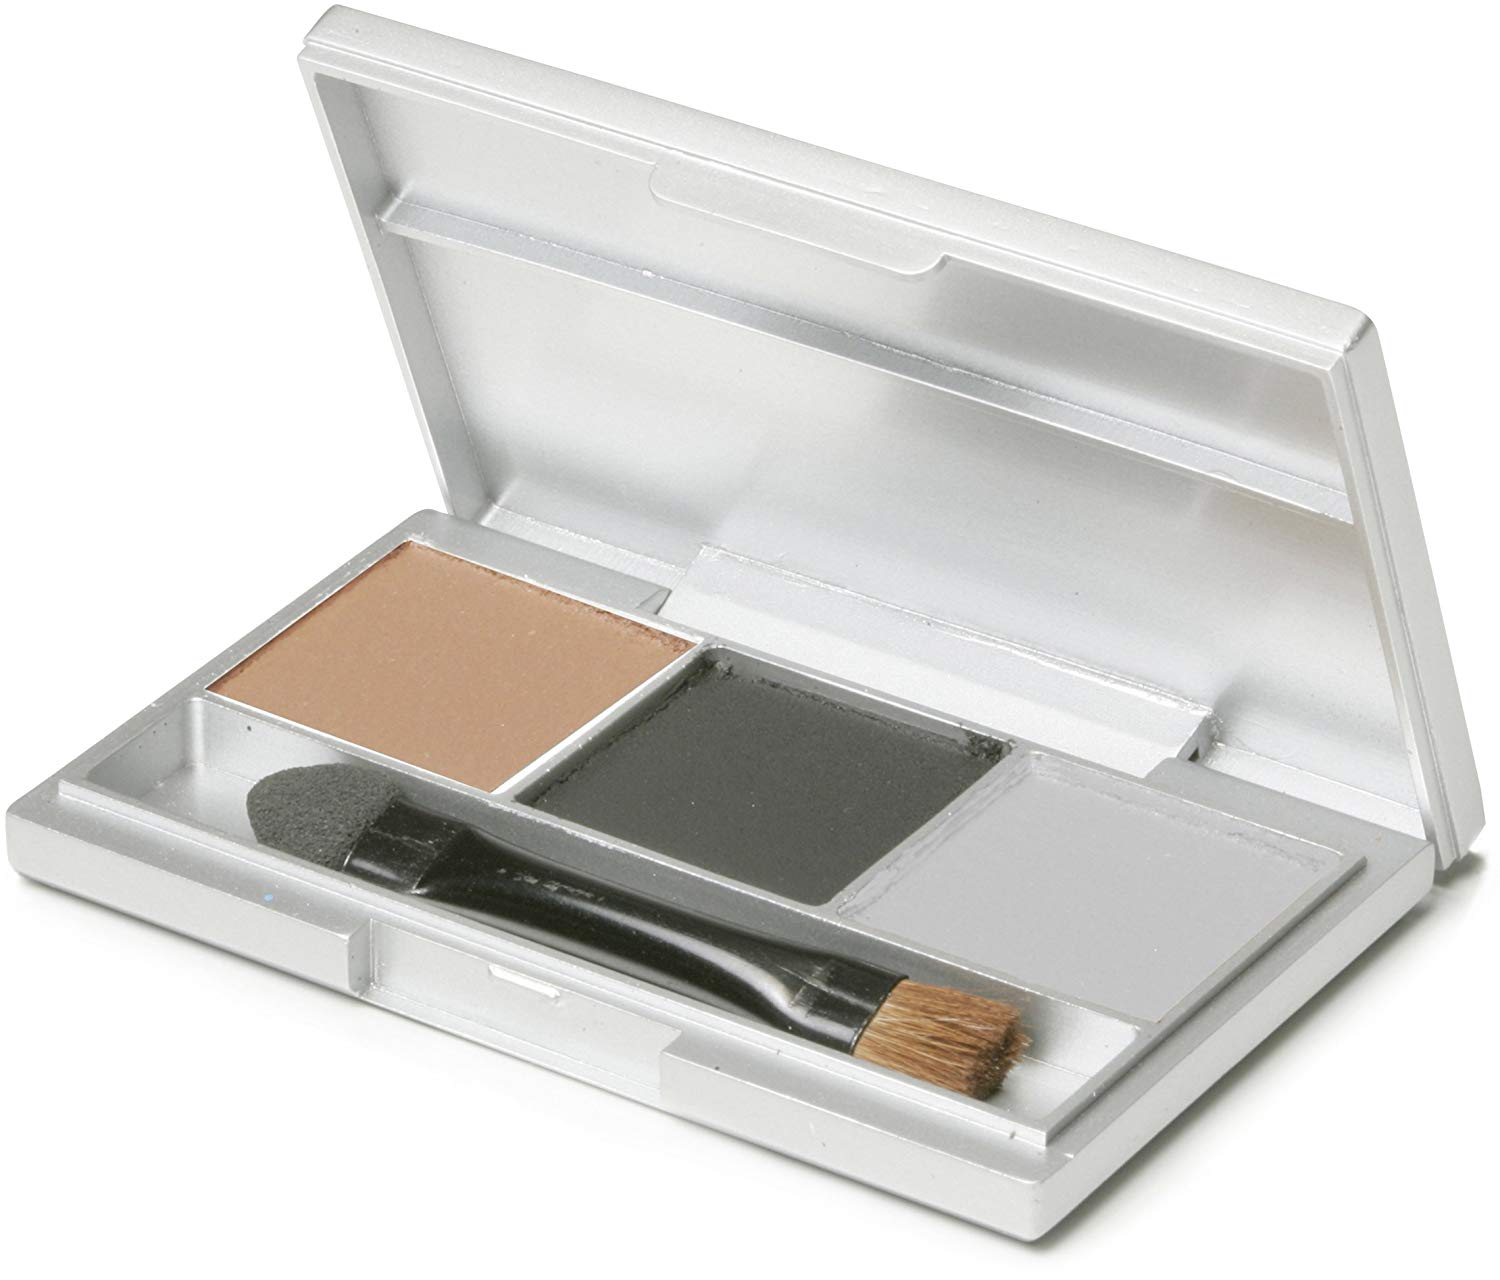


Perfect, many many thanks for the explanation, I will make some practice on a model I don't want to ruin.No man, you're not going to use aerosol paint to do fine weathering detailing... All that's going to do is create globs of liquid which in scale would be the equivalent to golf-ball size droplets on real cars, marble-size if you're really skilled.
Use that weathering kit, and only the brush. The foam will get chunkier bits on, but you may or may not want to go with that until you got a good feel of applying chunky bits of mud while keeping it to a 1/18 scale (aka making it look believable).
The brush may not apply much at first especially if you're working on smooth surfaces, but just be patient with it.
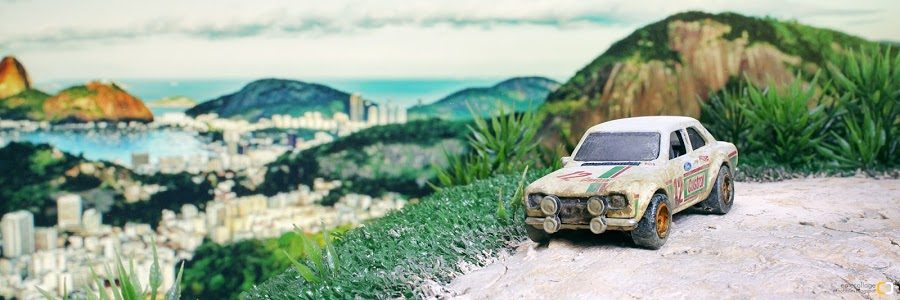
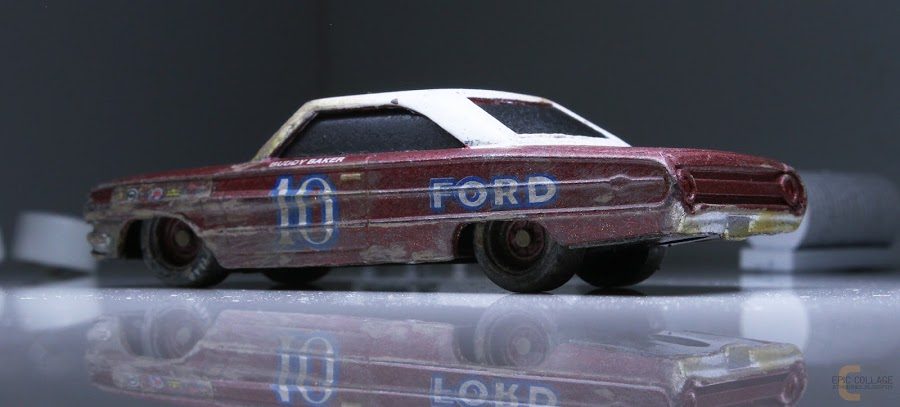
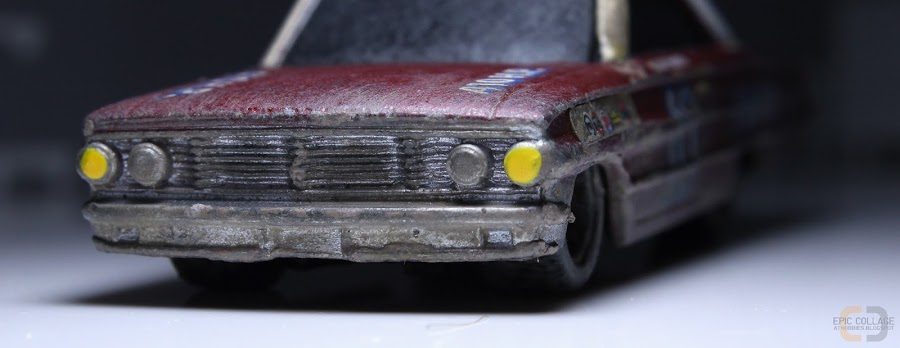
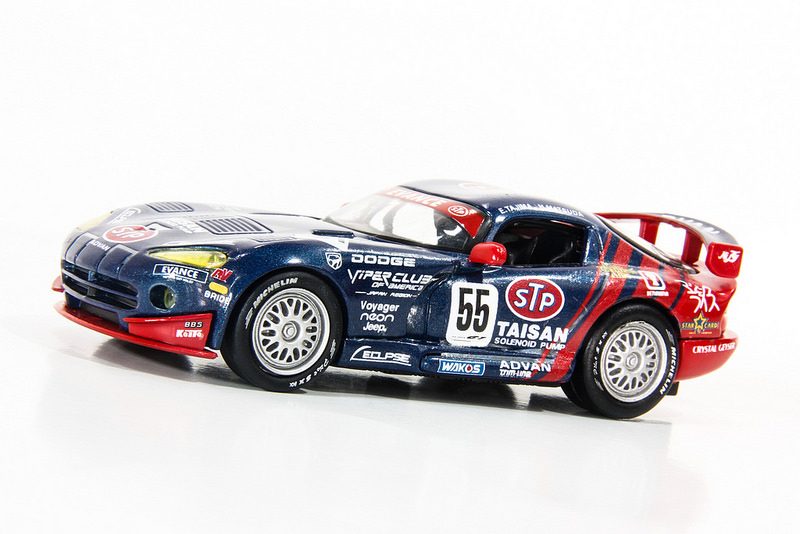
I on the other hand don't have that level of patience. When I do weathering jobs, I have the weathering stick (essentially what you have in that pic you provided in the shape of lipstick) that I whack on and then brush it around to spread it out. To get the stuff going, I dab the brush in a tiny amount of water to get the mud slightly runny. This obviously gets you wet finishes, so you won't have that dry "sprayed-on" look. Here are some of my work at 1/64 scale:
Just remember this: Dry dirt; dry brush application. Soaked in mud; add water.
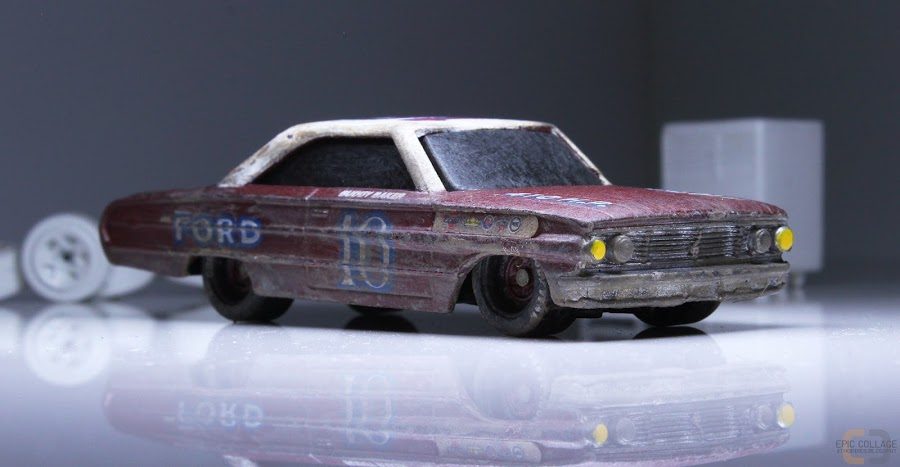
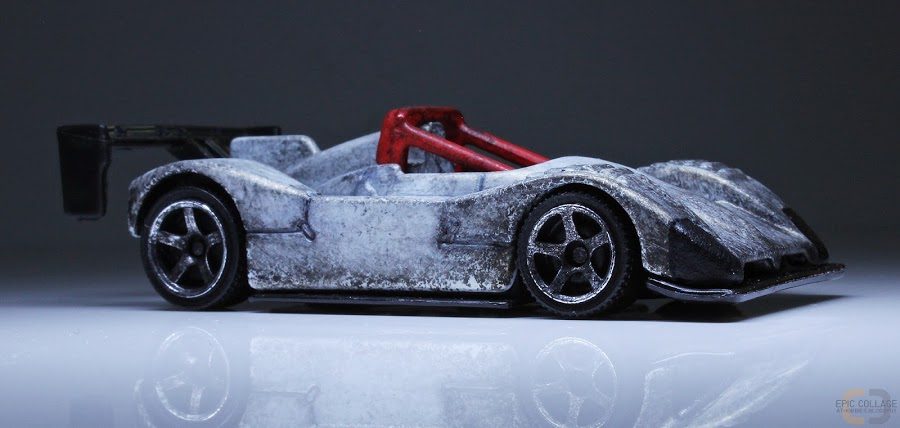
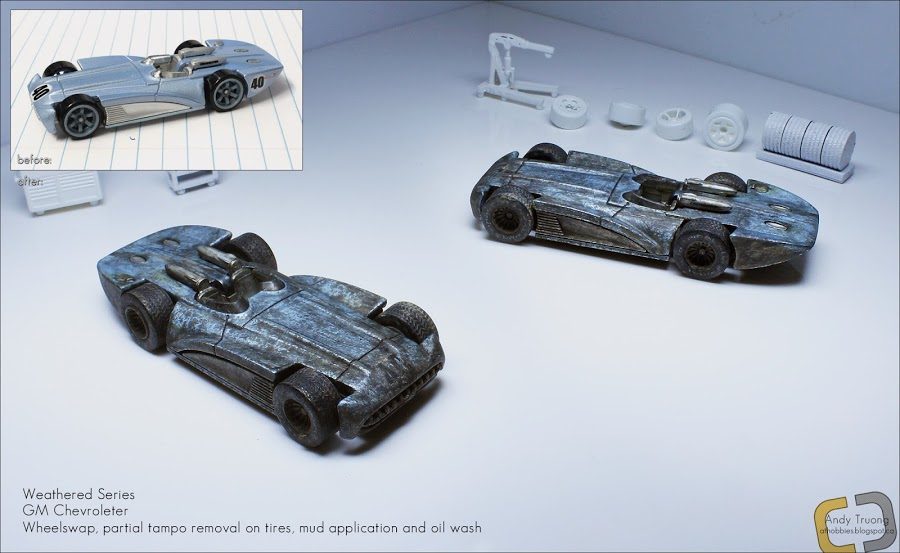
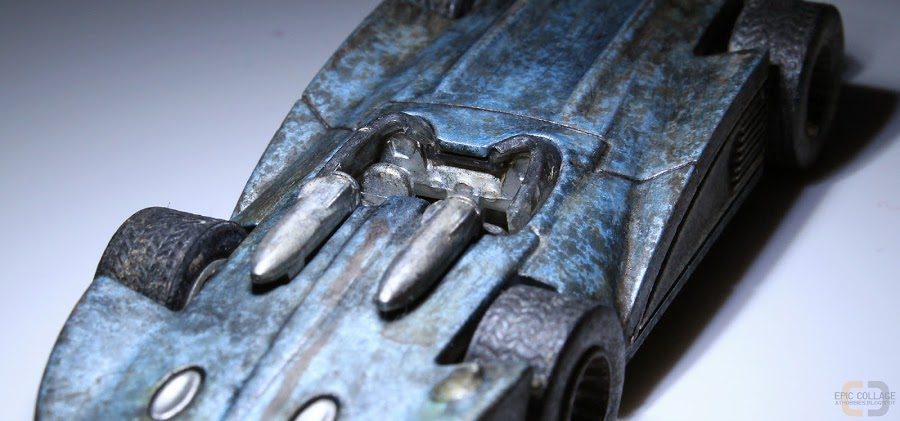
If you want black stuff though, I was taught about using oil paint thinned out until it's a runny liquid, and then doing dry-brush on the surface. I find that this looks great and arguably accurate because what you're putting on is the same thing that you'd find on real cars: oil. So what you'll need to head to some art store, get a small tube of black oil paint, brand doesn't matter (get the cheapest if you want). Get some kind of oil paint thinner. Thin that paint. Dab your brush in there, and then pat dry the brush on paper towel or something until it's not longer soaking wet. Start dabbing your grease onto the car. By no means will it be as fine as airbrushing, but it will have a more naturally uneven coating:
The Chevroleter had the Tamiya weathering as well as the oil paint brushed on. It looks like it's been through a brutal race, don't it?
Perfect, many many thanks for the explanation, I will make some practice on a model I don't want to ruin.
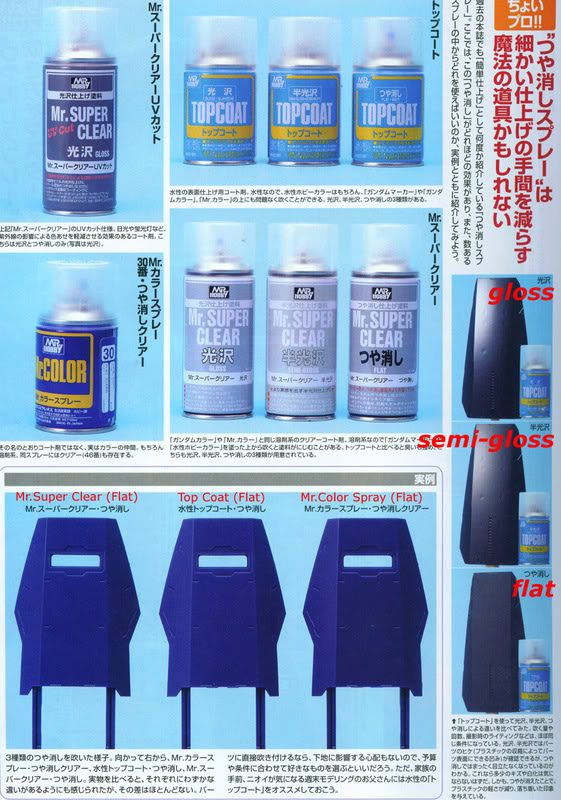
Anyway...do you recommend to spray a matt topcoat after the oil paint and/or the tamiya weathering set?
Topcoat is acylic, while mr super clear is laquer...which one should I use?
Or the application of this extra coat is unnecessary?
Coating is essential when using the weathering kit since it's basically powder, I've heard that laquer may have a better finish than acrylic but it's more toxic and it may react with the model (I'm not even sure what paint is used on the die cast I will modify) and/or the oil paint, I can try it but I will need some testing on old die casts and maybe a gas maskOh word. Thanks for bringing that up. Go with acrylic. I'm unsure if lacquer reacts with the stuff. Probably doesn't; do some research if you care to know. And yes a matte coat is what you want, unless glossy dirt makes any sense to you.
Coating it will at the very least mean you can handle the thing without rubbing any of it off and getting it on your fingers. So I'd definitely do it.


While I'm still waiting for my Shelby cobra to arrive to Spain, a car from China arrives here in 3 days.
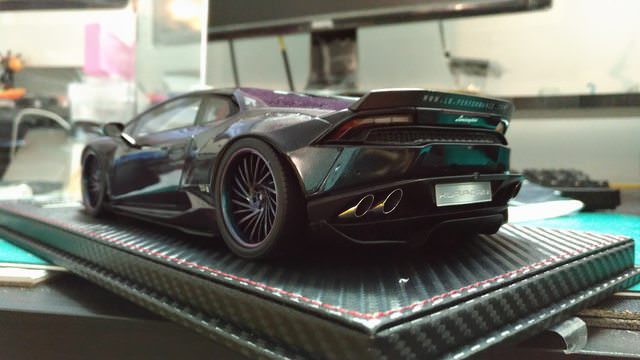
This thang is green, blue AND purple.... The spokes are still ugly, and yes there are 20 spokes- somehow I guessed that right.

250 USD + 5% discountHow much money did you drop on this?

Found this 1/16 Polistil Mercedes RW 196 today. Broken windscreen, but whatever.
View attachment 642908
Literally found? I ask if that is the reason for the absence of the window.
In either case, a broken windscreen opens up the opportunity to add some weathering to make it all the more appropriate to the existing damage.
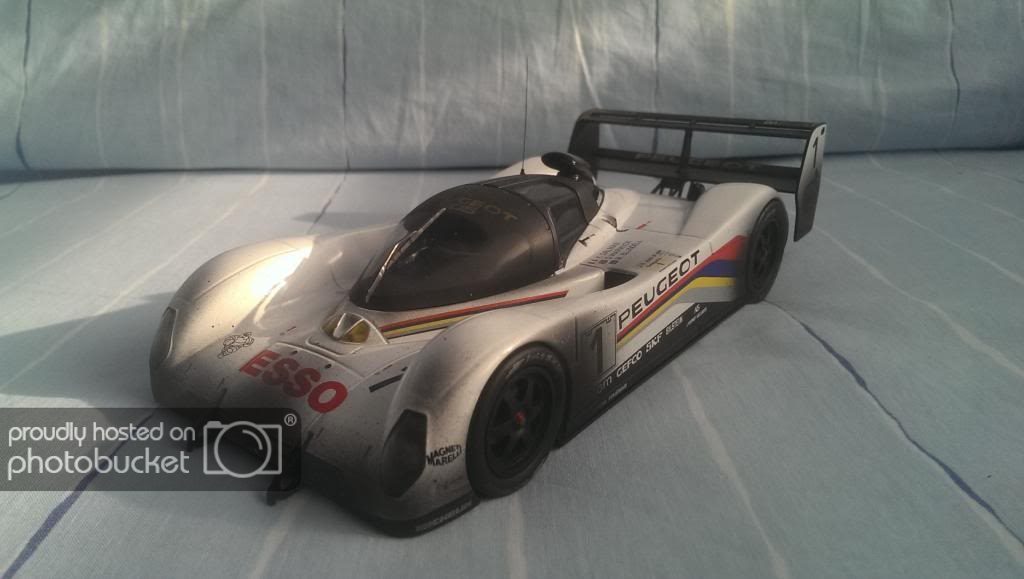
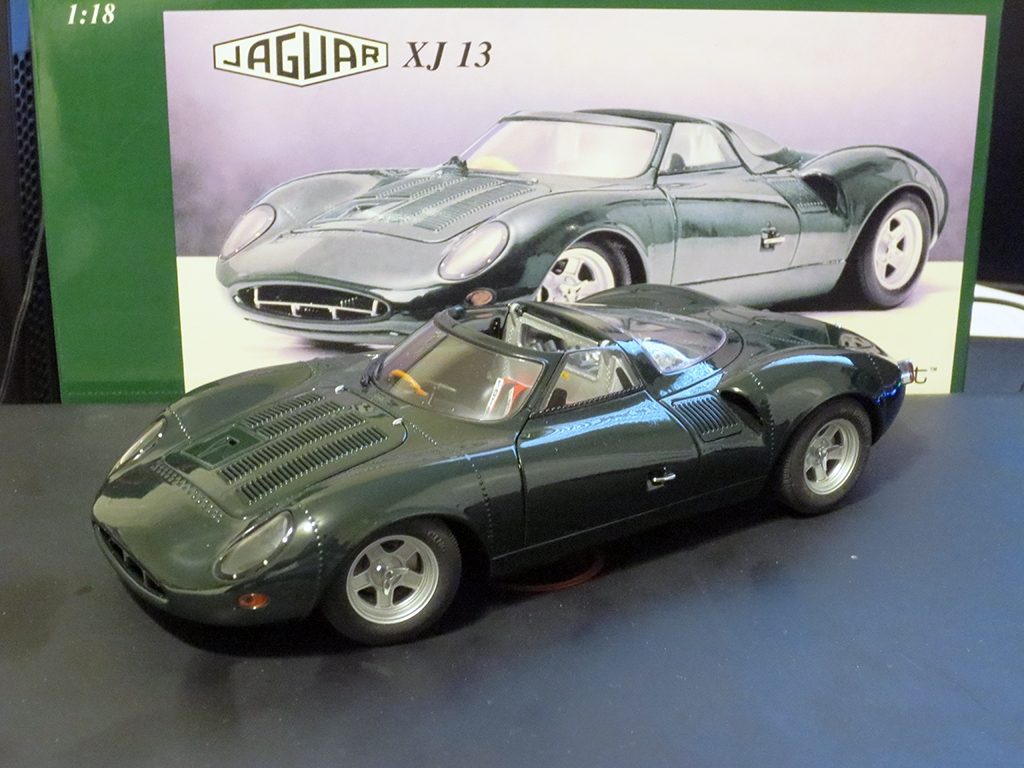
Bought one of these at amiami earlier, 30% off regular price.
Apparently this was the last one in stock, luck is on my side.
I told you about this on DX a while ago. You literally posted right after it too!
This one is actually a Make Up release, AOS san.
Ja buy that from StratosWRC?
Bought one of these at amiami earlier, 30% off regular price.
Apparently this was the last one in stock, luck is on my side.
Which scale are they both? And could you provide a store link, if there's one?More pics of those Civics:

Which scale are they both? And could you provide a store link, if there's one?