- 2,010

- A field in England
So, the Combo van has had a facelift today. I got hold of a white facelift front bumper. I got around to fitting it today, however there was more to it than just the bumper.

As expected, I couldn't very well just leave it at that, could I? Having seen a few tutorials on the Corsa forums, I decided I wanted a splitter - from a Seat Leon/Ibiza Cupra R to be exact.

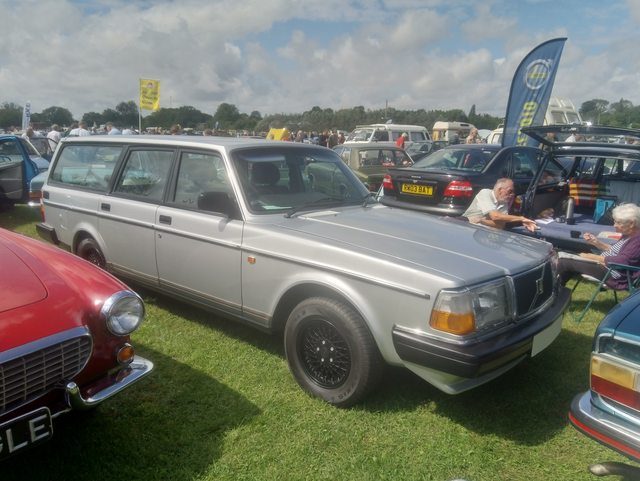
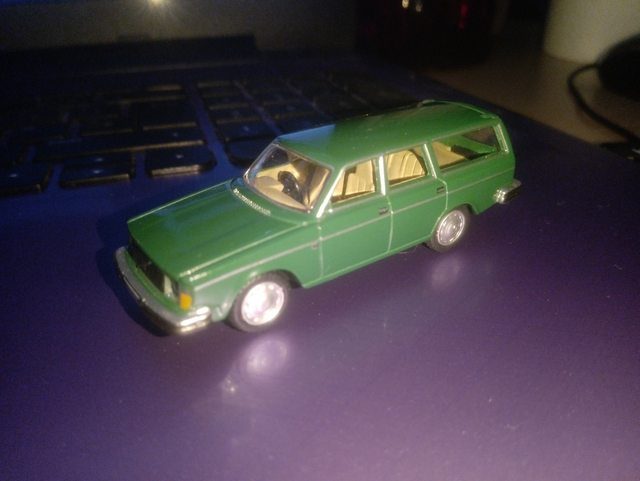
First up was to get this splitter fitted to the bumper, since Seat weren't exactly thinking of ass-biscuits like me using their parts on Opels. So, last week I removed the old two-piece under-guard and got the bumper set up on a platform. In my case, the platform was two 25 litre drums standing on two old steel wheels from a Volvo 240. That old Swedish brick is useful even when it's locked in a garage!

Next was to modify the splitter so that it would fit. The centre slits were belt-sanded down to around 1 cm and a squared-off recess was cut into the beginning of the curved section at either side using a hacksaw and then sandpaper to smooth off the edges. Most of the fixing clips/notches were also cut off.

Onto securing the splitter. It was slotted into the desired place, and two small guide-holes were drilled into the underside of the bumper, between those two centre slits. Large self-tapping screws with washers were then put in to secure the splitter.

From here it was pretty self-explanatory - I simply used 6 more small self-tapping screws, 3 for each side, working my way down to the wheel arch.

It's not unreasonable to say it looks sloppy but there aren't many people who're going to get on their hands and knees to check whether this splitter is meant to be here or not. As you can see the Seats have longer front overhangs than the smaller Corsa/Combo, so the ends had to be cut off and then sanded smooth to line up. Once that was done and the centre grille insert was put back in (fell off during transit), the bumper was ready.
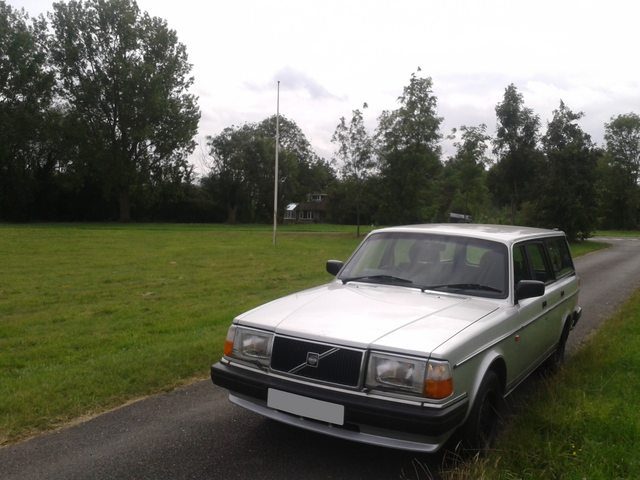
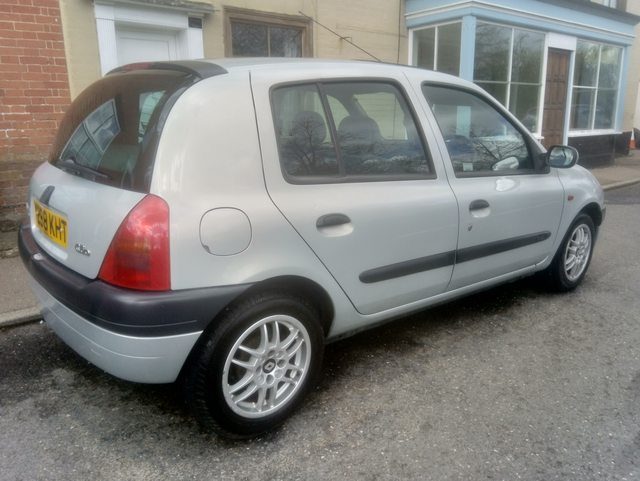
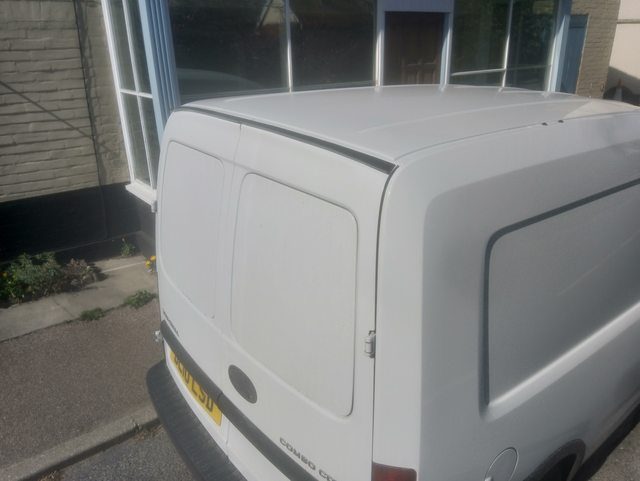
With that done, it was a case of waiting until I had time and space to fit the bumper, which was today. So, here's a reminder of what the old plastic bumper looked like...

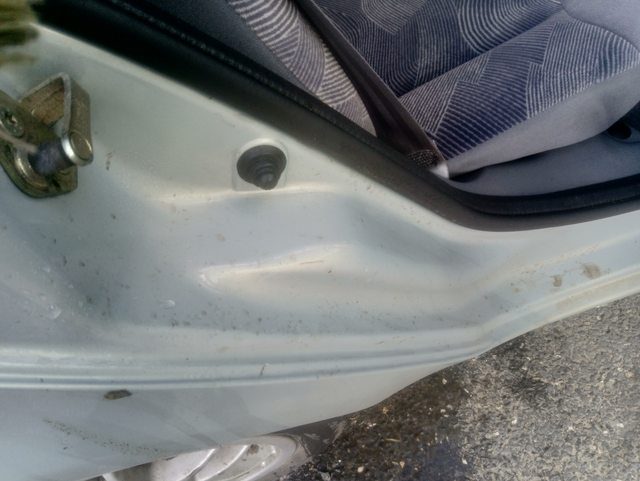
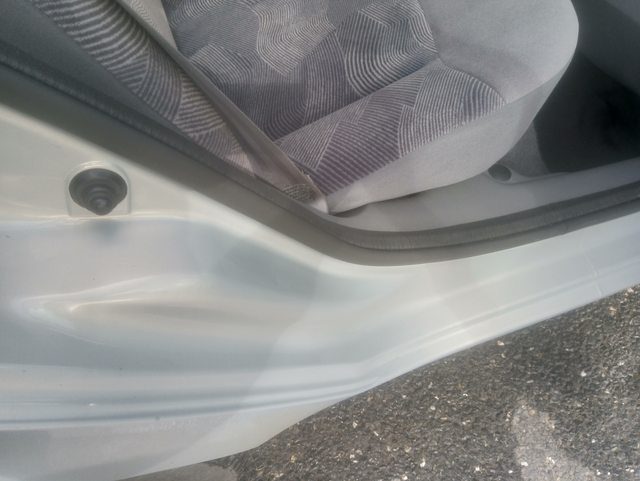
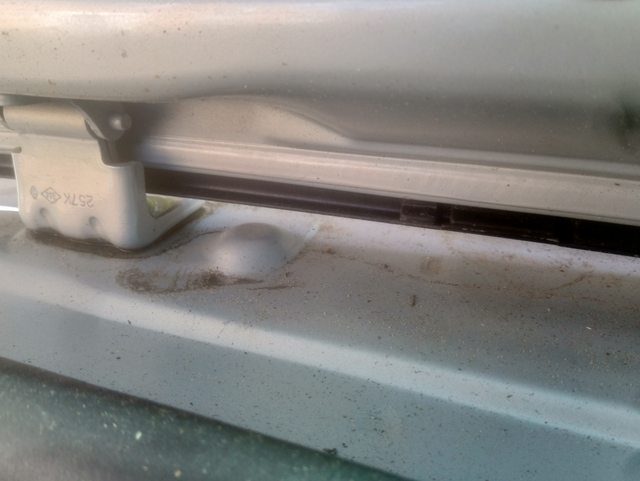
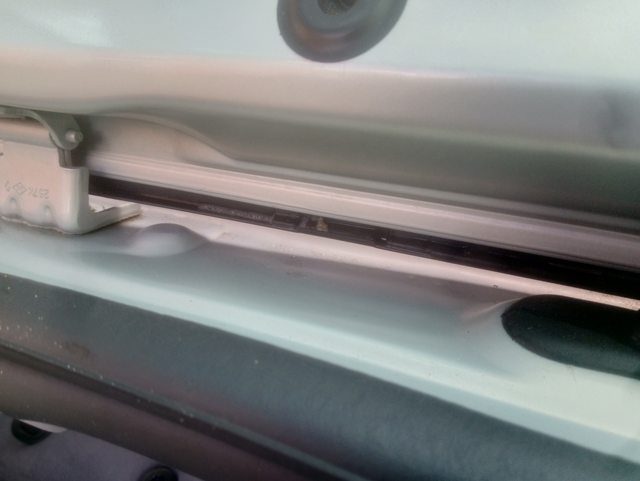
I needed very little help to remove it, which is quite frankly shocking given my generally lofty heights of uselessness. Anyway, once it was off, I couldn't help myself and started cleaning the various painted parts of the chassis that were now exposed.


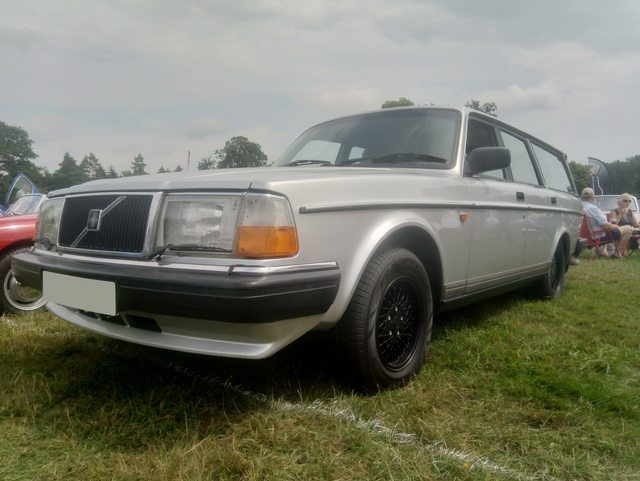
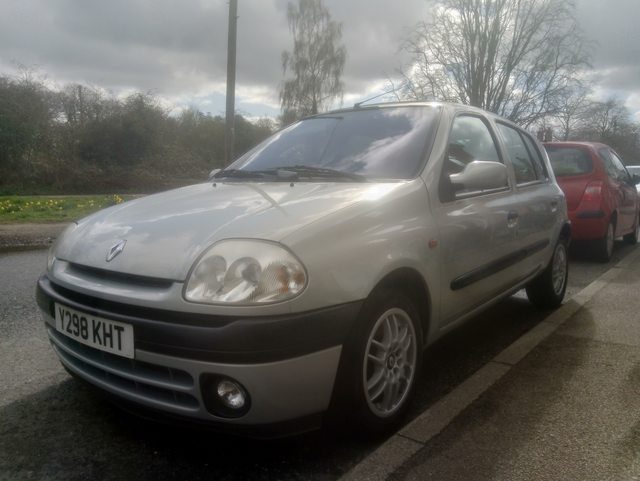
Fitting the new bumper was quite literally a reverse of removing the old one - there wasn't much worth taking photos of. Thanks to a mixture of being alone (imagine that) and my general incompetence, it was a complete pain to get the bumper slotted into place, but after bringing the van indoors to stop myself passing out in the cloudless heat, and some more rage-fueled cursing, the bumper was on. So, all that's left is to show how it looks!

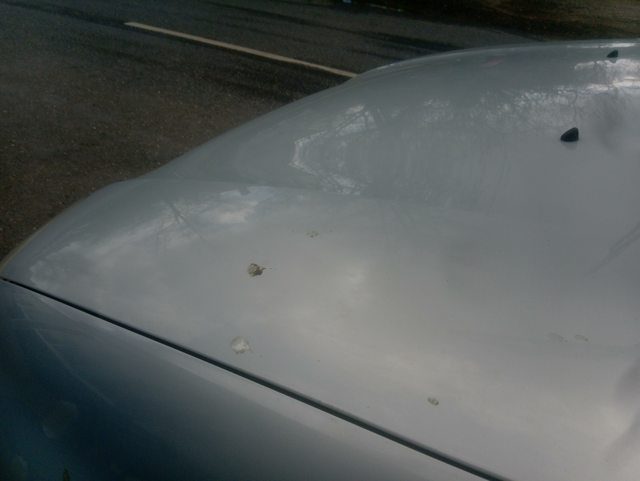
The colour is wrong and there's paint runs everywhere which leads me to believe this isn't a factory paint finish, and that some thieving monkey sprayed it (badly) with a rattle can, falsely advertised it on eBay at a premium price and then I came along, stupid enough to be fooled by it. I bet the smarmy cockwomble is very pleased with himself.
Anyway, it looks a lot more aggressive than before, and I'm mostly happy with it, so it'll have to do for now.
As expected, I couldn't very well just leave it at that, could I? Having seen a few tutorials on the Corsa forums, I decided I wanted a splitter - from a Seat Leon/Ibiza Cupra R to be exact.
First up was to get this splitter fitted to the bumper, since Seat weren't exactly thinking of ass-biscuits like me using their parts on Opels. So, last week I removed the old two-piece under-guard and got the bumper set up on a platform. In my case, the platform was two 25 litre drums standing on two old steel wheels from a Volvo 240. That old Swedish brick is useful even when it's locked in a garage!
Next was to modify the splitter so that it would fit. The centre slits were belt-sanded down to around 1 cm and a squared-off recess was cut into the beginning of the curved section at either side using a hacksaw and then sandpaper to smooth off the edges. Most of the fixing clips/notches were also cut off.
Onto securing the splitter. It was slotted into the desired place, and two small guide-holes were drilled into the underside of the bumper, between those two centre slits. Large self-tapping screws with washers were then put in to secure the splitter.
From here it was pretty self-explanatory - I simply used 6 more small self-tapping screws, 3 for each side, working my way down to the wheel arch.
It's not unreasonable to say it looks sloppy but there aren't many people who're going to get on their hands and knees to check whether this splitter is meant to be here or not. As you can see the Seats have longer front overhangs than the smaller Corsa/Combo, so the ends had to be cut off and then sanded smooth to line up. Once that was done and the centre grille insert was put back in (fell off during transit), the bumper was ready.
With that done, it was a case of waiting until I had time and space to fit the bumper, which was today. So, here's a reminder of what the old plastic bumper looked like...
I needed very little help to remove it, which is quite frankly shocking given my generally lofty heights of uselessness. Anyway, once it was off, I couldn't help myself and started cleaning the various painted parts of the chassis that were now exposed.
Fitting the new bumper was quite literally a reverse of removing the old one - there wasn't much worth taking photos of. Thanks to a mixture of being alone (imagine that) and my general incompetence, it was a complete pain to get the bumper slotted into place, but after bringing the van indoors to stop myself passing out in the cloudless heat, and some more rage-fueled cursing, the bumper was on. So, all that's left is to show how it looks!
The colour is wrong and there's paint runs everywhere which leads me to believe this isn't a factory paint finish, and that some thieving monkey sprayed it (badly) with a rattle can, falsely advertised it on eBay at a premium price and then I came along, stupid enough to be fooled by it. I bet the smarmy cockwomble is very pleased with himself.
Anyway, it looks a lot more aggressive than before, and I'm mostly happy with it, so it'll have to do for now.
")
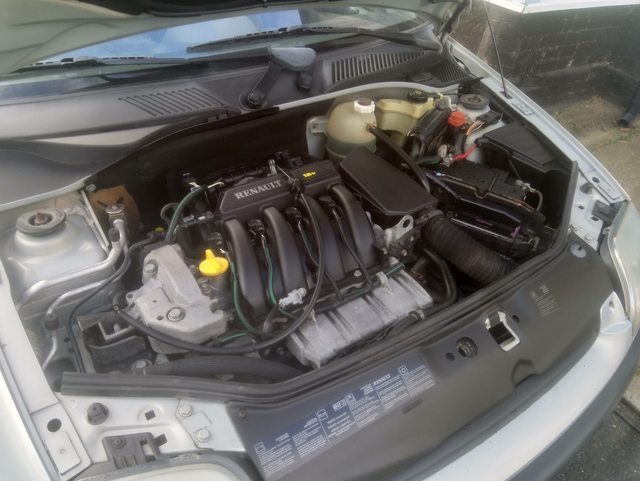
 Does wonders for a diesel.