- 2,640

- MA
- CAPECOD104 SGETI
Only on your 3rd MayCad plans ? I went thru about 5-6 diff plans. The guy above does a good job, BUT, he over complicates the build in more than one area.
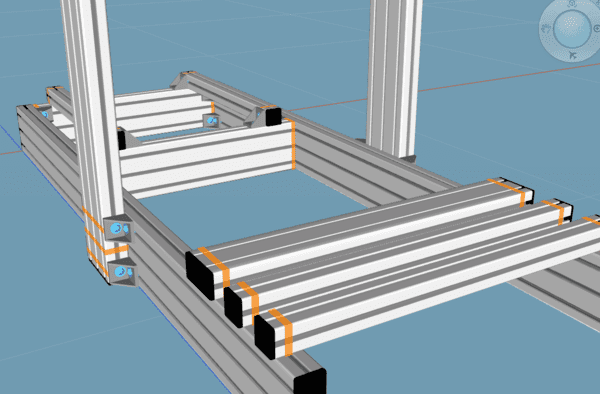
Take the back of the rig. Make your life easier and your rig stronger, mount all pieces inside the rails, no need for extra work to tap the ends. Single inside brackets are all that is needed. No need for double wide brackets, just extra money. Ditch the wood, weak link. Look at Px1 seat rails and attach directly.
The pedal tray is another weak link. For short money the following is rock solid, adjustable and comes with 'feet'.
Re. the P1-x above, here is the pedal tray with feet. https://sim-lab.eu/shop/product/p1-upgrade-kit-532?category=2#attr=371,436
Lastly, The largest issue is the wheel mounting. These rigs and brackets are made for 90 degree attachment, not some random angle that feels good and hope if I tighten the screws enough the wheel will not move. Suggest proper wheel mount bracket, such as,
https://sandtsracingfab.com/products/8020-series-steering-wheel-deck-with-tilt/
The price is fair in my opinion also. Tip of the day. One last item, nuts. Save yourself frustration of trying to line up the bolts, get the roll in spring loaded T nuts.
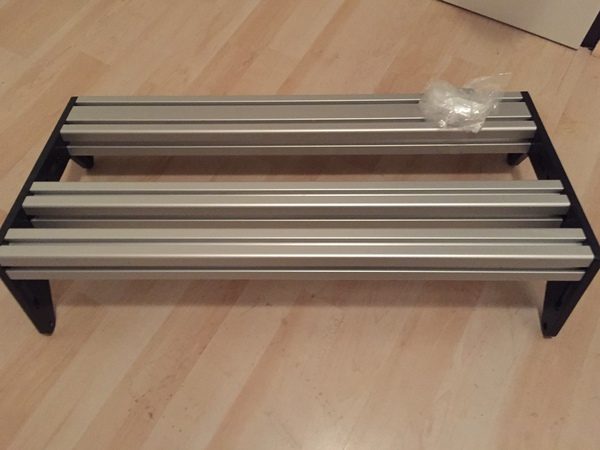
") I found these “used” simlab P1 pedal brackets for 45 Euro.
I found these “used” simlab P1 pedal brackets for 45 Euro.


") but id spent a bit more for the peace in my head!
but id spent a bit more for the peace in my head! 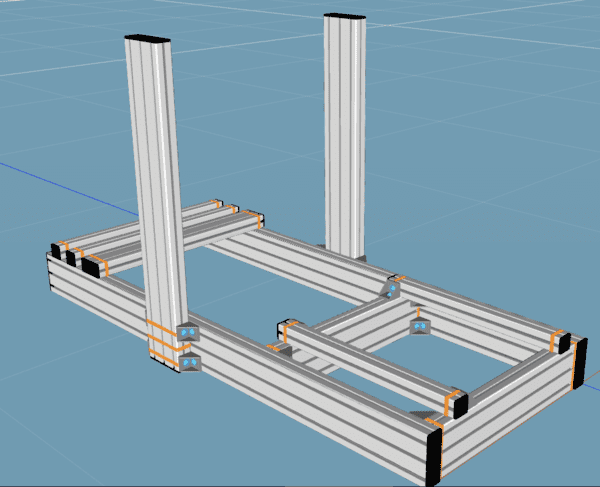


 Just saying...
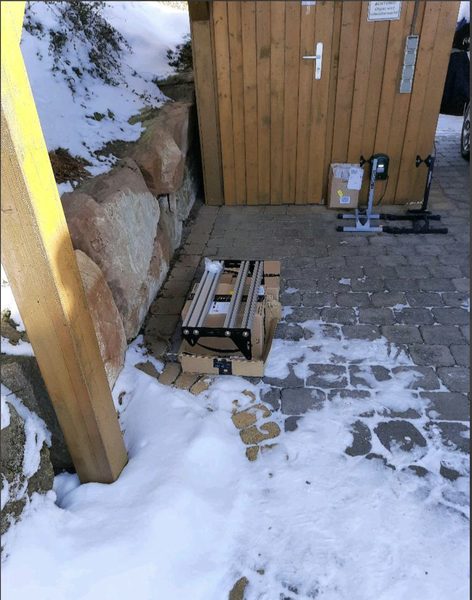


 down from 99,- to 69,- euro!! go for it guys! including shipping to germany its about 79 euro!


 you can feel the quality when you have it in hands!


