If Trophy-hunting is your thing, then Gran Turismo 7 will almost certainly be one of the titles on your radar right now. Like all PlayStation titles launched since January 2009, GT7 has a suite of PlayStation Trophy achievements for players to work through, and the good news is that they’re not quite as challenging as they were in GT Sport.
GT7 has 54 Trophies in total — 53 plus the Platinum awarded for unlocking the rest of them — for a total of 1,305 points towards your overall PSN Trophy level.
For the most part they are pretty straightforward, and you’ll be able to pick up more than half of them just by completing the races that the game puts in front of you. However, some do require a little more planning — and patience — and since Trophy hunting is all about efficiency, we’ve put together this guide to winning them all.
Walkthrough
There’s a few different paths to hit the Platinum Trophy, and — aside from the Menu Books in GT Cafe — there’s not really a particular order for collecting the different Trophies.
That said, we reckon the most efficient way of all is:
- GT Cafe Menu Book 1
- License Center
- GT Cafe Menu Book 2-39
- Missions
- World Circuits/Circuit Experience
- Sport Mode & Multiplayer
- Scapes
- GT Auto & Tuning Shop
- Car Dealerships
We recommend this path simply because you will need as much money as possible saved up for the final few categories, which you’ll need to earn through the earlier ones. By playing through the single-player first you minimize your expenses early on.
GT Cafe & License Center
This is the core of GT7’s single-player mode, and by simply playing through it you should pick close to 40% of all the available trophies. As this includes both Golds, that’ll take up more than half of the points available.
To start with you’re kind of on rails, and you won’t be able to do anything other than GT Cafe’s Menu Book 1. Handily this will also give you two unmissable Trophies, as well as a couple of opportunities to score the Clean Racer trophy for completing a race without running off track or into anything, and Moving on Up if you pass five or more cars in one lap.
In addition, with the first races using very slow vehicles, it would be a good opportunity to win No Assistance Required. That unlocks if you complete a race without using any driving assists, so turn them all off in the Assist Menu.
- Living Your Car Life (Bronze) – Started the first menu
- Student of Motoring History (Bronze) – Completed the first car collecting menu
- Clean Racer (Bronze) – Completed a race without leaving the track or any collisions
- Moving on Up (Bronze) – Moved up five or more positions in a single lap
- No Assistance Required! (Bronze) – Completed a race without any assist settings

At this point you’ll unlock the License Center, and you should turn your attention there. You will eventually need to pick up at least your National A license in order to progress through to the end of GT Cafe, but there’s also five more Trophies to gather here.
Three are linked directly to progress, with Fully Licensed coming for completing all 50 tests, and the gold Hard Work Pays Off Trophy for a gold time on all 50; the final, S-10 test is the biggest obstacle here. Rain Royalty should also arrive at the same time, with the mysterious requirement actually being to pass all the license tests that feature wet conditions.
As you’ll be hitting 200mph in S-1, and driving a Super Formula car in S-8, you’ll also grab Join the 200-mph Club and Formula First Timer. You’ll see Driving the Angeles Crest Highway land some time during your International A license, or maybe earlier depending on how many attempts you need for each test!
- Driving the Angeles Crest Highway (Bronze) – Drove the length of the Angeles Crest Highway (US) – 66 miles (106km)
- Join the 200-mph Club (Bronze) – Reached a speed of 200mph (322km/h)
- Formula First Timer (Bronze) – Drove a Formula car
- Fully Licensed (Bronze) – Earned all licenses
- Rain Royalty (Bronze) – Acquired your rain license
- Hard Work Pays Off (Gold) – Earned Gold in all licenses
Now return to GT Cafe and simply complete all of the remaining menu books. Trophies like A Taste of Tuning, Looking Good, and Warning: Wide Load are all required to pass certain books, while most of the others will simply pop as a consequence of driving. Both By a Whisker and By a Country Mile should arrive entirely naturally.
One note of caution on Heavy Haulage: you will need to buy a pickup truck for Menu Book 26, and it’s best to go for the Toyota Tundra so you don’t double-up on the Ford F150 Raptor.
Completing Menu Book 39 will finish off GT Cafe and give you the Finale trophy, as well as playing the game’s ending movie.
- Podium Fixture (Bronze) – Finished on the podium ten times
- All-Rounder (Bronze) – Won races on 10 different tracks
- A Taste of Tuning (Bronze) – Bought and equipped tuning parts
- Looking Good! (Bronze) – Bought and equipped aerodynamic parts
- Motor Mania – Stored 50 cars in your Garage
- Heavy Haulage (Bronze) – Bought a pickup truck
- Warning: Wide Load! (Bronze) – Fit a wide body
- By a Country Mile (Bronze) – Won with a lead of 10 seconds or more, in a race of at least two laps
- By a Whisker (Bronze) – Won a race with a lead of 0.5 seconds or less
- Finale (Gold) – Fulfilled requirements for ending

Missions
With that you can move onto Missions. There’s only four trophies you can win here, and they can all be achieved elsewhere too, but it’s worth it to get through them without any specific extra effort and with the bonus cars that can be used elsewhere.
If your Collector Level is high enough (and it should be with 81 cars in your garage by now) you’ll have access to the complete Missions list, which opens your options somewhat.
There’s several fuel consumption missions — distance tests and eco challenges — which will see you pick up Running on Empty, and some longer-distance race challenges (including hour-long endurance events) that require pit stops. Be sure to fill up in at least one to net Fill Her Up as well as New Treads for changing tires.
The Drift Trials in Missions will easily send you past the 10,000pt required for Smoking Hot, and with all the track time to date you will sail clean through Driving for 24 Hours in this section too.
- Driving for 24 Hours (Bronze) – Drove the length of one complete 24 Hours of Le Mans race: 2,209.538km (1,372.942 miles)
- Fill Her Up (Bronze) – Took a pitstop during a race which featured fuel consumption, and filled your tank
- New Treads (Bronze) – Took a pitstop during a race and changed your tires
- Running on Empty (Bronze) – Ran out of fuel in a race which featured fuel consumption
- Smoking Hot (Bronze) – Earned 10,000pts in Drift Trials
World Circuits/Circuit Experience
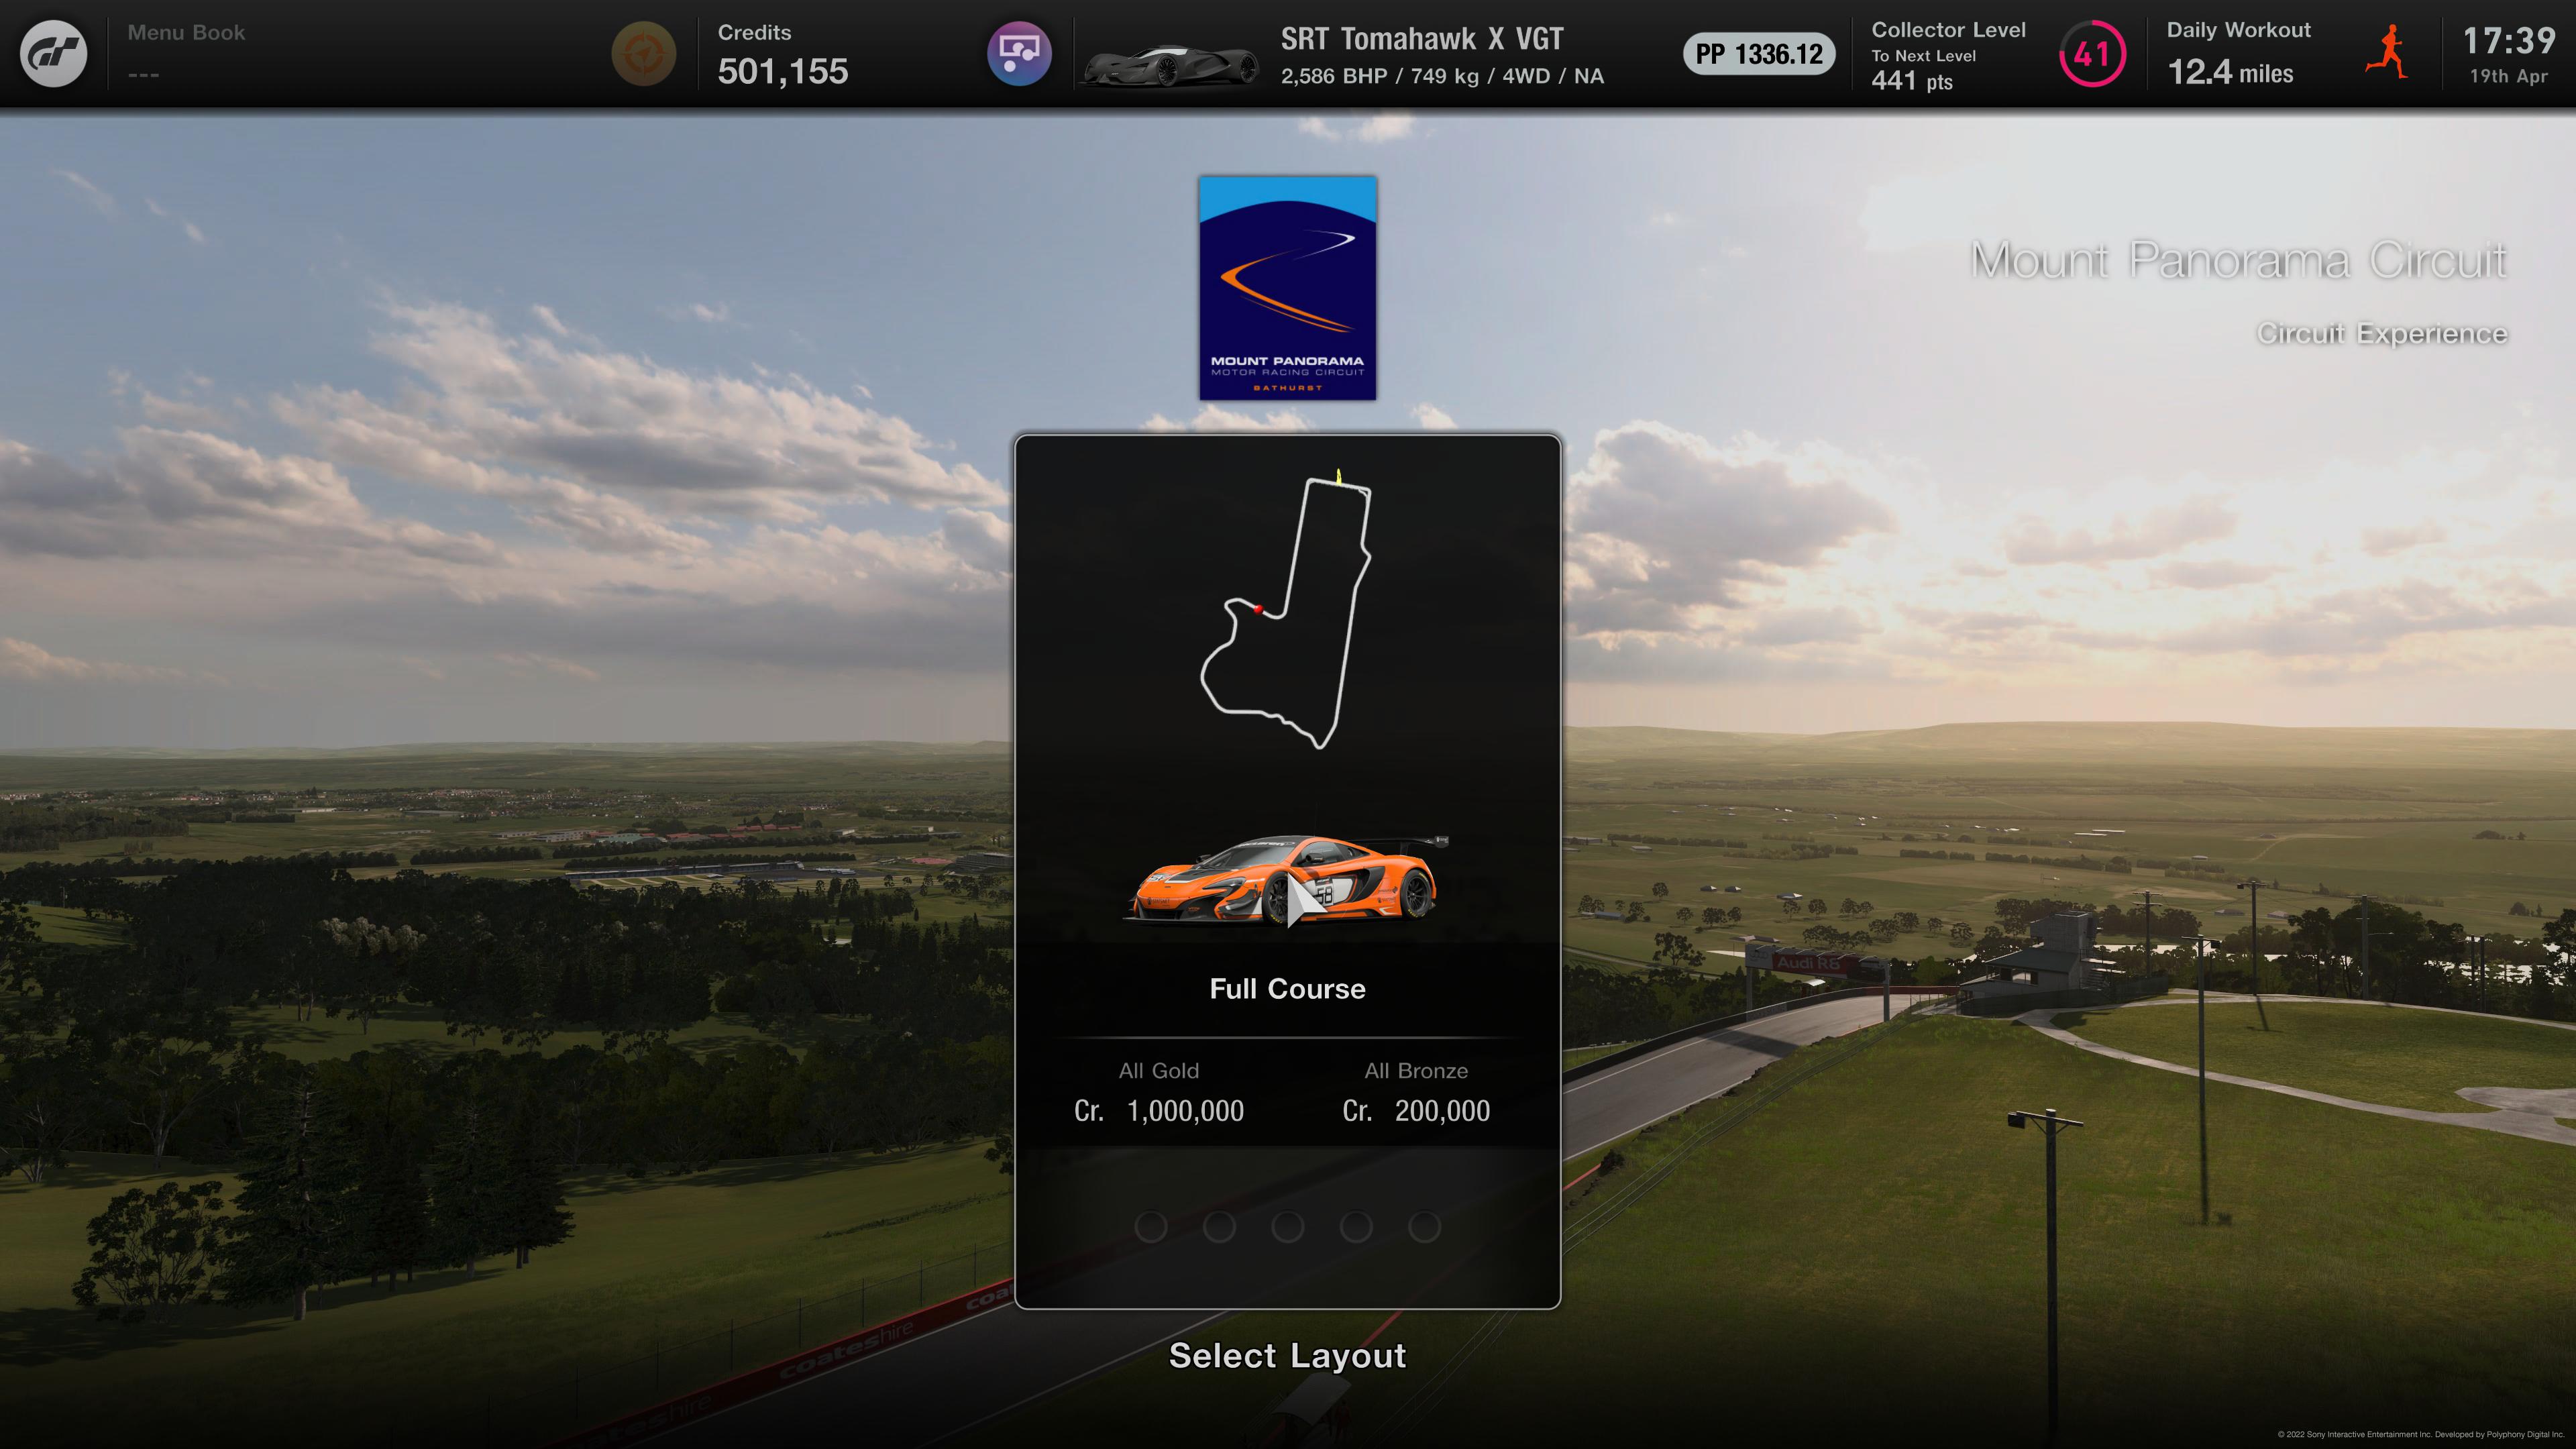
Your next port of call should be World Circuits. Firstly you’ll need to go to 15 different tracks and complete their Circuit Experience. This mode divides tracks up into sectors and sets you a target time in a specific car to beat, followed by a final challenge of the full lap.
Naturally the quickest way to do this is short tracks with a handful of sectors, like Northern Isle, Blue Moon Bay, Kyoto Miyabi, and so on. Get at least bronze times in all challenges in 15 different circuits and you’ll win three trophies in succession, topped off with the silver Circuit Master. There’s also some good money available as bonuses for passing all sectors in gold, and this will prove very important.
Make sure one of the 15 is Tsukuba. The gold time for the Tsukuba lap is 59.2 seconds, and if you achieve that you’ll score the Done in 60 Seconds trophy too.
After that, you’ll need to win ten races on dirt tracks — though you should already have some applicable wins through GT Cafe. The best bet here is the Dirt Champions race at Fishermans Ranch, as it’s also one of the quicker ways of making money (which you’ll need a lot of later on) right now.
Finally take part in 100 time trials. You only need to complete 100 laps in Time Trial mode, so the quickest way is to go to Northern Isle Speedway in the Americas section.
- The First Step to Mastery (Bronze) – Completed a track (all sectors) in Circuit Experience
- Circuit Apprentice (Bronze) – Completed five tracks (all sectors) in Circuit Experience
- Done in 60 Seconds (Bronze) – Drove a lap of the Tsukuba Circuit in under one minute
- Circuit Master (Silver) – Completed 15 tracks (all sectors) in Circuit Experience
- Digging the Dirt (Bronze) – Won 10 races on dirt tracks
- Time Attacker (Bronze) – Took part in 100 time trials
Sport Mode & Multiplayer
The very hardest trophies in GT7 are linked to multiplayer, but thankfully they’re nowhere near as difficult as GT Sport’s similar trophies.
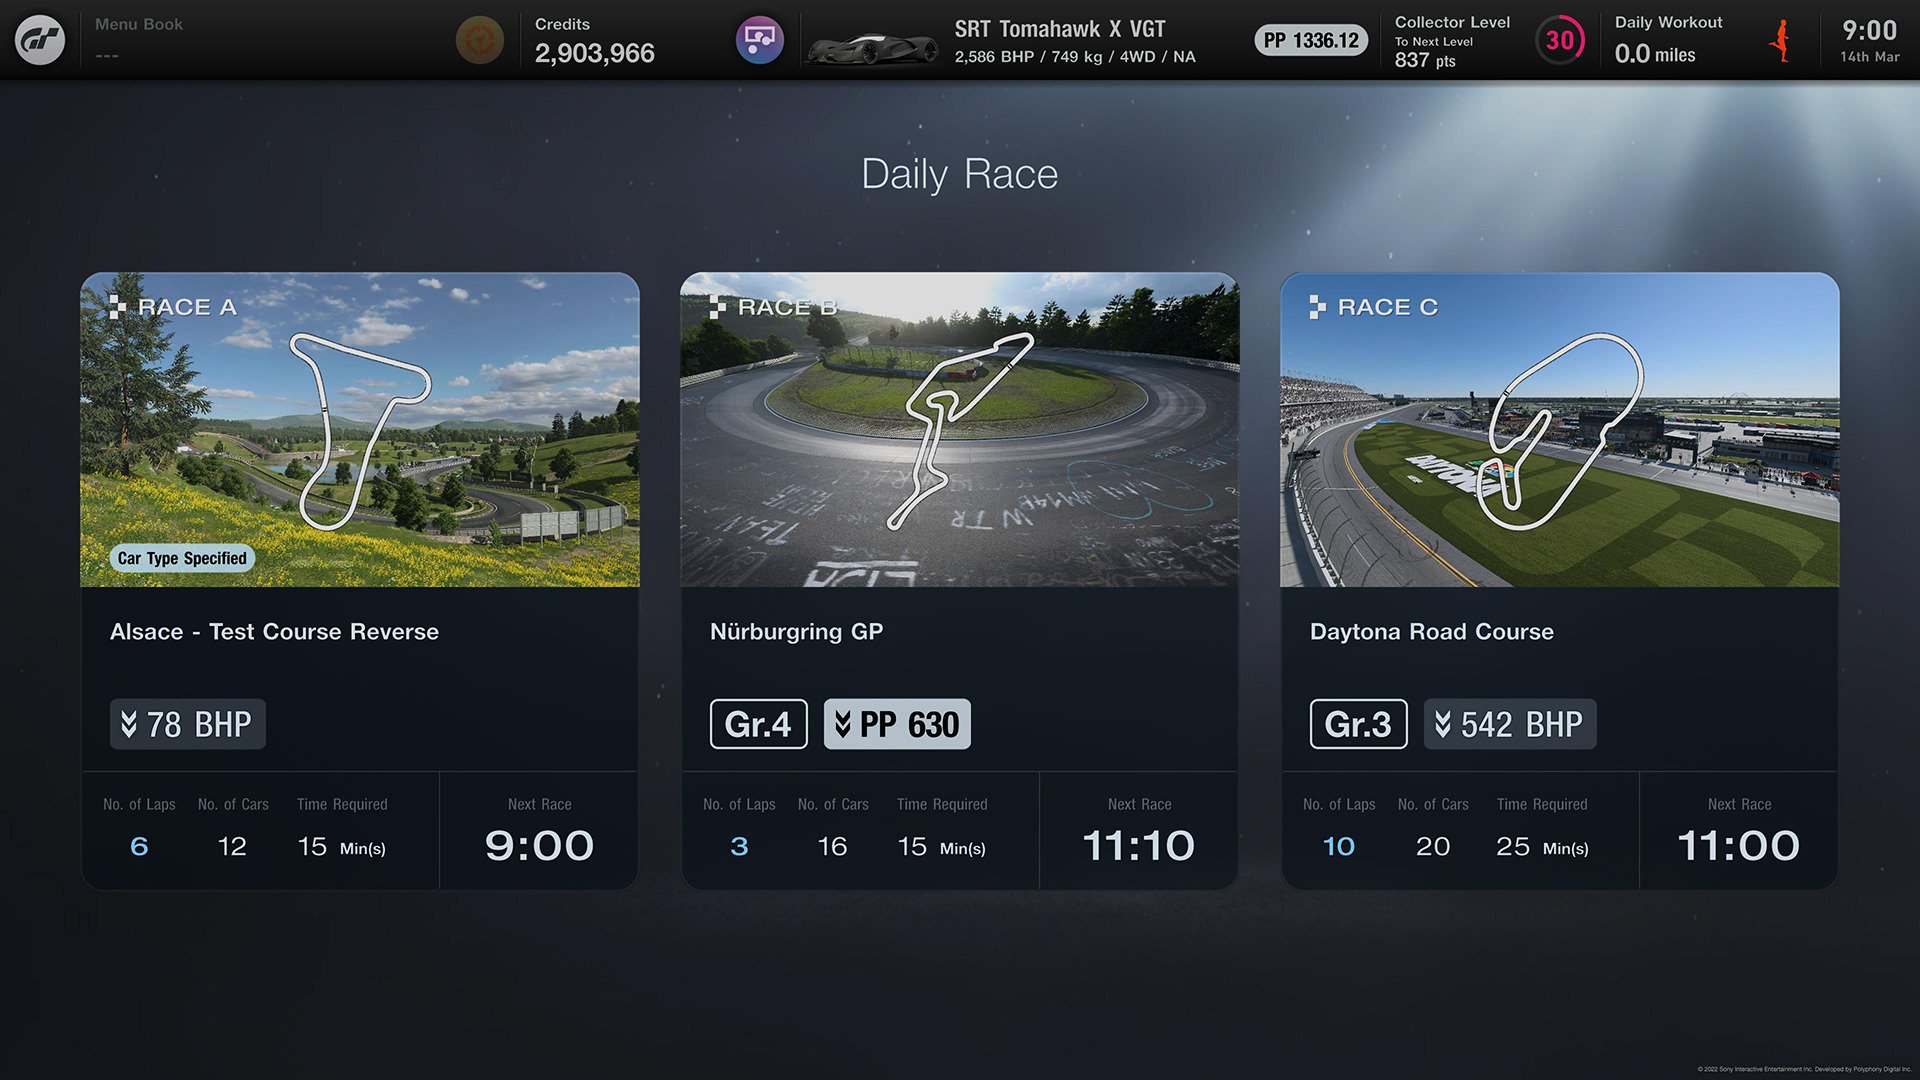
Only two relate to Sport Mode, and they’re pretty easy to chalk off. You only need to finish one Sport Mode race to win the first, and 50 races to win the second. Daily Race A is the best candidate, just for the frequency of races, but it’ll still take you 17 hours to tick off.
- In-Depth Mastery (Bronze) – Finished 50 races in Sport Mode
- Sport Mode Debut (Bronze) – Finished a race in Sport Mode
Some of these remaining trophies require multiplayer, where others are just best achieved here if you’re looking for the quickest way possible of getting them.
What we’d recommended for the speed-runners out there is a lobby at the Special Stage Route X oval, and the 1m credit, 2,586hp Dodge SRT Tomahawk X.
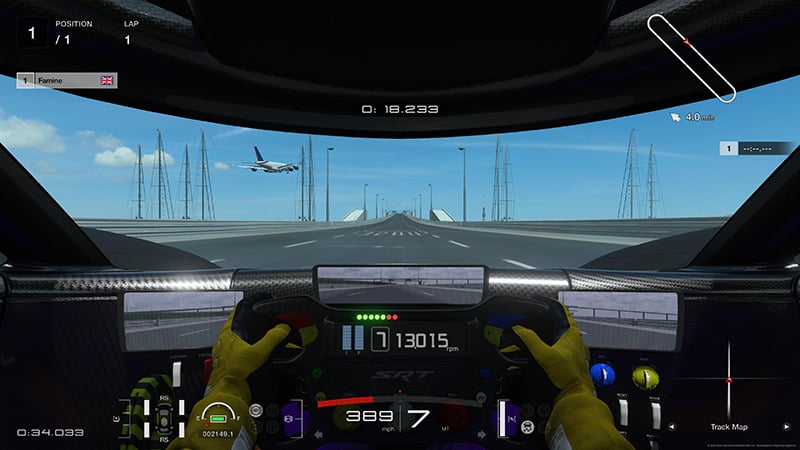
This is the fastest car in the game by far and the longest, fastest straight bit of road, which is exactly what you need for the Speed Demon and Speed Archdemon trophies. They require speeds of 500km/h and 600km/h respectively, and there’s no better way to hit either marker; don’t forget that the Tomahawk also has a Drag Reduction System and a pneumatic boost function, for which you’ll need to have an assigned button.
An added bonus to that is the car is also the most efficient way to hit the huge distances required for three other trophies — although two are not quite so long as they seem.
While the trophy descriptions says you’ll need to drive 3,610 miles and 8,197 miles while in online multiplayer to grab them, in fact the cumulative distance of all players in a given lobby counts towards the trophy — but you will need to be in a race in the lobby. Meeting Place and free run don’t count.
That means that if there’s ten of you in the lobby, 19 laps each of SSRX in the SRT (about an hour of driving) will score the first trophy. The second will take a little more than the same distance again, for just over two hours of driving.
In the process you’ll also pick up the Driving Route 66 and Round and Round trophies, for far less mileage.
- Speed Demon (Bronze) – Reached a speed of 500km/h (311mph)
- Speed Archdemon (Silver) – Reached a speed of 600km/h (373mph)
- Driving Route 66 (Bronze) – Drove the length of Route 66 (US): 2,451 miles (3,945km)
- Crossing the Atlantic Together (Bronze) – Driving with other players online, you matched the distance covered by the first ever non-stop Transatlantic flight: 5,810km (3,610 miles)
- Round and Round (Bronze) – Drove 500 miles (804.672km) on oval tracks
- Driving the Autobahn Together (Silver) – Driving with other players online, you matched the distance covered by the entire German Autobahn network: 13,191km (8,197 miles)
Scapes
Three Scapes trophies come back from GT Sport almost untouched, but you’re going to need a fair bit of money to pick them up. If you’re strapped for cash, considering what’s coming later, it’d be worth saving them until later.
You’ll need to take 100 photos in total for Snap-Happy. This one’s easy enough: just take the same photo 100 times. There’s no need to save or share it, just keep firing that shutter.
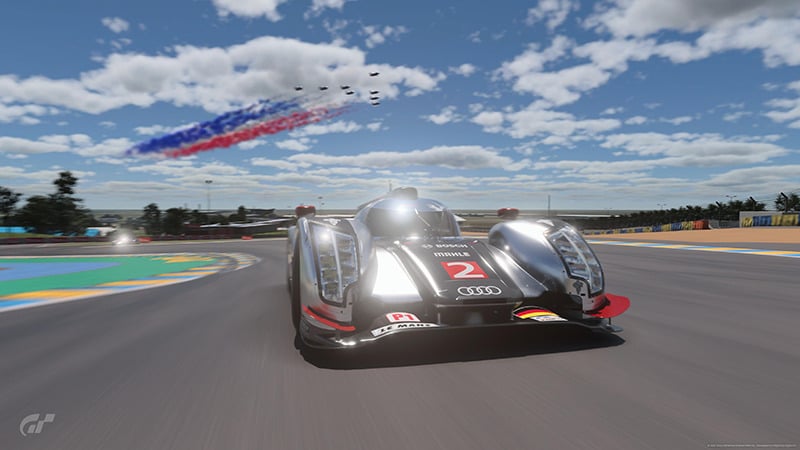
The other two require you to take an Audi R18 TDI to the Circuit de la Sarthe Scapes location, and any BMW Gr.3 car to the Nurburgring Scapes location, and photograph both. Unfortunately it has to be a Scapes shot, not a race replay photomode, so you will need to own both cars – at a combined cost of 3.45 million credits.
- Bronze – Memento from Le Mans – Took a Scapes photo of an Audi R18 TDI (Audi Sport Team Joest) on the Circuit de la Sarthe
- Bronze – Memento from the Nurburgring – Took a Scapes photo of a BMW Gr.3 car on the Nurburgring
- Bronze – Snap-Happy – Took 100 photos in Scapes or Race Photos

GT Auto & Tuning Shop
You’ll need to spend a bit more money in GT Auto and the Tuning Shop for the next four trophies, all of which are centered on doing the same thing ten times.
Fortunately they’re not very expensive things. First pick up ten sets of wheels from GT Auto — the cheapest items are 2,500cr, so go for ten of those.
Now head back to your garage and grab a car; almost any car will do, but make sure that it can accept a turbo upgrade because that’s what you’ll be fitting in the Tuning Shop. After that select Increase Body Rigidity from the Semi-Racing menu, then go to GT Auto and wash the car. Then do all of that again with nine more cars!
- Wheely Good Fun (Bronze) – Bought 10 sets of wheels
- A Bit of a Boost (Bronze) – Purchased a turbo or supercharger 10 times
- Squeaky Clean (Bronze) – Washed a car 10 times
- Toughening Up (Bronze) – Increased a car’s body rigidity 10 times

Car Dealerships
That leaves us with some very expensive final trophies.
Firstly, you’ll need to buy the same car ten times. There’s a chance you can do this in the Used Car dealership, with the lower prices being really helpful, but the best option at the moment is the 10,000cr Gran Turismo Racing Kart 125.
As you’ll have scored a bunch of free cars earlier, this task should also take you over the 100-car mark for No Car, No Life if it hasn’t already dropped.
While you’re in Brand Central, you should also buy the BMW i3 and the Renault Megane Trophy Safety Cars. These are respectively the cheapest full EV and safety car in the game, and will ping the Let’s Go Carbon Neutral and Safety First trophies.
That leaves us with just two trophies in the game, including the awkward Three Legendary Cars. The description for this says you must acquire “three legendary race cars that were once destined to win 24 hour races”, but that’s a massive red herring.
In fact you need to own the three cars from the old Gran Turismo 5 trophy, Dream Race. That means you will have to watch the Legends Cars dealer like a hawk, waiting for the Ferrari P4 330 ’67, Ford MkIV ’67, and Jaguar XJ13 ’66 to pop up.
The Legends Cars dealer has a variable stock of ten cars, updating on average at the rate of one a day and has dynamic pricing, so it’s impossible to know when you should buy these cars or what they’ll cost right now. If you were wealthy enough to buy them all the first time they appeared in the game, it would have cost you a total of nearly 26 million credits.
As soon as you’ve bought the first of the three, you’ll get the Living with a Legend trophy too. Pick up the third car to meet the silver trophy requirements and your Platinum trophy will duly arrive!
- No Car, No Life (Bronze) – Stored 100 cars in your Garage
- Firm Favorite (Bronze) – Bought the same car 10 times
- Let’s Go Carbon Neutral! (Bronze) – Bought an electric car
- Living with a Legend (Bronze) – Bought a car at the Legend Cars dealership
- Safety First (Bronze) – Bought a safety car
- Three Legendary Cars (Silver) – Acquired three legendary race cars that were once destined to win 24 hour races
- Gran Turismo Platinum Trophy – Acquired all Gran Turismo 7 trophies!
See more articles on PlayStation Trophies.