- 53

- United States
- vettefreak95
Does anyone have advice for applying dashboard decals? I am building a Lancia Stratos by Hasegawa, and would hate to mess it up.
I assume you're talking about the circular gauge ones, but either way, my method is the same for almost every car:Does anyone have advice for applying dashboard decals? I am building a Lancia Stratos by Hasegawa, and would hate to mess it up.
Then I trim them with a new scalpel blade so all excess is gone and just the very print is used. I then use Micro-Sol and Micro-set on them the usual way.


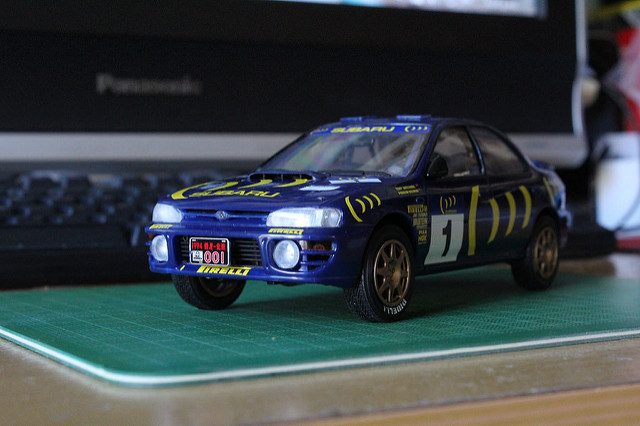
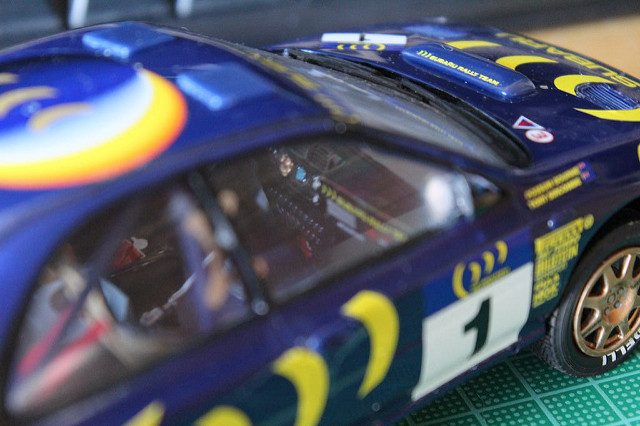
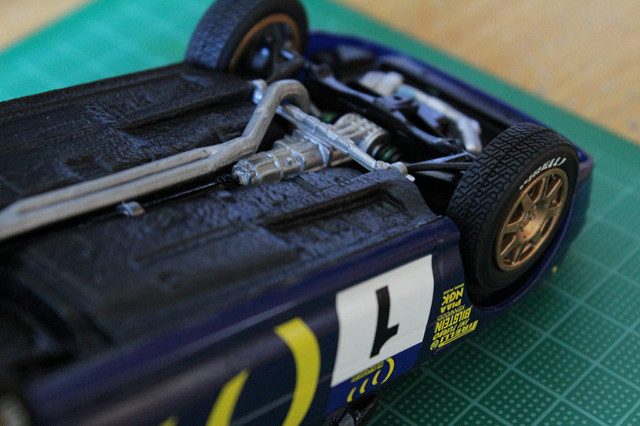
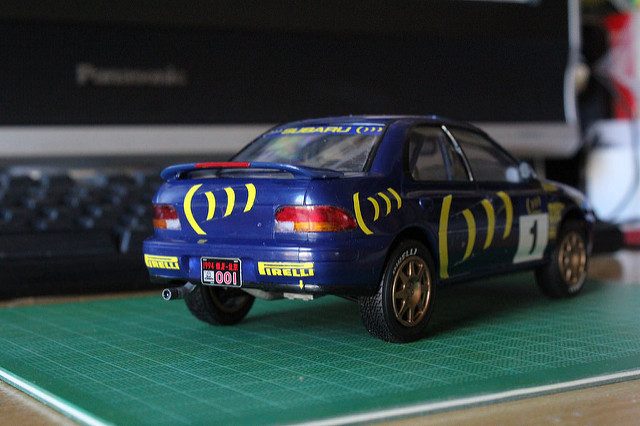
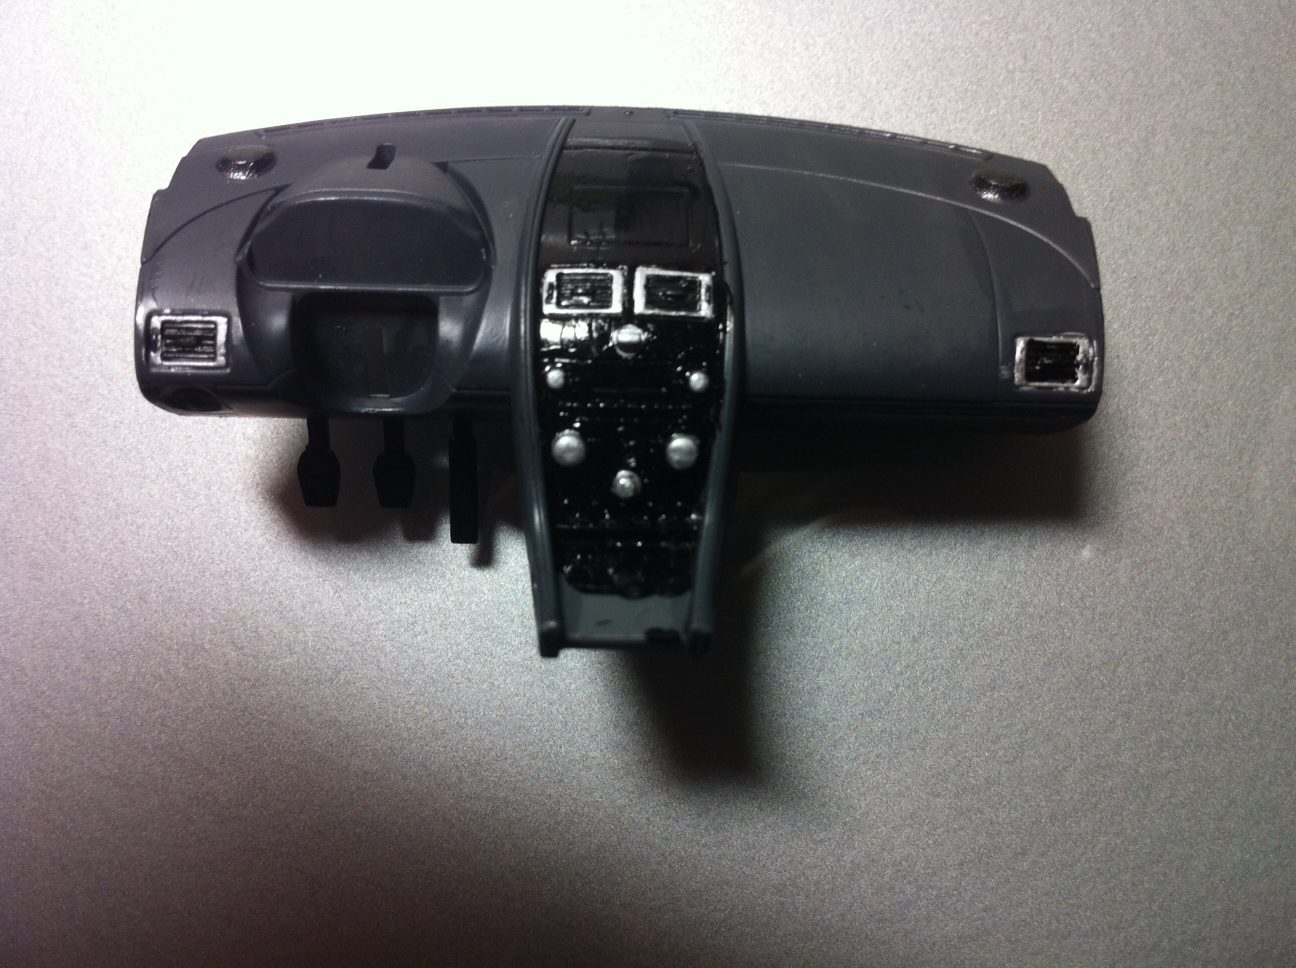
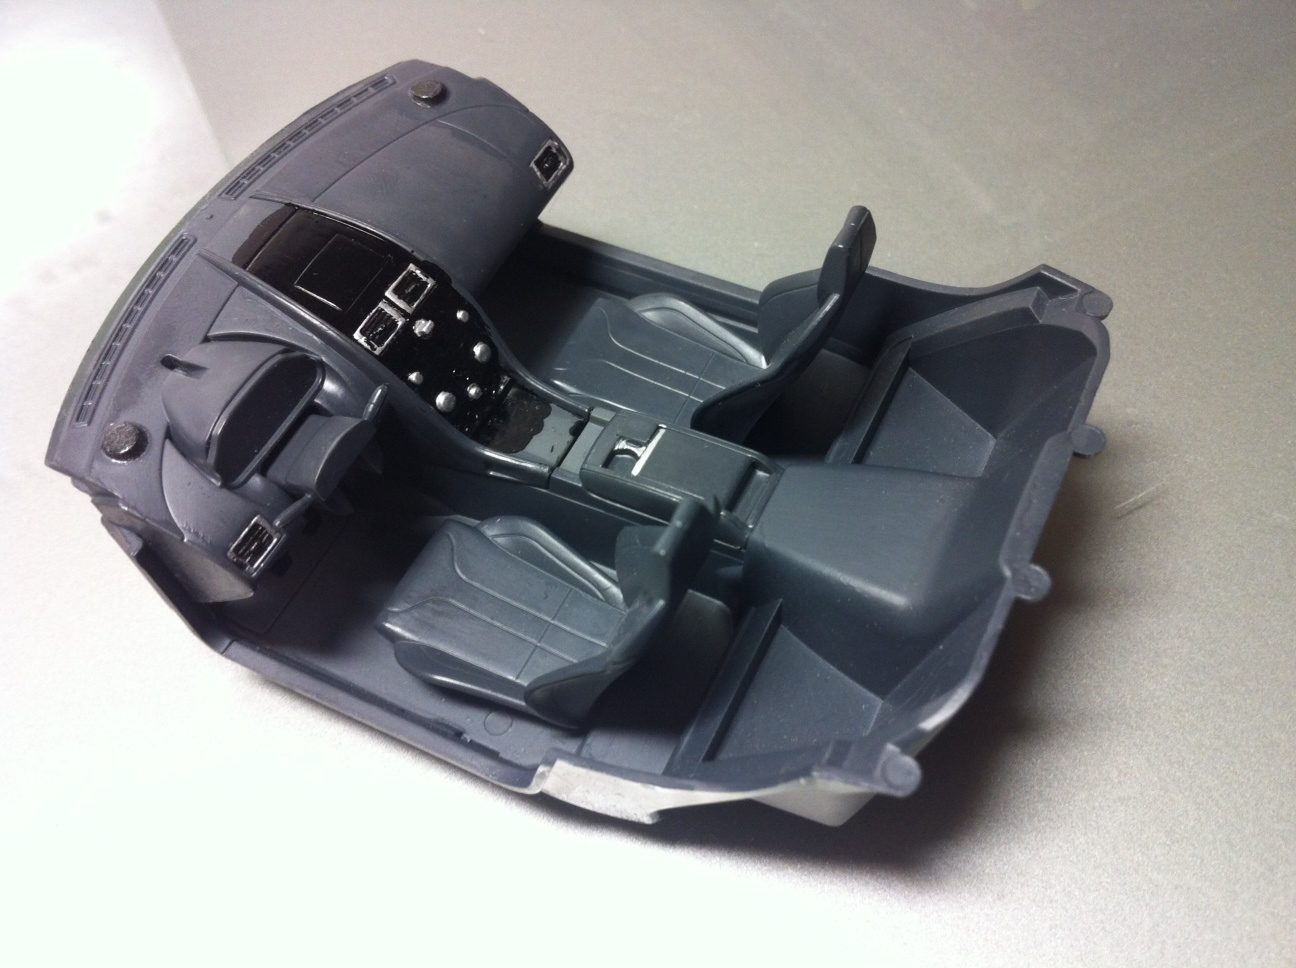
Hi Guys, Just to show you one of my latest finished projects, It took me about 2 years to finish it, yes two years, a lot of time but finally its done. I bought it on a flea market; one guy was selling a lot of his model cars just because he doesn’t have enough time to finish them.
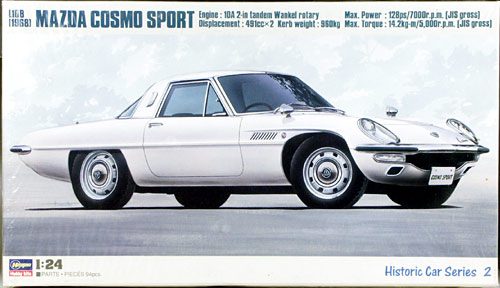
Hasegawa Mazda Cosmo Sport 1/24
Saludos,


The Stratos is still coming along, but in the meantime, I found this 1/32 Revell SnapTite Indycar, driven by John Andretti in 1992. It turned out well, but Micro Sol destroys normal stickers apparently, so the number on the nose is absent.
Sorry for the low photo quality.View attachment 489185 View attachment 489186 View attachment 489187

Primer has several uses.
Lastly, a few questions: What is the purpose of primer? Is it necessary to spray a layer of primer before spray-painting it with the actual body colour? What are the disadvantages of not spray-painting one?

OK, thanks for the reply.
Anyway, here is another question, slightly urgent this time: have any of you guys ever tried to remove enamel paints from a surface painted with Tamiya's lacquer paints, particularly the TS-17? If so, what are the results?
I heard people saying that lacquer paint is 'more adhesive' than enamel paint, so I just tried removing a spot of enamel paint left by my finger from a surface spray-painted with TS-17. Although it did dissolve the spot, it also dissolved the layers of lacquer paint underneath, leaving bare plastic to be seen. Yes, I believe this problem can be solved by applying another few layers of TS-17, but I want to understand if it's normal, and prevent myself from repeating the mistake.
Yup, that is the so called orange peel effect.Thanks for the reply.
Now, another problem emerged from the process: As I started working on my MP4/4, I spray-painted it with pure white. But afterwards, the surface becomes rough, and some of the parts even have dimples on them. It looks something like this. Is this effect the so-called 'orange-peeling'? Is it possible that I'm spray-painting a bit too far away from the model kit, and what can I do to fix the surface? Do different colours of lacquer paints have different appropriate spray-painting distances?
I don't know. I read Tamiya USA's page on using its lacquers, and it says that spray-painting too far away can cause orange peel.distance shouldn't be a problem unless you're really close.
I use Tamiya's spray cans.When you say spray painting do you mean from spray cans or spray gun ?
I don't think any of these will cause an issue. Yesterday's humidity was rather low. I shaked the spray can for at least half a minute before spray-painting, and I reshaked frequently before spraying other parts. And I washed the body cowl with normal soap and warm water before spray-painting. I did use a spray can that's not been used for at least 5 years though.Moisture in the air, paint not mixed well, paint having adverse affect with the plastic can all be a cause.
What do you mean by light coat? Do you mean spraying very thin layers of paints?You're best bet is to take fine sanding sticks or similar and gently rub to a smooth or as smooth as you can, wash the parts and re-apply a light coat or even a primer layer again.
When spraying it's always best to apply a light coat and gradually build up the layers, have a thick enough layer to be able to lightly sand smooth so to apply a lacquar, take your time you'll get there.
I suppose it comes down to what is too far away, 12ins or 30cms is about right. Too near and the paint hasn't had a chance to become a spray before contact, too far and the paint spreads too much this causing some particles to dry and therefore become solid, (though very small), and give rough finish.I don't know. I read Tamiya USA's page on using its lacquers, and it says that spray-painting too far away can cause orange peel.
Right now, my progress is stuck, as I accidentally voided one of the decals for the engine bay, and I'm still waiting for the replacement decal sheet. This brings me to my next few questions: How do you make sure that the decal will stick firmly to the surface after drying? The last time I applied a decal, it won't adhere to the surface. Why?
Have you tried decal solutions ?
Never tried it before. Do you mean something like Micro Sol? What are the purpose of them, and how do they work? Is Tamiya's Mark Fit something similar, if you have used it before? Is it possible to use an extra thin cement to make the decals adhere to the surface if they have fallen off?
Decals, can really make or break your master piece.
One reason for decals not sticking is that they have dried out. This can be from age or how they are stored, when you get this it is best to get replacements.
Decals like a smooth surface, you will find military modeller's apply a gloss coat to areas to receive decals then apply a mate coat over them.
Have you tried decal solutions ?
So you need to make sure the surface is clean, if you can apply a clear or gloss coat first and let dry. If the area to receive decals is not flat decal solutions are best to help here, after decal is applied and dry carefully apply a clear or gloss coat, even a lacquar, to seal in the decal.
Make sure that clear, gloss or any lacquar to be used is tested before you try it on your work of art or let loose on the decals.
My Stratos is finally finished, but its a mess. I almost feel bad sharing these pictures.


![20160104_145123[1]](/forum/media/20160104_145123-1.11757/full?d=1451938377)
![20160104_145130[1]](/forum/media/20160104_145130-1.11758/full?d=1451938377)
![20160104_145139[1]](/forum/media/20160104_145139-1.11759/full?d=1451938377)
![20160104_145149[1]](/forum/media/20160104_145149-1.11760/full?d=1451938377)