Yeah, pretty sure that it's a cost saving thing for Hasegawa... I did a search for an aftermarket engine for this kit and came up empty. It's just weird that when a manufacturer makes a "curbside" model (ie., no engine) they generally make the engine cover not removable. Revell Germany made several 1/24 F1 kits that were curbside but they had an engine.

in other words, they have an engine but the rear cowling isn't removable.
———
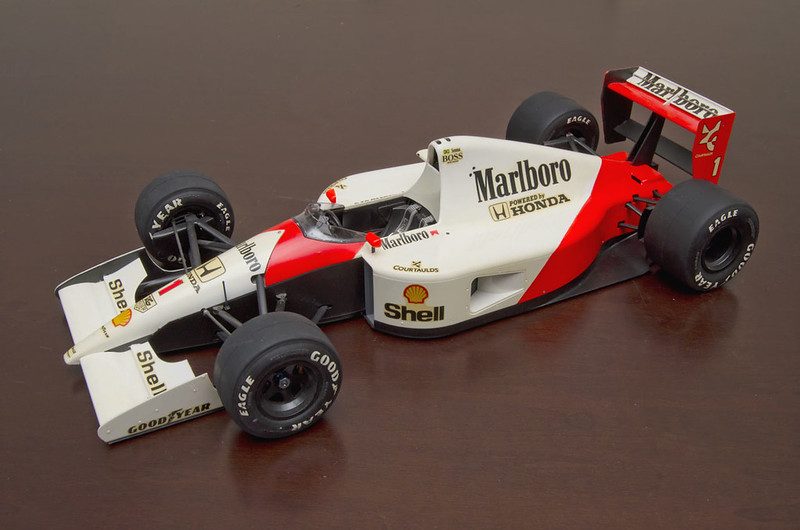
Nice work on the MP4/4, I've got that kit in the closet to do someday. . . Yours is coming along nicely! 👍👍
And to answer your questions...
1.) Yes. I primer and paint every part. Even if it's "molded" in the correct color. Example, on that McLaren MP4/4 you're doing, the suspension arms are already black, they come that way. But I prime them, and paint them black. I only Clear coat the body to seal and protect the decals. So I will generally prep every part for primer. Paint the pieces, including the body. Will then set everything but the body aside and decal the body up, including any wings or bits that attach to the body (FR/RR Wings like F1, and or mirrors, etc..), and when the decals are down and dry (usually a day or two) I will clear the body and wings/mirrors if necessary. Set that aside, usually in a airtight container to cure for 72 hours minimum. Five days usually. Then I assemble the painted "parts" like the chassis / interior / engine components. At this point I will mask the "glass" and paint the black window "rubbers".
After the body has cured I do final assembly. That first pic in my post is the beginning of final assembly, I had attached the main body to the chassis and snapped a pic as I had everything laid out. 👍
Second question...
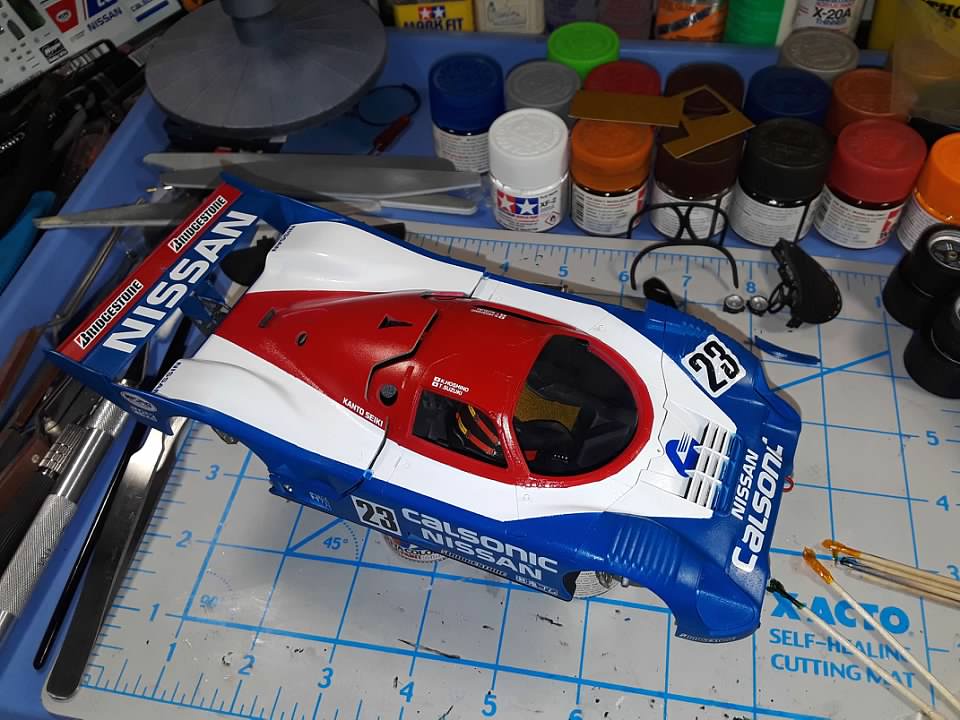
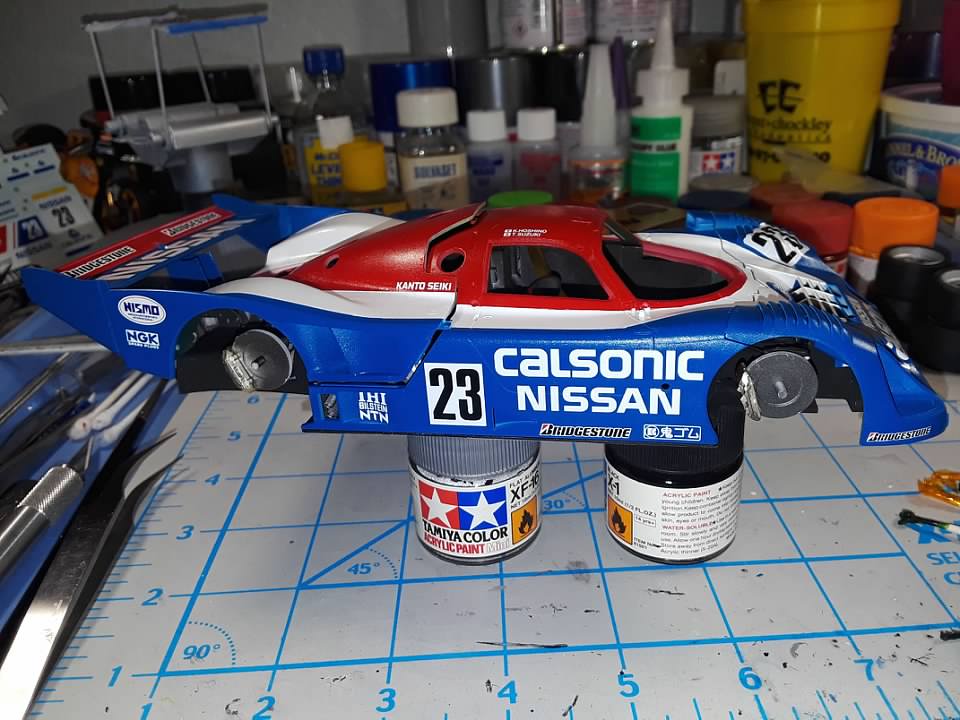
2.) Simple answer is, yes. An airbrush will cover less area than a rattle can. What you gain is control to put the paint where you want. It's also WAY easier to build layers up as you go (you kind of have to). The Nissan up there was my first model using an AB and there is a learning curve. You can see that I didn't quite get the same color red on the rear cowling as the main body.. just messed up the number coats or more likely just laid it down a little thicker on the main body - hence why it's a bit darker red than the rear. . .

they were painted at the same time.
The biggest thing to me is there is a LOT LESS waste with an AB vs. the spray can. You can get a good result with either, I just need more practice with the AB as I have used nothing but cans for over 20 years and the first model using an AB didn't come out half bad.
Here are two examples: top is nothing but rattle cans and paint brushing, bottom is about 90-95% airbrushed... I think I only brush painted the turn signals and rear taillights on the Nissan. But again, I paint every single part that is used. (bar the "glass", obviously.

)
RATTLE CANS:
I even primed and painted the wheels, even though they were already black... I just think they look better painted.
AIRBRUSHED:
And again, every part was primed and painted.
Hope I answered your questions... and you can't go wrong with an AB setup, I love it so far. There is a learning curve but it's not brain surgery here, if I can do it almost anyone could.
One thing to add, make sure your area is well vented, with either cans or AB, as those are dangerous chemicals to be breathing in. Vented OUTSIDE is what you want. You can see here I cut a piece of 1"x12" to fit in a window and just take it out and close the window when I'm done.
Have fun with it!!

")


 So I had learnt a lesson: always buy and build model kits that you are genuinely interested and liked, because you will be working on it for a long time if you have a pace similar to mine, which is comparable to a snail. Don't make the purchase decision simply because you saw the car was on sale or for whatever reason.
 )
)")