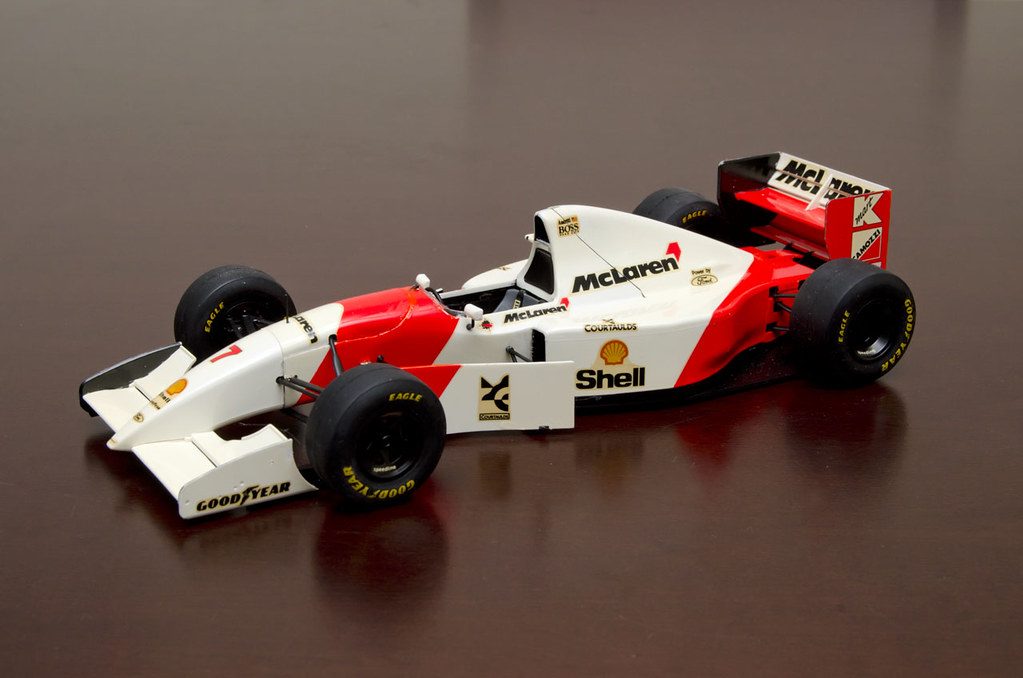
Hey Aerody, man the MP 4/4 looks great!! Only thing missing is your tire markings. Can't tell'ya how many kits I've had to order spare tire decals for.

You're definitely not alone there.
As far as the black primer... true, I wouldn't have normally gone with black as my base primer for a white car. I wanted to try out the UMP primer in the pic there (really just re-branded Badger Stynylrez primer) as I have always used Tamiya primers. Depending on the paint it doesn't make too much difference. Obviously if you are using a metallic, pearl, or opaque type paints you would choose your base primer more carefully.
I used decanted TS-26, which is Pure White, and the opacity of that white covers the black completely. If the car was Red or Yellow, etc., that would be a different story as those colors change "shade" as you lay them down. The white goes on the black, white. Anyway, it's best to test on spoons, spray a bunch of plastic spoons with different primers and then you can test your paint.
Here below is the BMW Z4, painted in TS-26 over Tamiya gray surface primer (lacquer).
And here is the Merc AMG, painted in TS-26 over the black UMP primer (water based acrylic).
You can see, they both have come out "technically" the same color white. It's because of the paint, the TS-26 covers well and does have any opaque properties to it - had this been a "metallic" or "pearl" paint - or even a red/yellow/orange color, than the shades would've been slightly "off".
Generally if I'm gonna paint a car red, say a Ferrari F1, I will use a pink primer (or make my own...). Anyhoo, could go on for days... painting is one of those personal things and is best "tested" before "committed".
")


")