So, anybody wondering how stupid I could possibly be, here's your answer. I bought a partially completed Pocher Rolls Royce Phantom II Sedanca Coupe off eBay. Seller was not the original owner, he bought it and instantly decided "DO NOT WANT!" No way of knowing how many people it's gone through, but the price was 300 bucks. Shipped. Seller admitted he had no way of knowing if the kit was complete, but I've ALWAYS wanted to have one of these, ever since they were new, in the 70s. Most of the kits have 4-figure prices on them, especially if you can actually find one that hasn't been started.
After winning (was it really "winning?") the eBay auction, I immediately ordered the DVD by Paul Koo that I'd read about, and that arrived first. Browsing the DVD, I can't see how it could actually be possible to assemble the kit actually without it! It points out several parts errors in the kit, places you have to trim for correct fit, and sequence errors in the manual (if you do this when it tells you to, you'll have to take it back apart to finish the stuff a couple of steps later.)
Having browsed the DVD, I can immediately see errors in the assembly done so far in this kit. it will take some disassembly, careful cataloging of parts while doing so, some cleanup and rebuild.
The kit arrived today, I've unpacked it, and I seriously hope I can get it back into the box in some sort of resemblance of how it arrived. There was NO extra space in there!
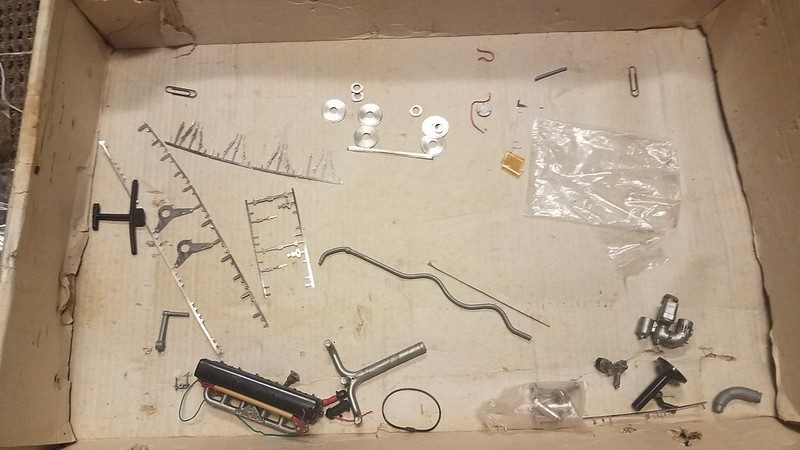
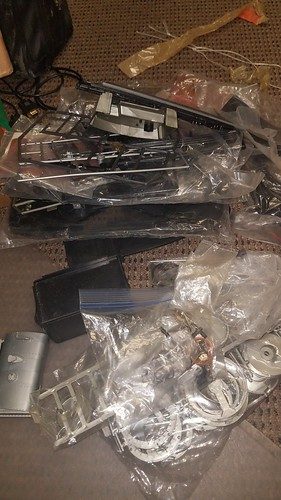
As I was unpacking the shipping box, I found some hardware loose in the bubble wrap. Well, that sure slowed down the unpacking!! I had to carefully pull the bubble wrap, checking all the folds and rolls for loose parts, and then check it again once it was out of the box. Some 30 or 45 minutes later, I had collected these:
As it happens the kit box itself was not in good shape. The seller apparently didn't want to cause further damage to the box by taping the torn edges and corners, but I truly wish he had!
I didn't take a picture of the box when I opened it, but once I'd removed the partially assembled chassis and the bags of not-yet-used parts, this stuff was loose in the box:
Some had obviously come off the model, like the carburetor and cylinder head, along with some spark plug wiring. Other bits just seem to have fallen out of the parts bags.
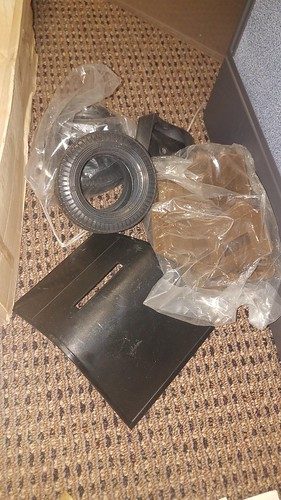
Here are parts I pulled from the box and set aside to find the loose stuff inside:
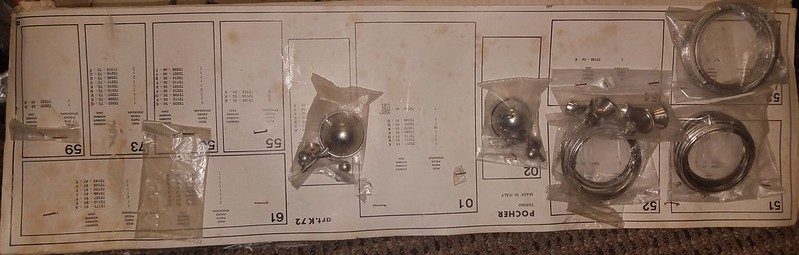
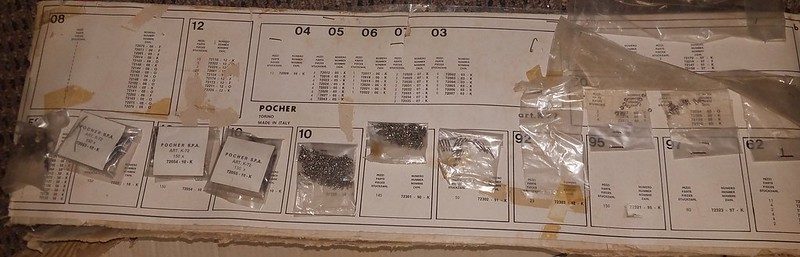
More parts bags, seemingly intact:
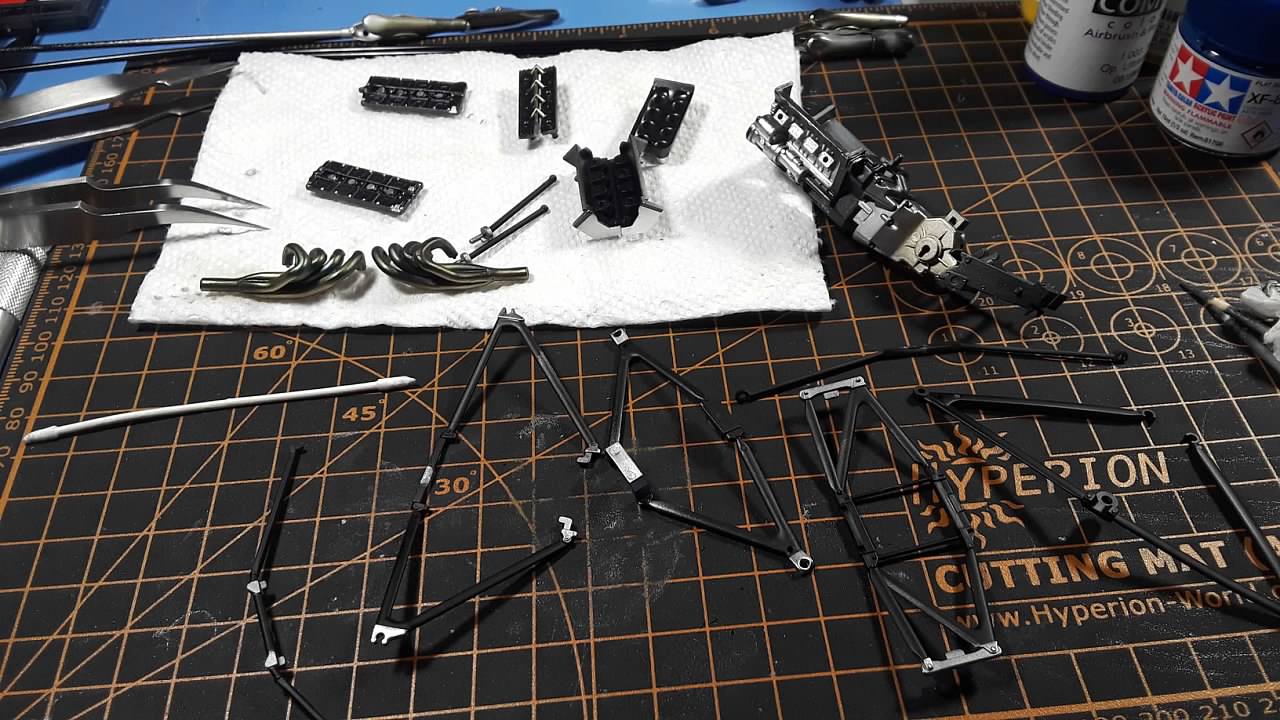
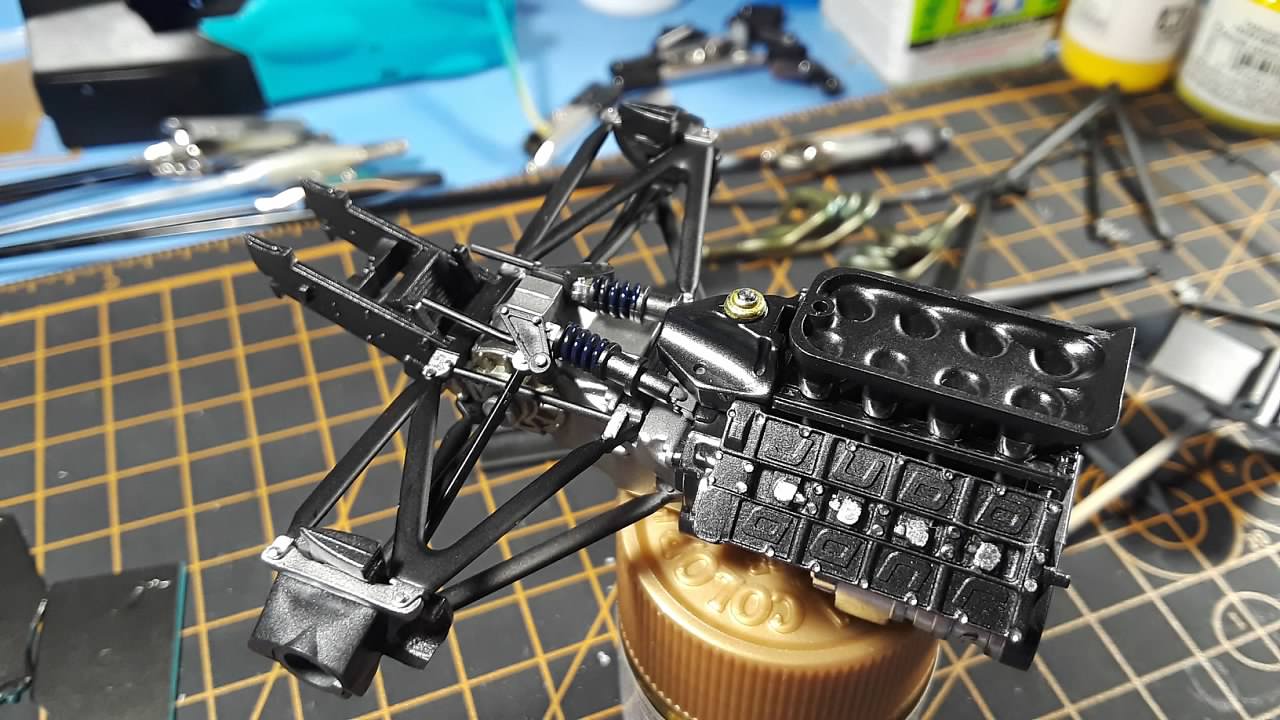
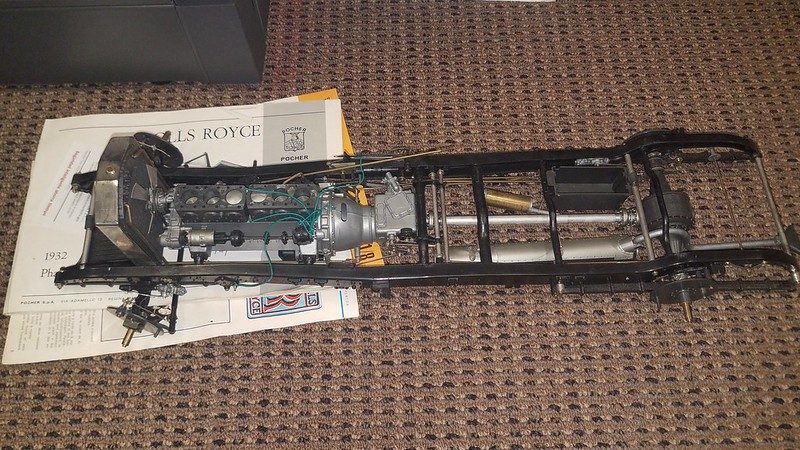
The assembly so far, frame, engine, suspension, some linkages.
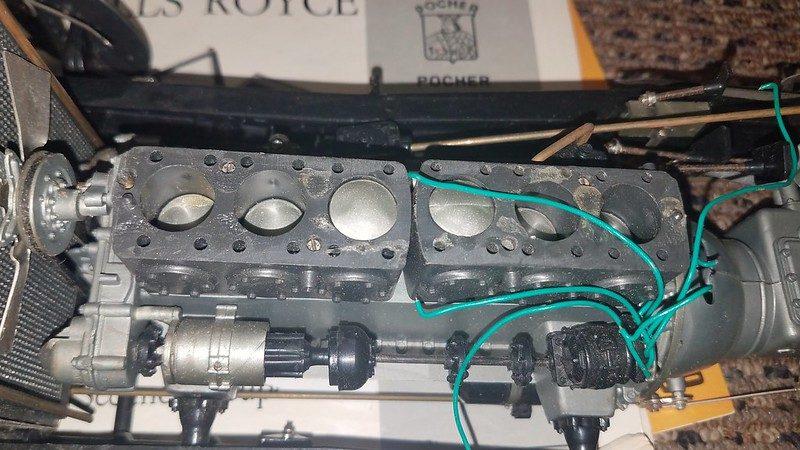
You remember I mentioned the builder's lack of, um... quality? The two segments of the engine do not line up. Not
quite a straight-6.
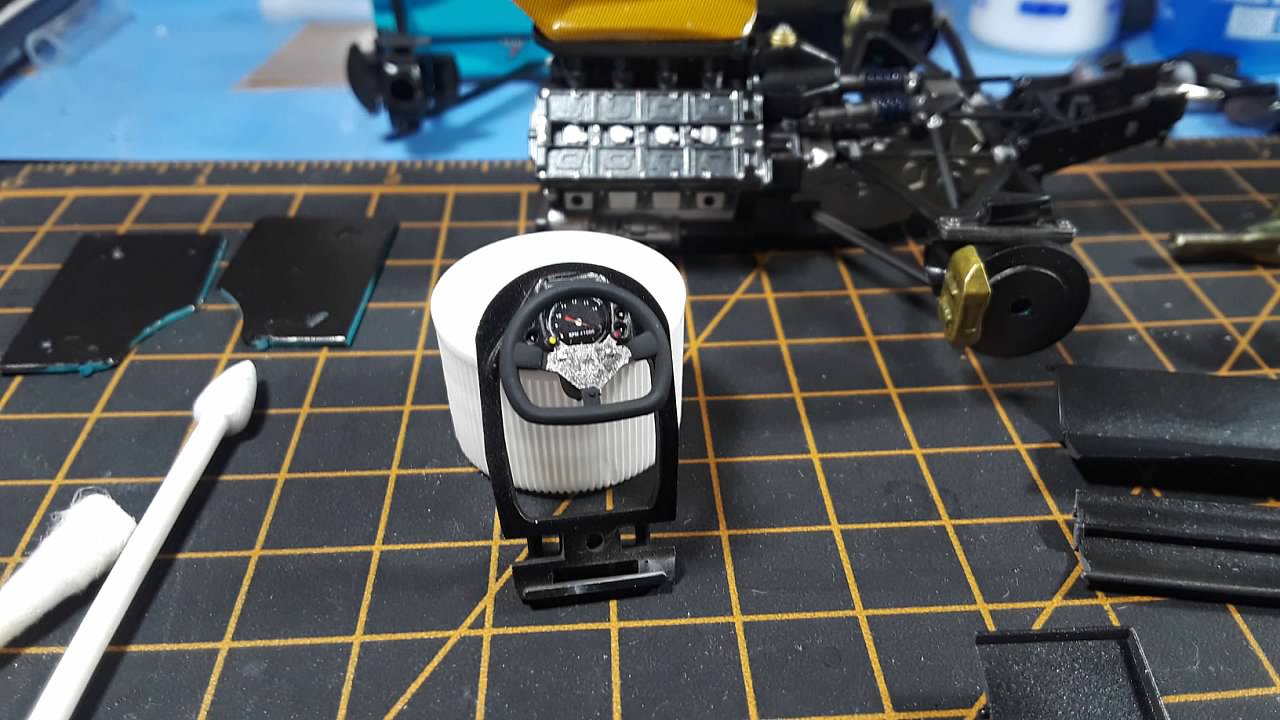
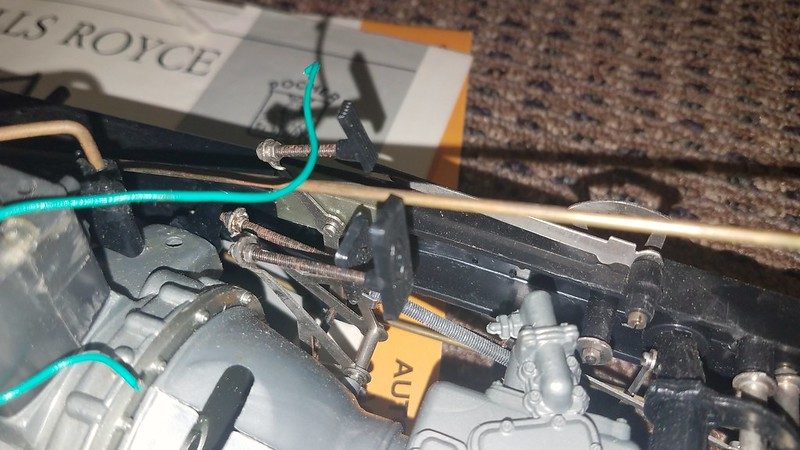
Here are how the pedals sit at the moment. The brake pedal is supposed to actually work the linkages and expand the shoes inside the drums. The drums are not assembled yet, so the slop here may be normal at this point. But you see that plate on top of the transmission? There is a note on the DVD about trimming a mold mark underneath so it lines up correctly; it is
not supposed to be angled. And that's glued on... Also, you can see how poorly trimmed it is for mold flash!
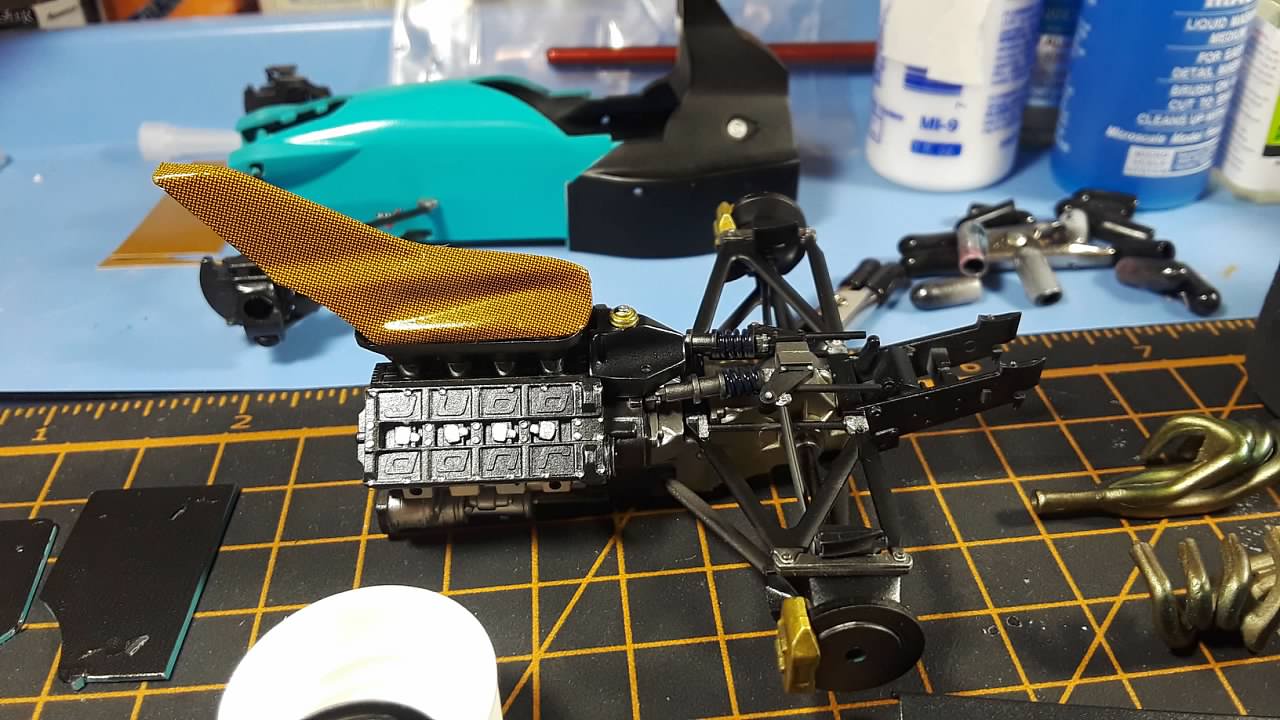
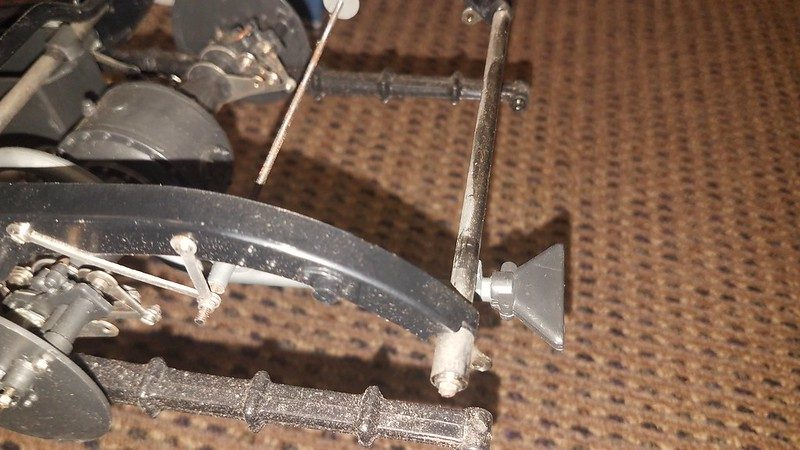
Rear of the frame. The leaf springs are not bracketed. I don't know yet if the brackets are missing, or if something was wrong with the fit, or what. I do know that the springs being a solid plastic molded piece makes this kit the "old" version, as the newer ones assemble the springs from actual metal leaves.
The springs are actually vinyl, not plastic, and the DVD says I should heat the vinyl and pre-bend it to resist the model's weight, otherwise the model will sag completely down on the suspension. I know there are kits available to build metal springs, and I may look into that. Another difference that I actually appreciate is the old version has molded plastic seats, where the newer kits have vinyl upholstery that has to be cut and fit into place and glued down. Seeing that on the DVD, I wasn't really looking forward to that...
It will be quite a while before I dive in, as I am still months away from being back in my house after Hurricane Michael, and I'm not sure how long I will be even then before I'm able to start in. When it happens, I'll give it its own thread, like the Aventador thread by user AMG.


")
")
