- 2,312

- United States
- G_ASHER
I'd thought about that myself 😄 https://www.ebay.com/itm/384539621828?hash=item598858f9c4:g:STUAAOSwbhJhooh4I would sell the glue on eBay for more than you gave for the ship and use the extra to buy another one.
I'd thought about that myself 😄 https://www.ebay.com/itm/384539621828?hash=item598858f9c4:g:STUAAOSwbhJhooh4I would sell the glue on eBay for more than you gave for the ship and use the extra to buy another one.
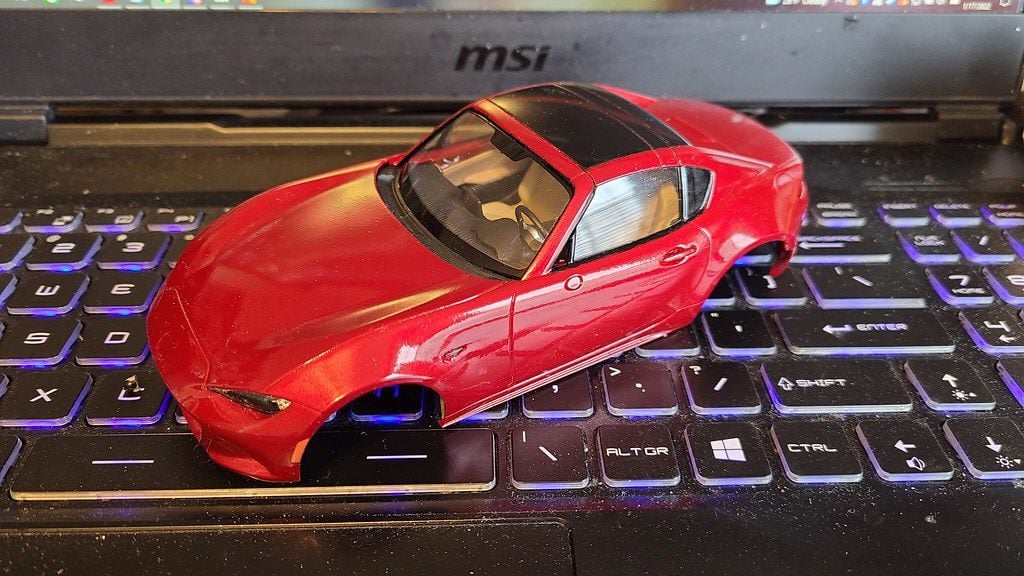
That carbon fibre headlight housing looks amazing!And my latest finished model is this 1/24 scale Impreza from the 2002 Tour de Corse rally.
View attachment 1137378
Glad you think so, That was from an aftermarket decal sheet and it was a pain to get it to wrap around the housing.That carbon fibre headlight housing looks amazing!
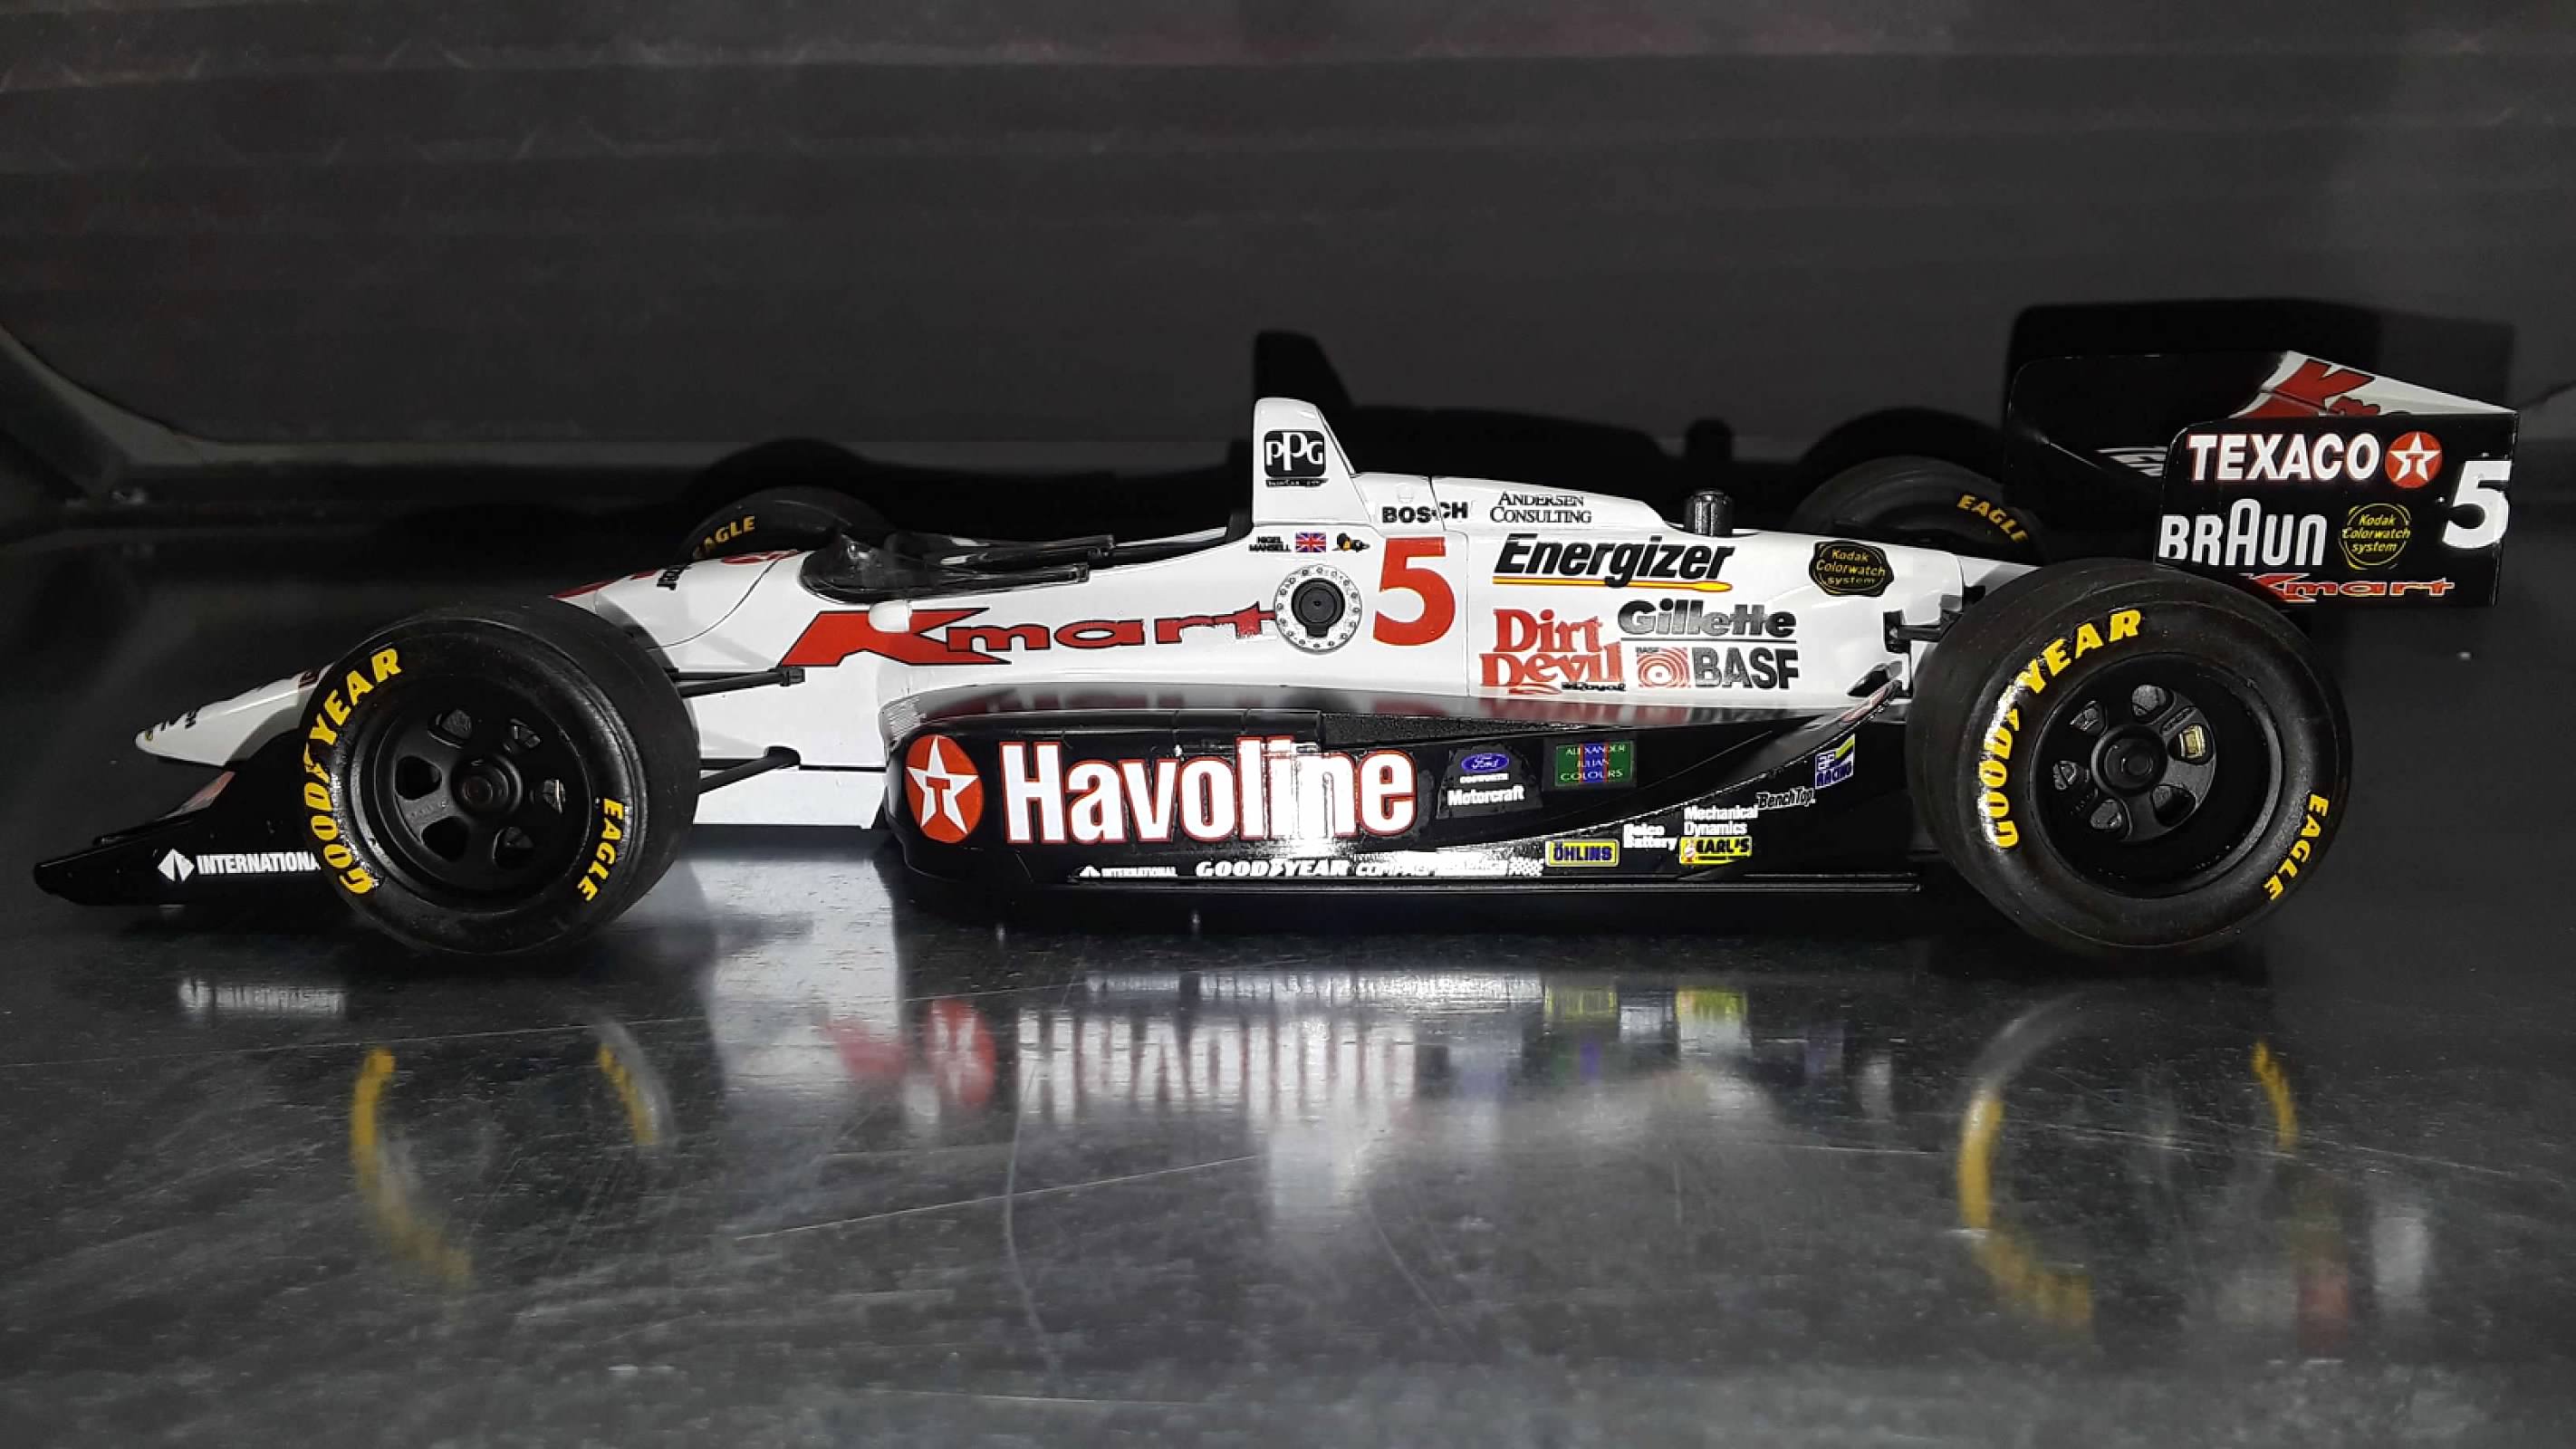
Congratulations on the Indycar build. It has turned out really well even if you had to replace the yellowed decals. This kit, and the oval-spec Dick Simon kit, are both on my wishlist & will be added to my growing stash in the future. It's good to know Indycals have replacements as I hope to build both as Newman-Haas cars. One Nigel & one Mario.Finally got my room setup after our move from Oklahoma to Florida. Kicked off the return to modelling with an Indy car build.
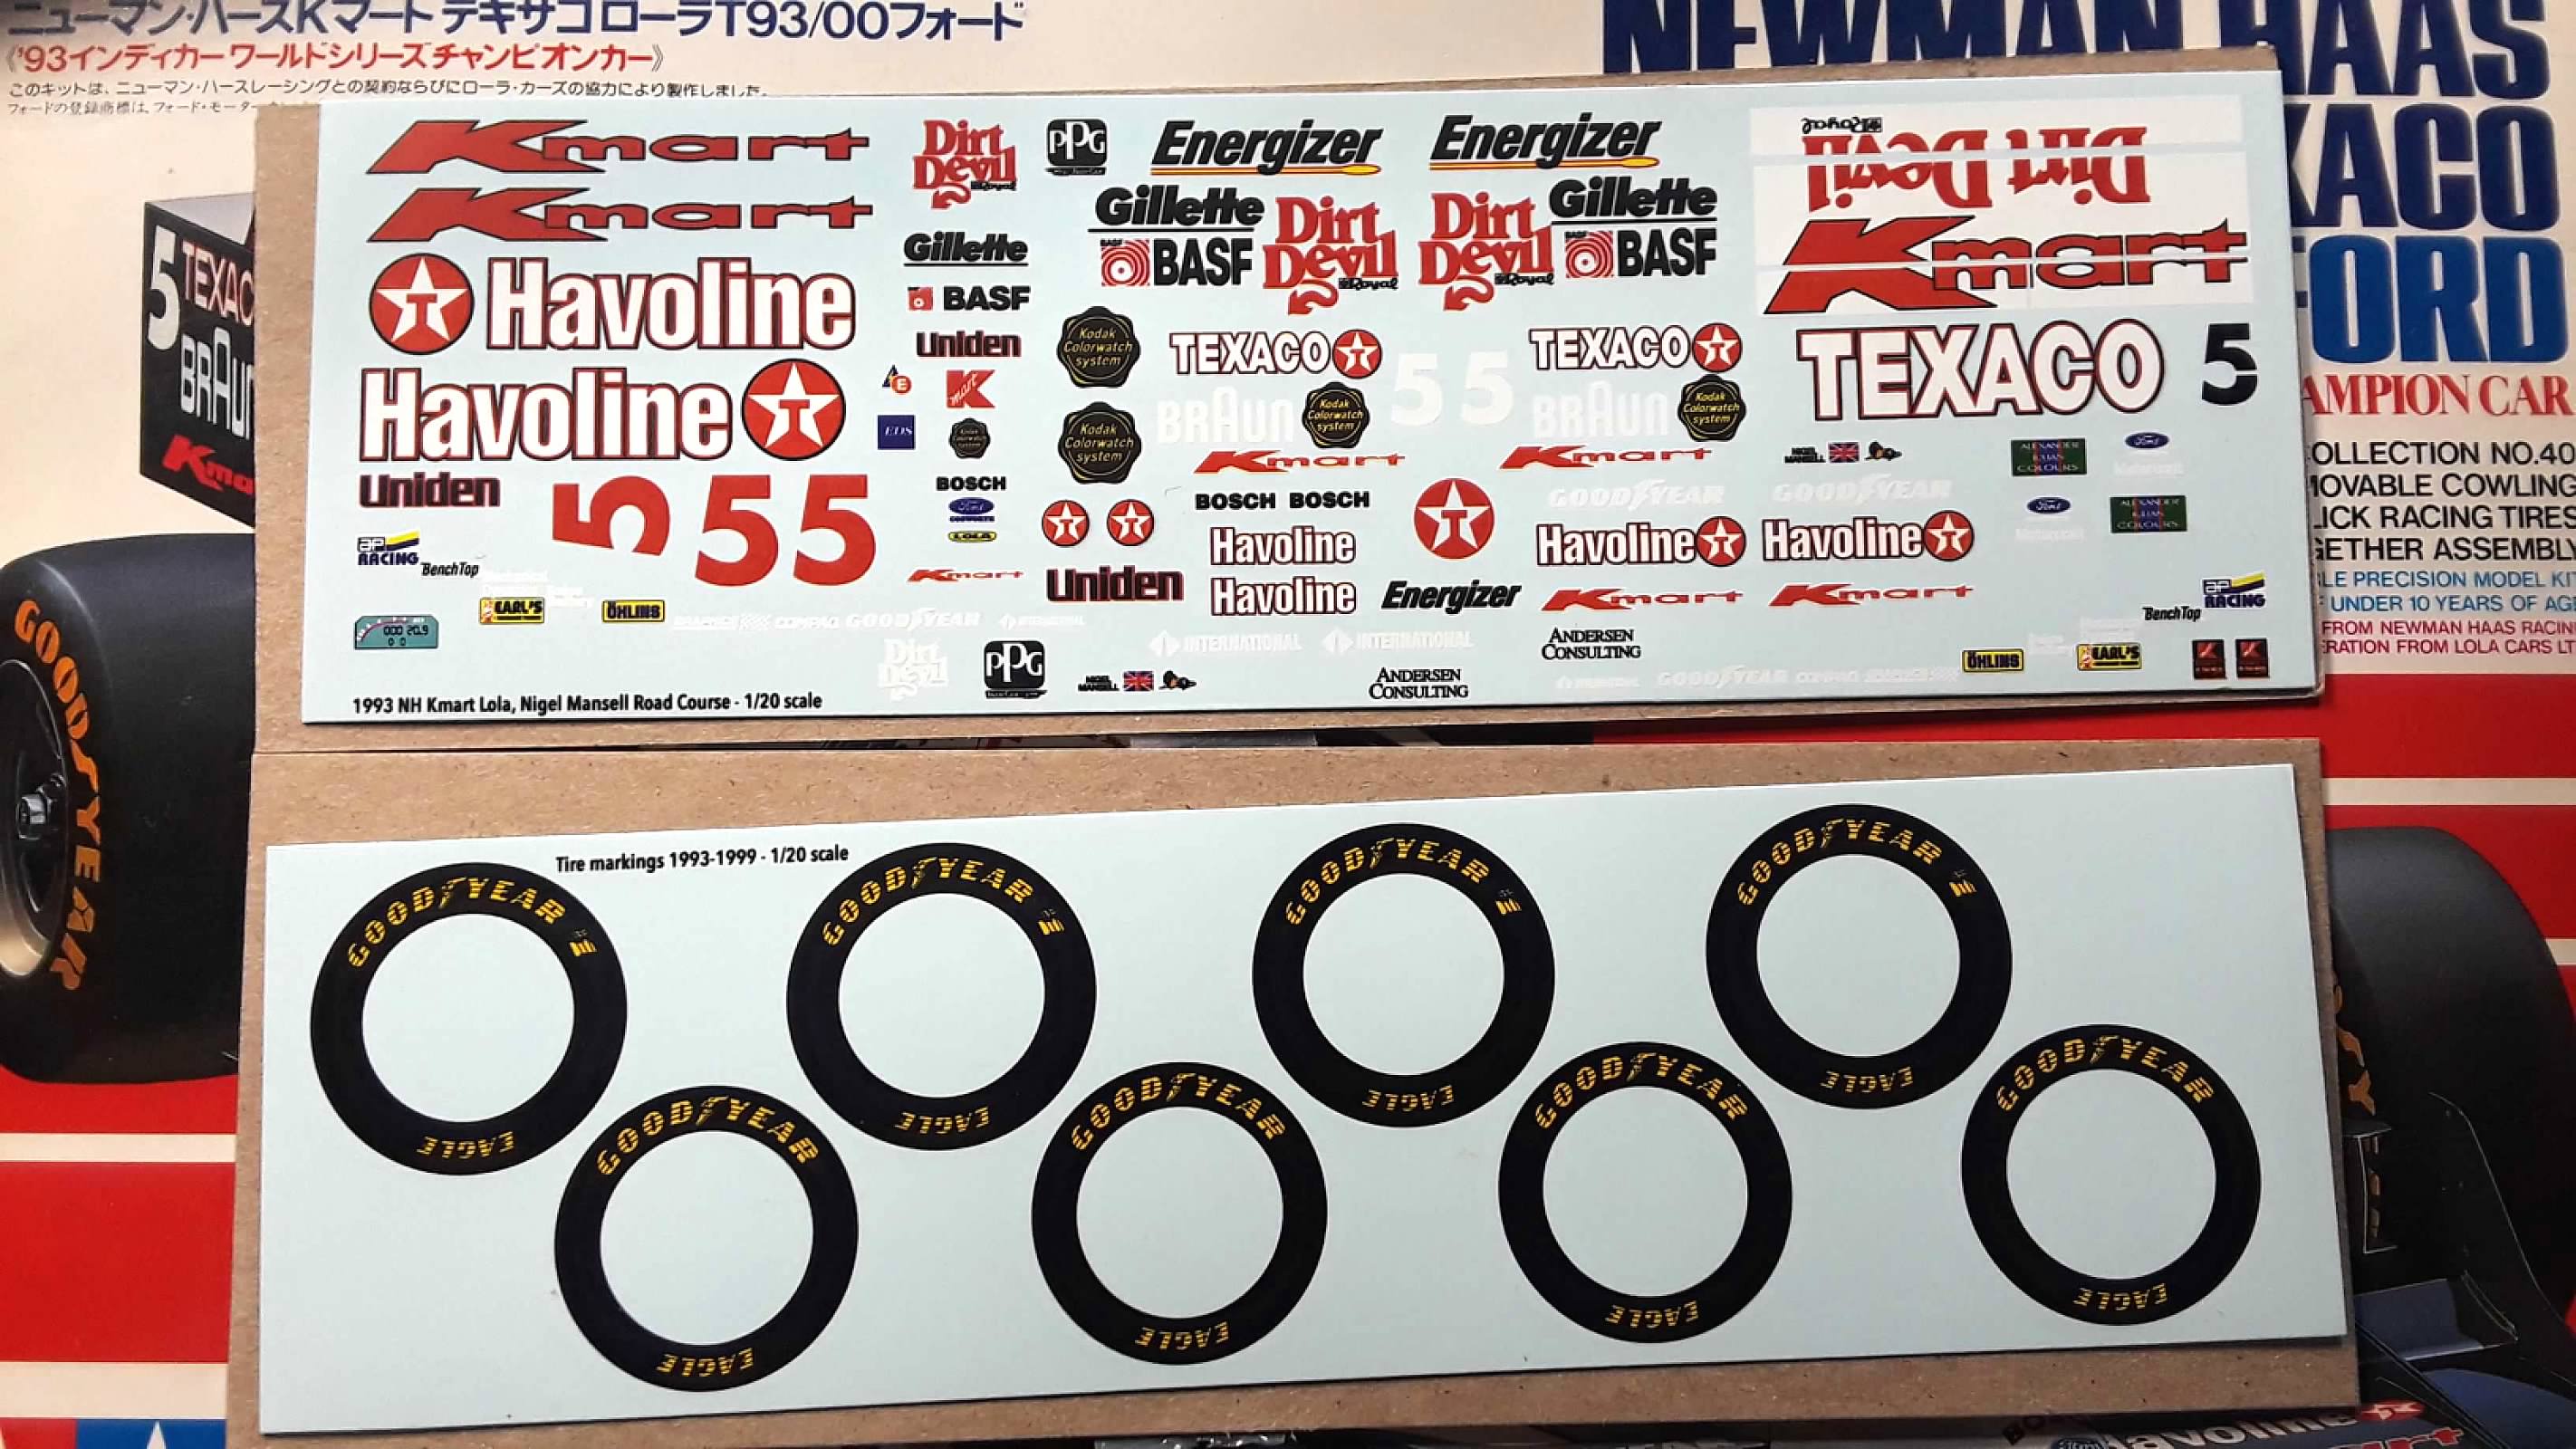
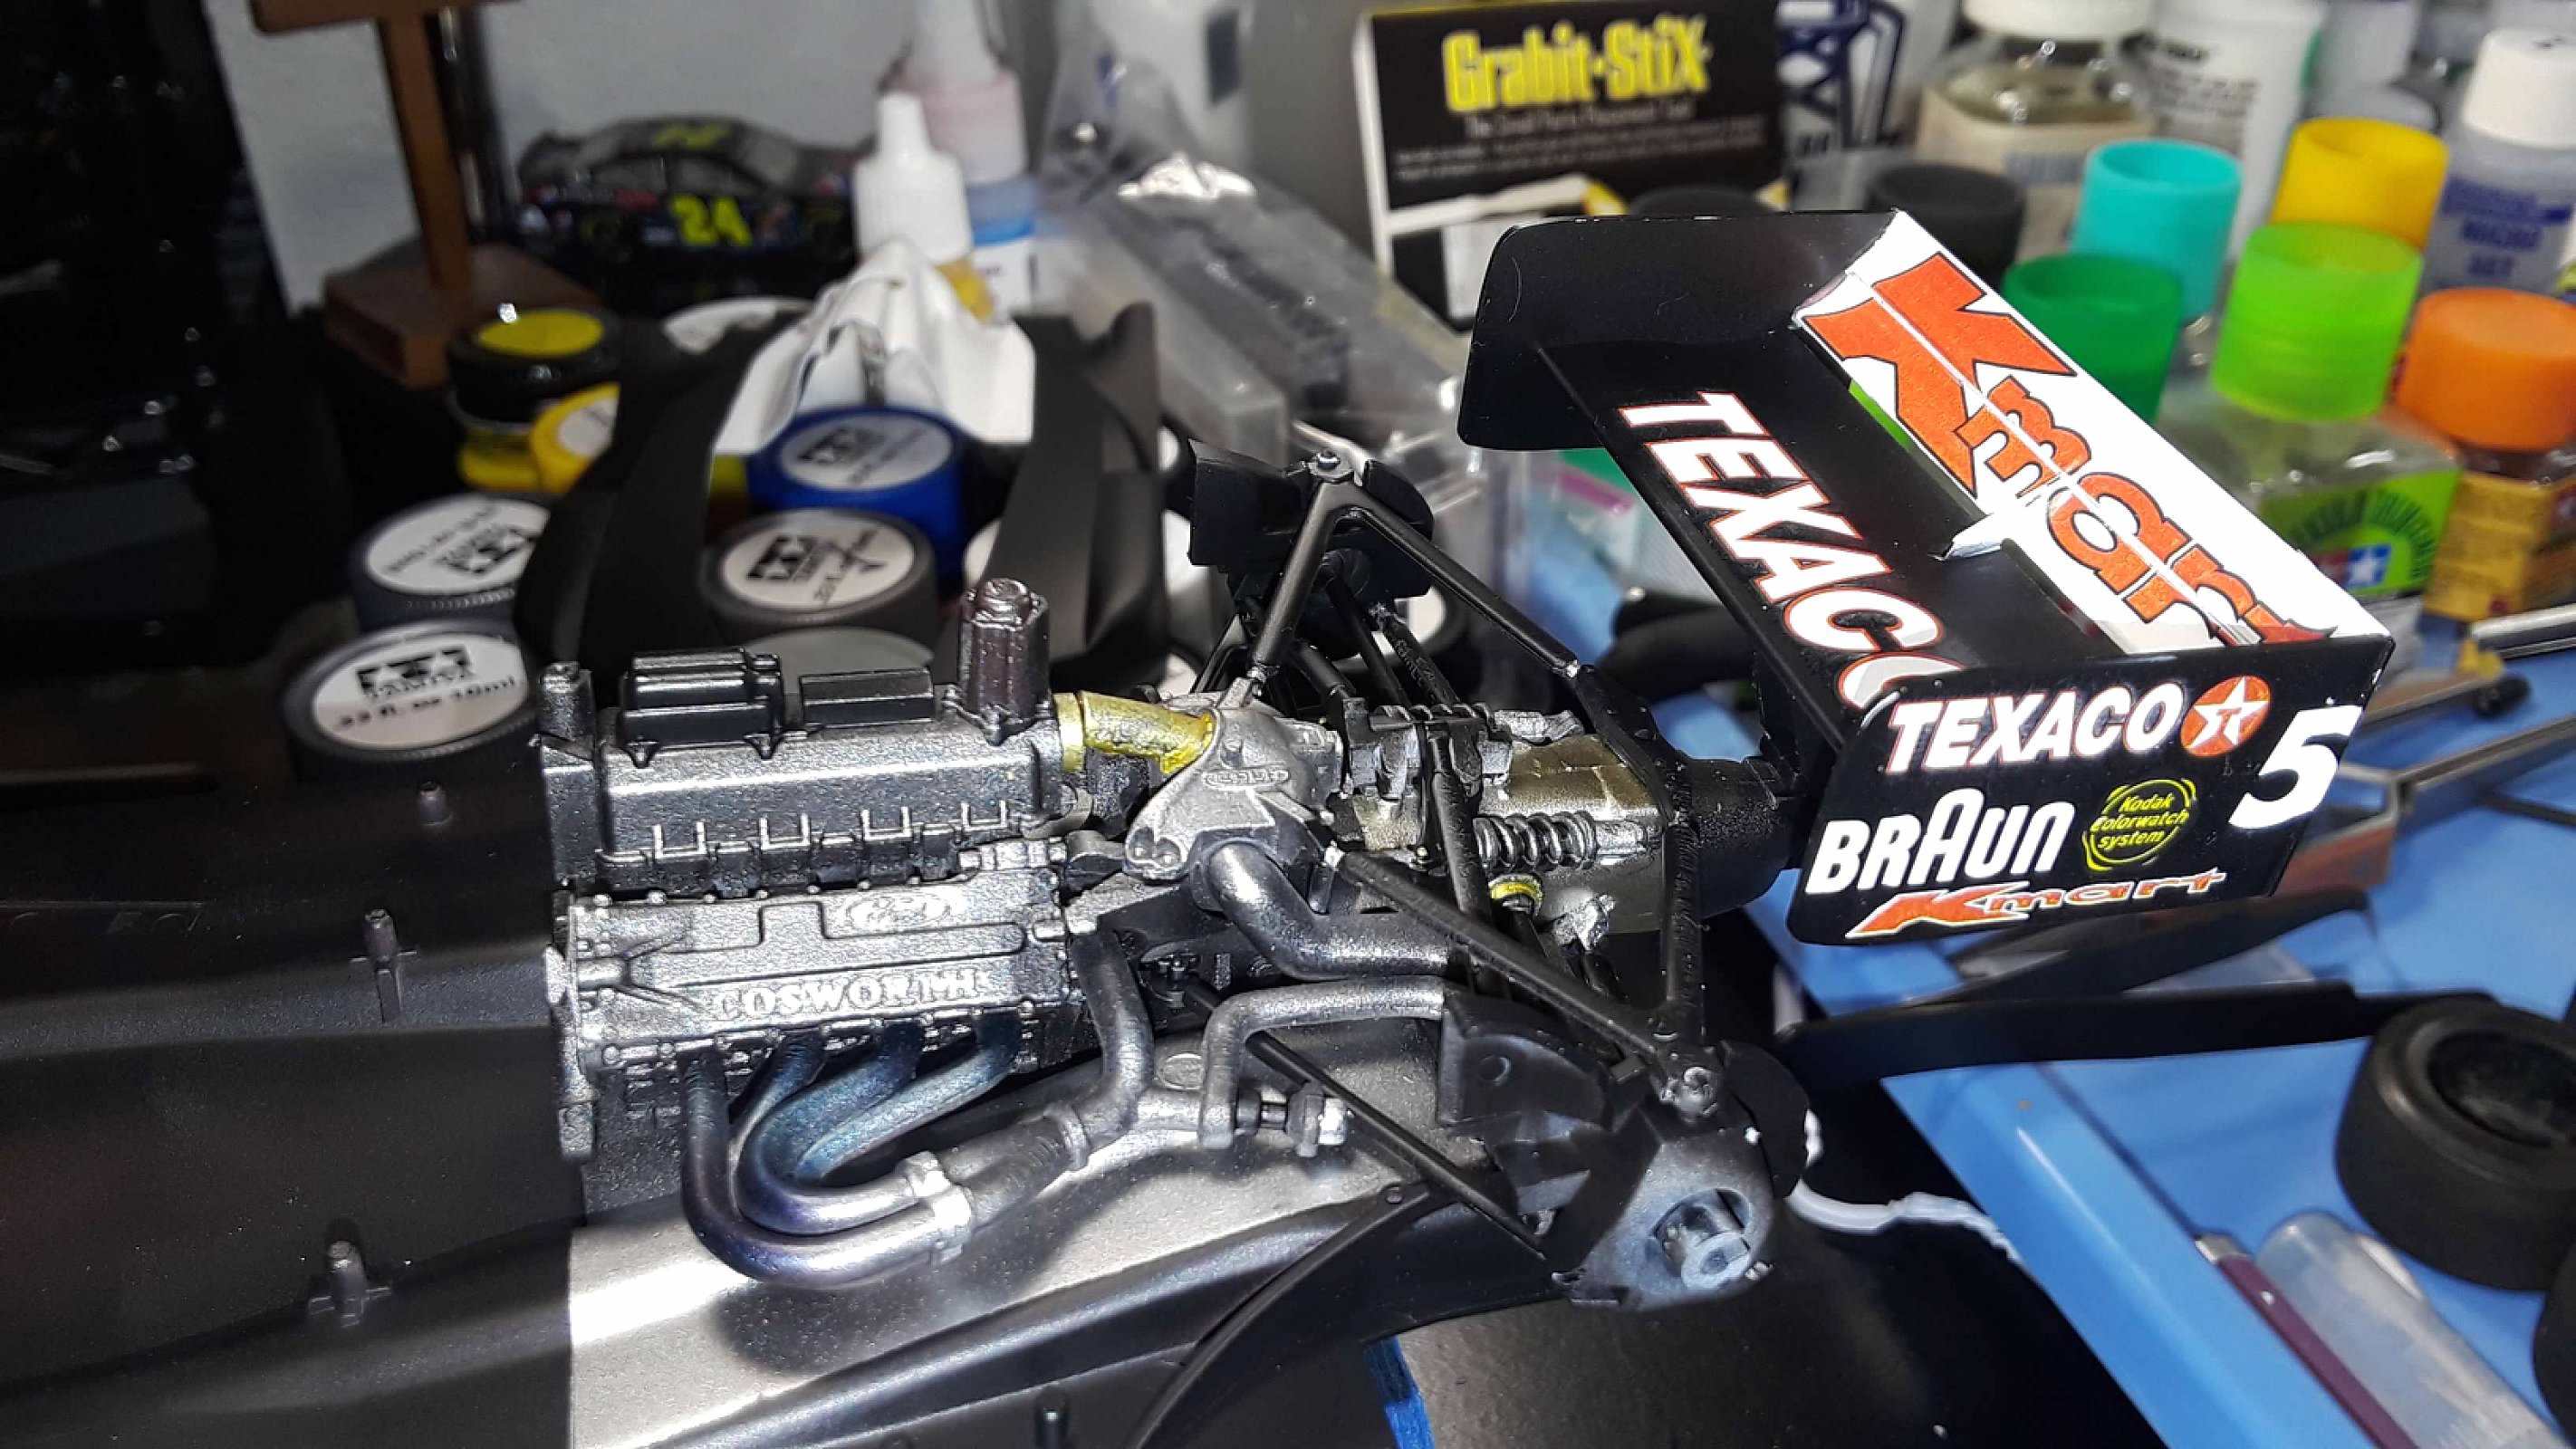
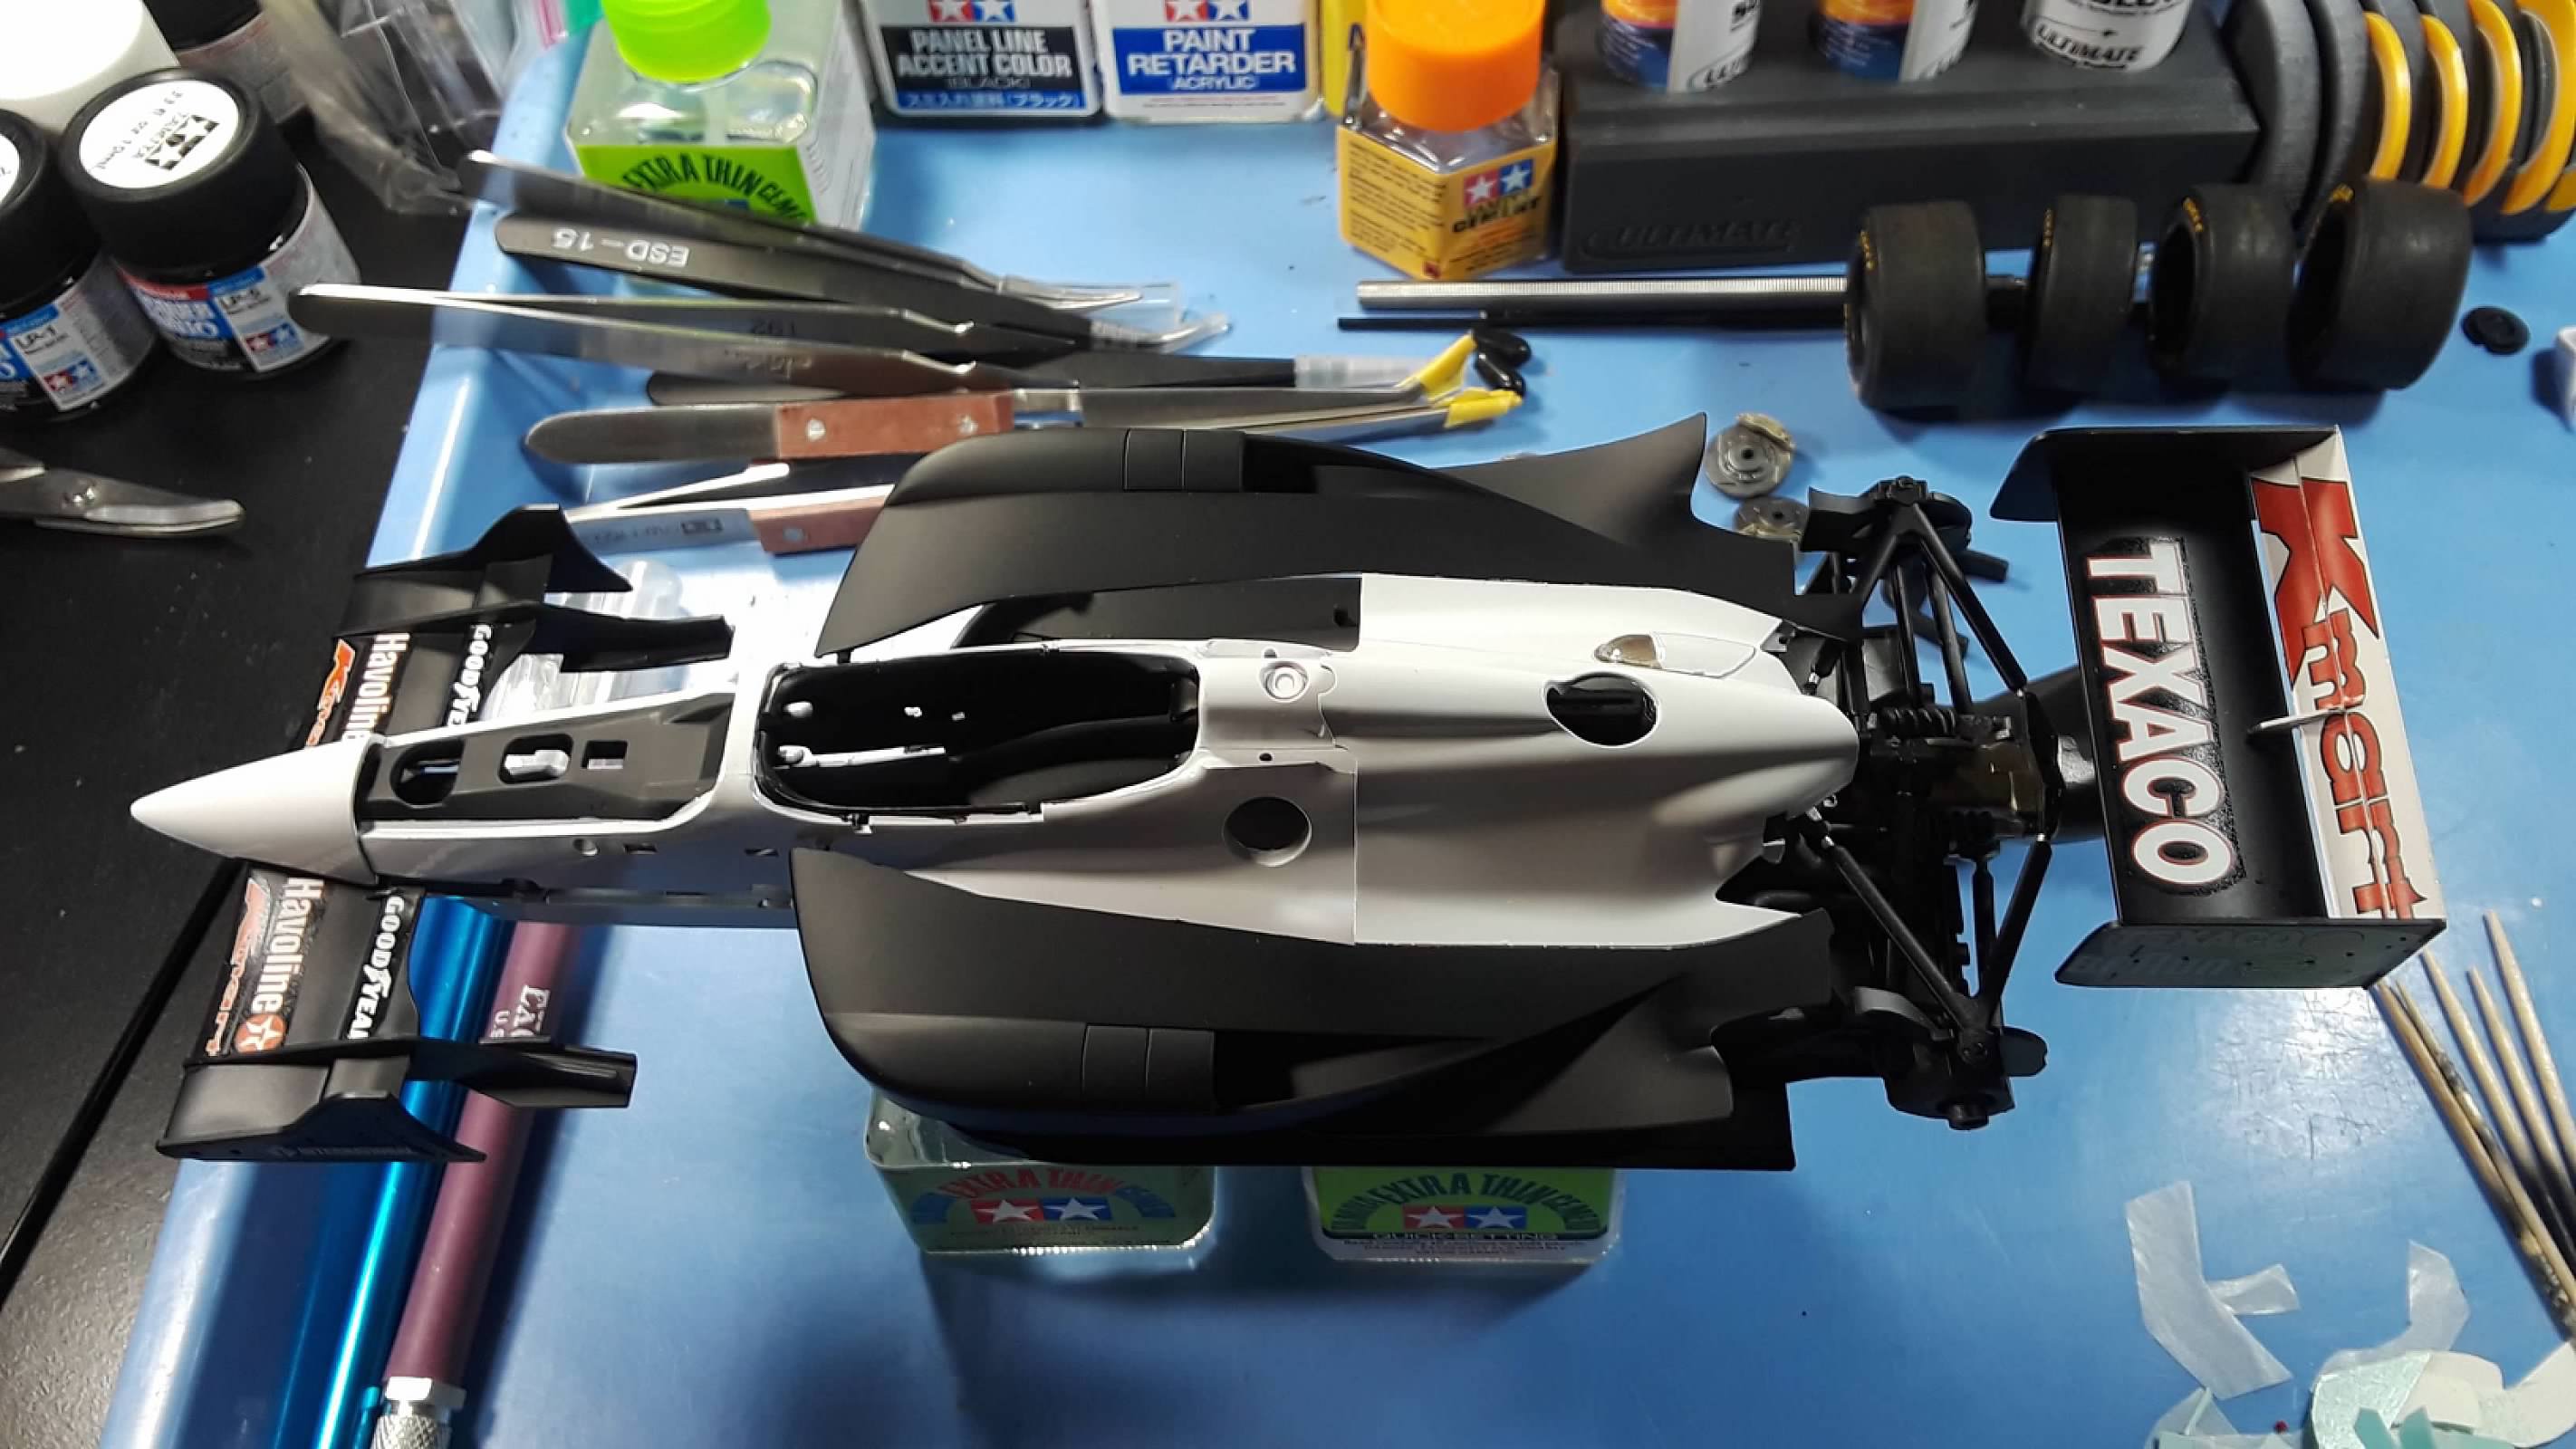
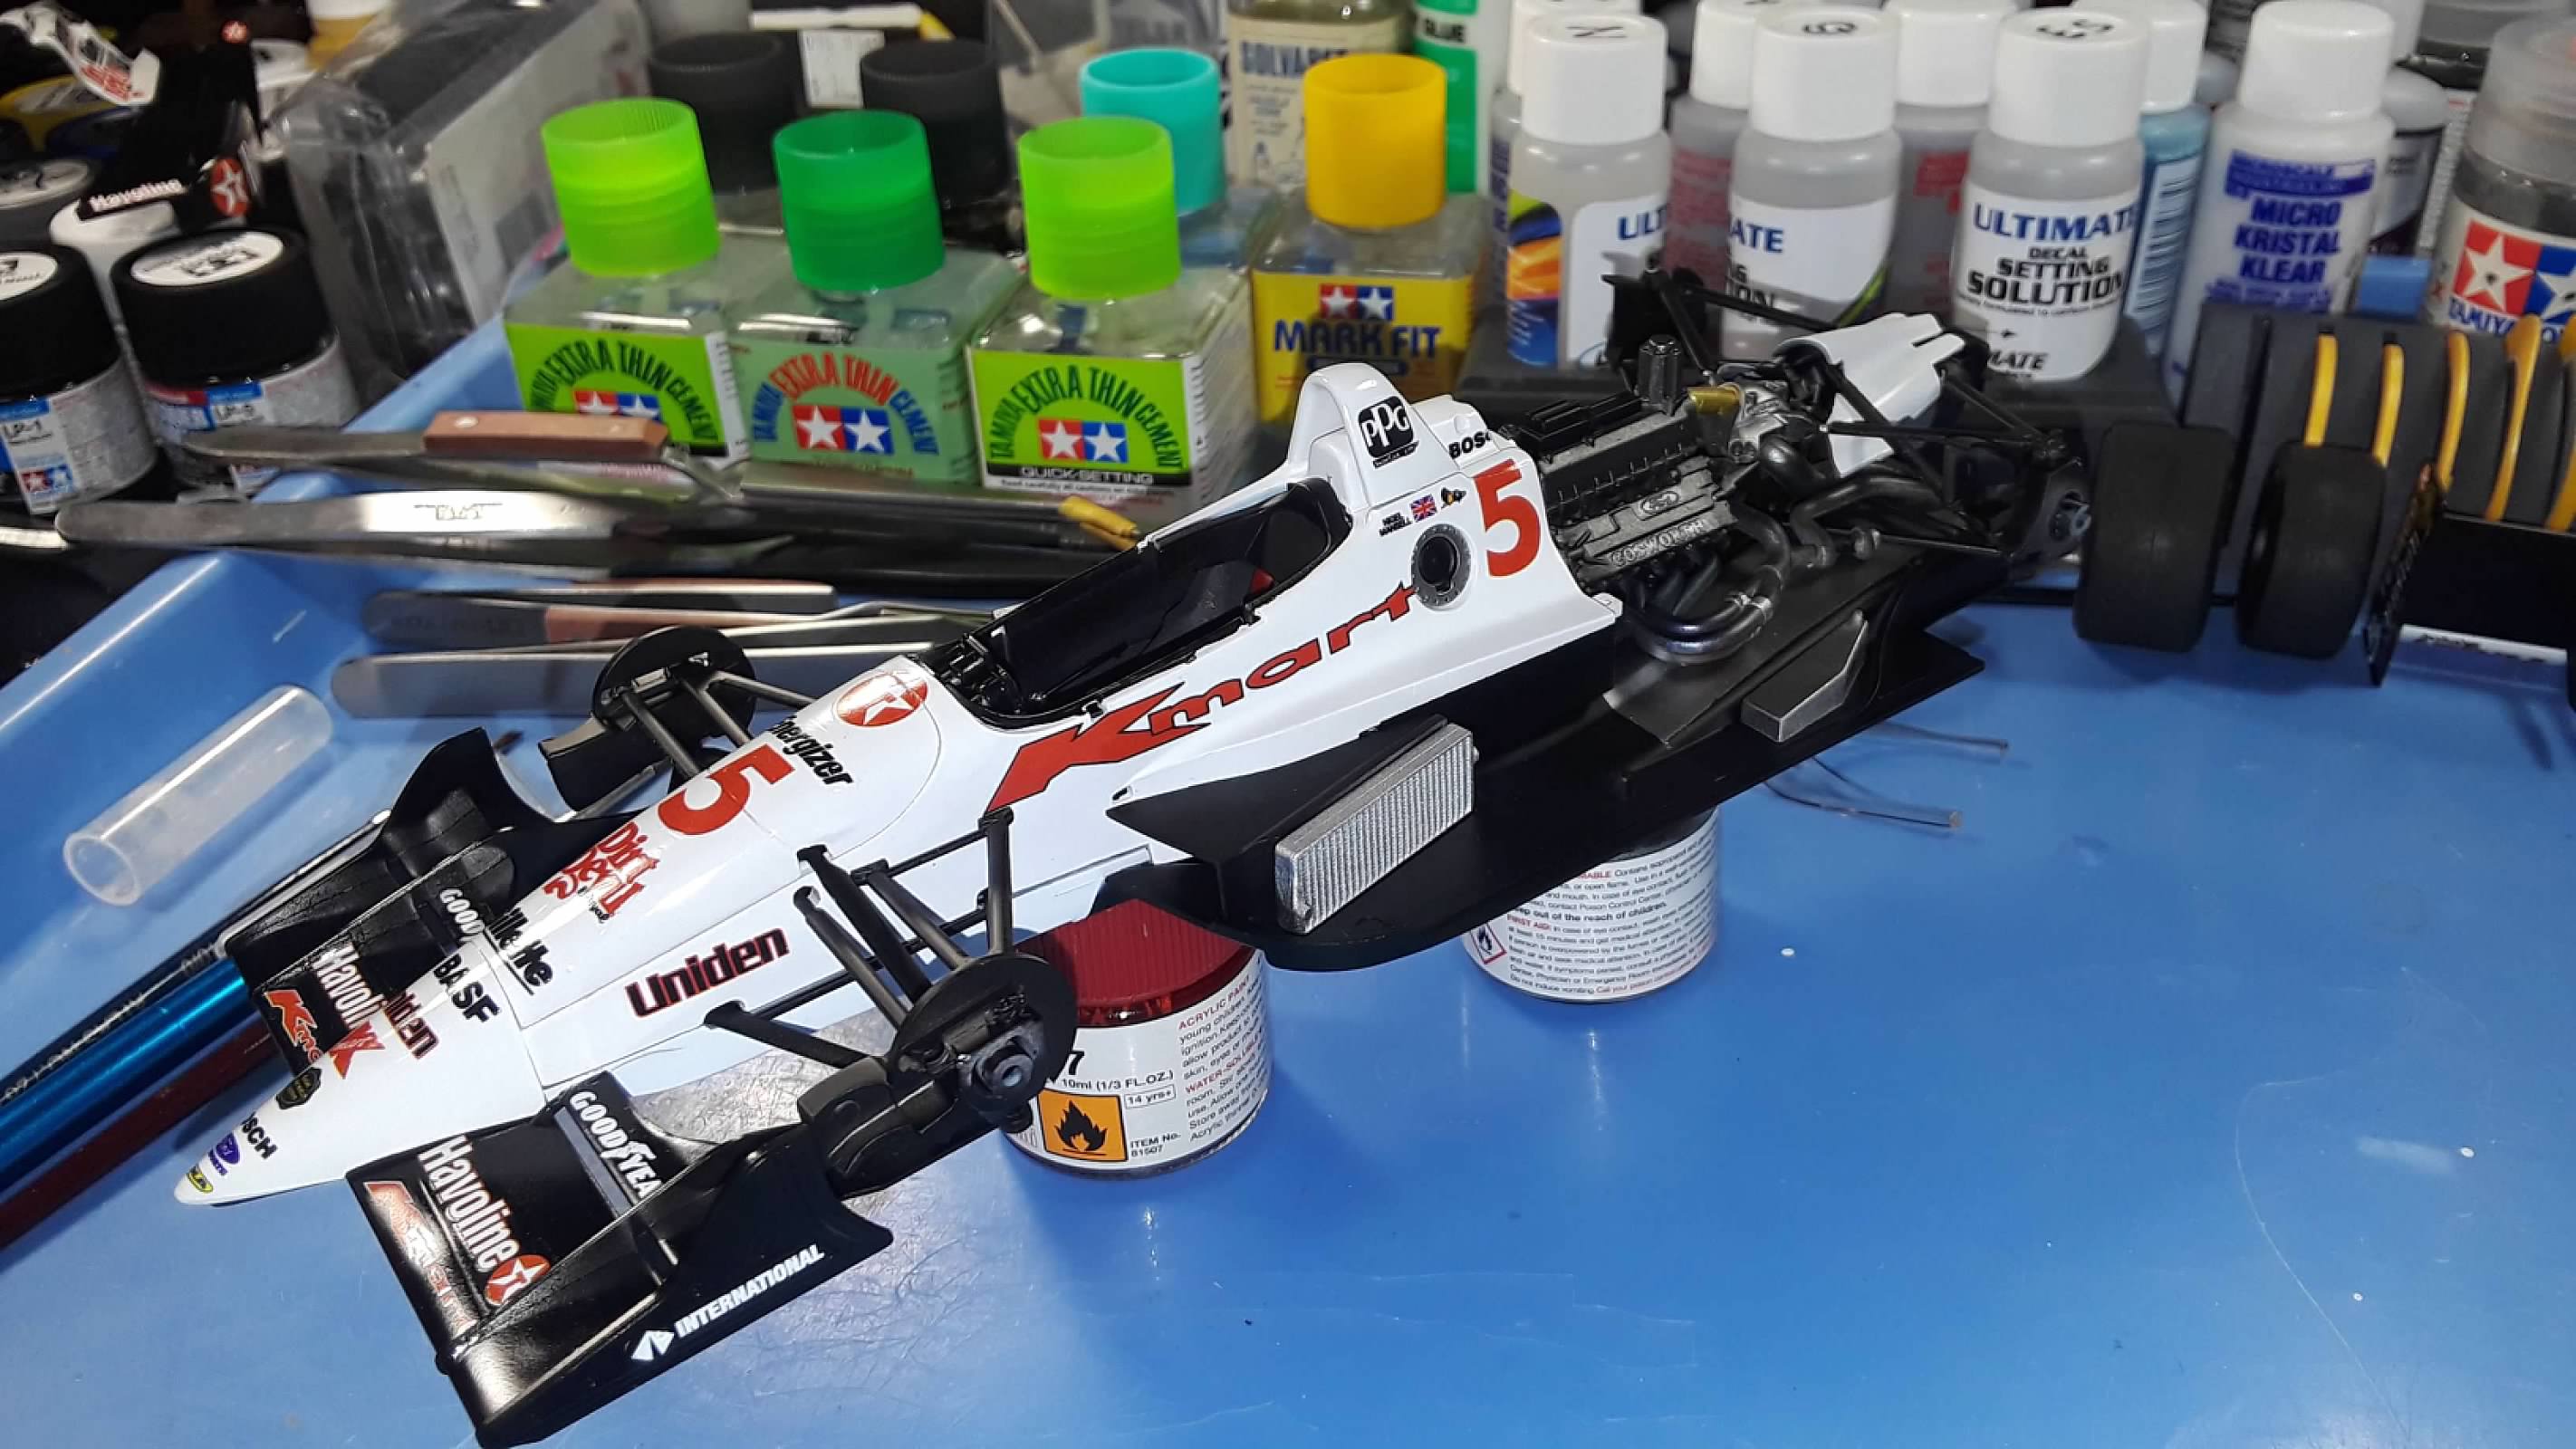
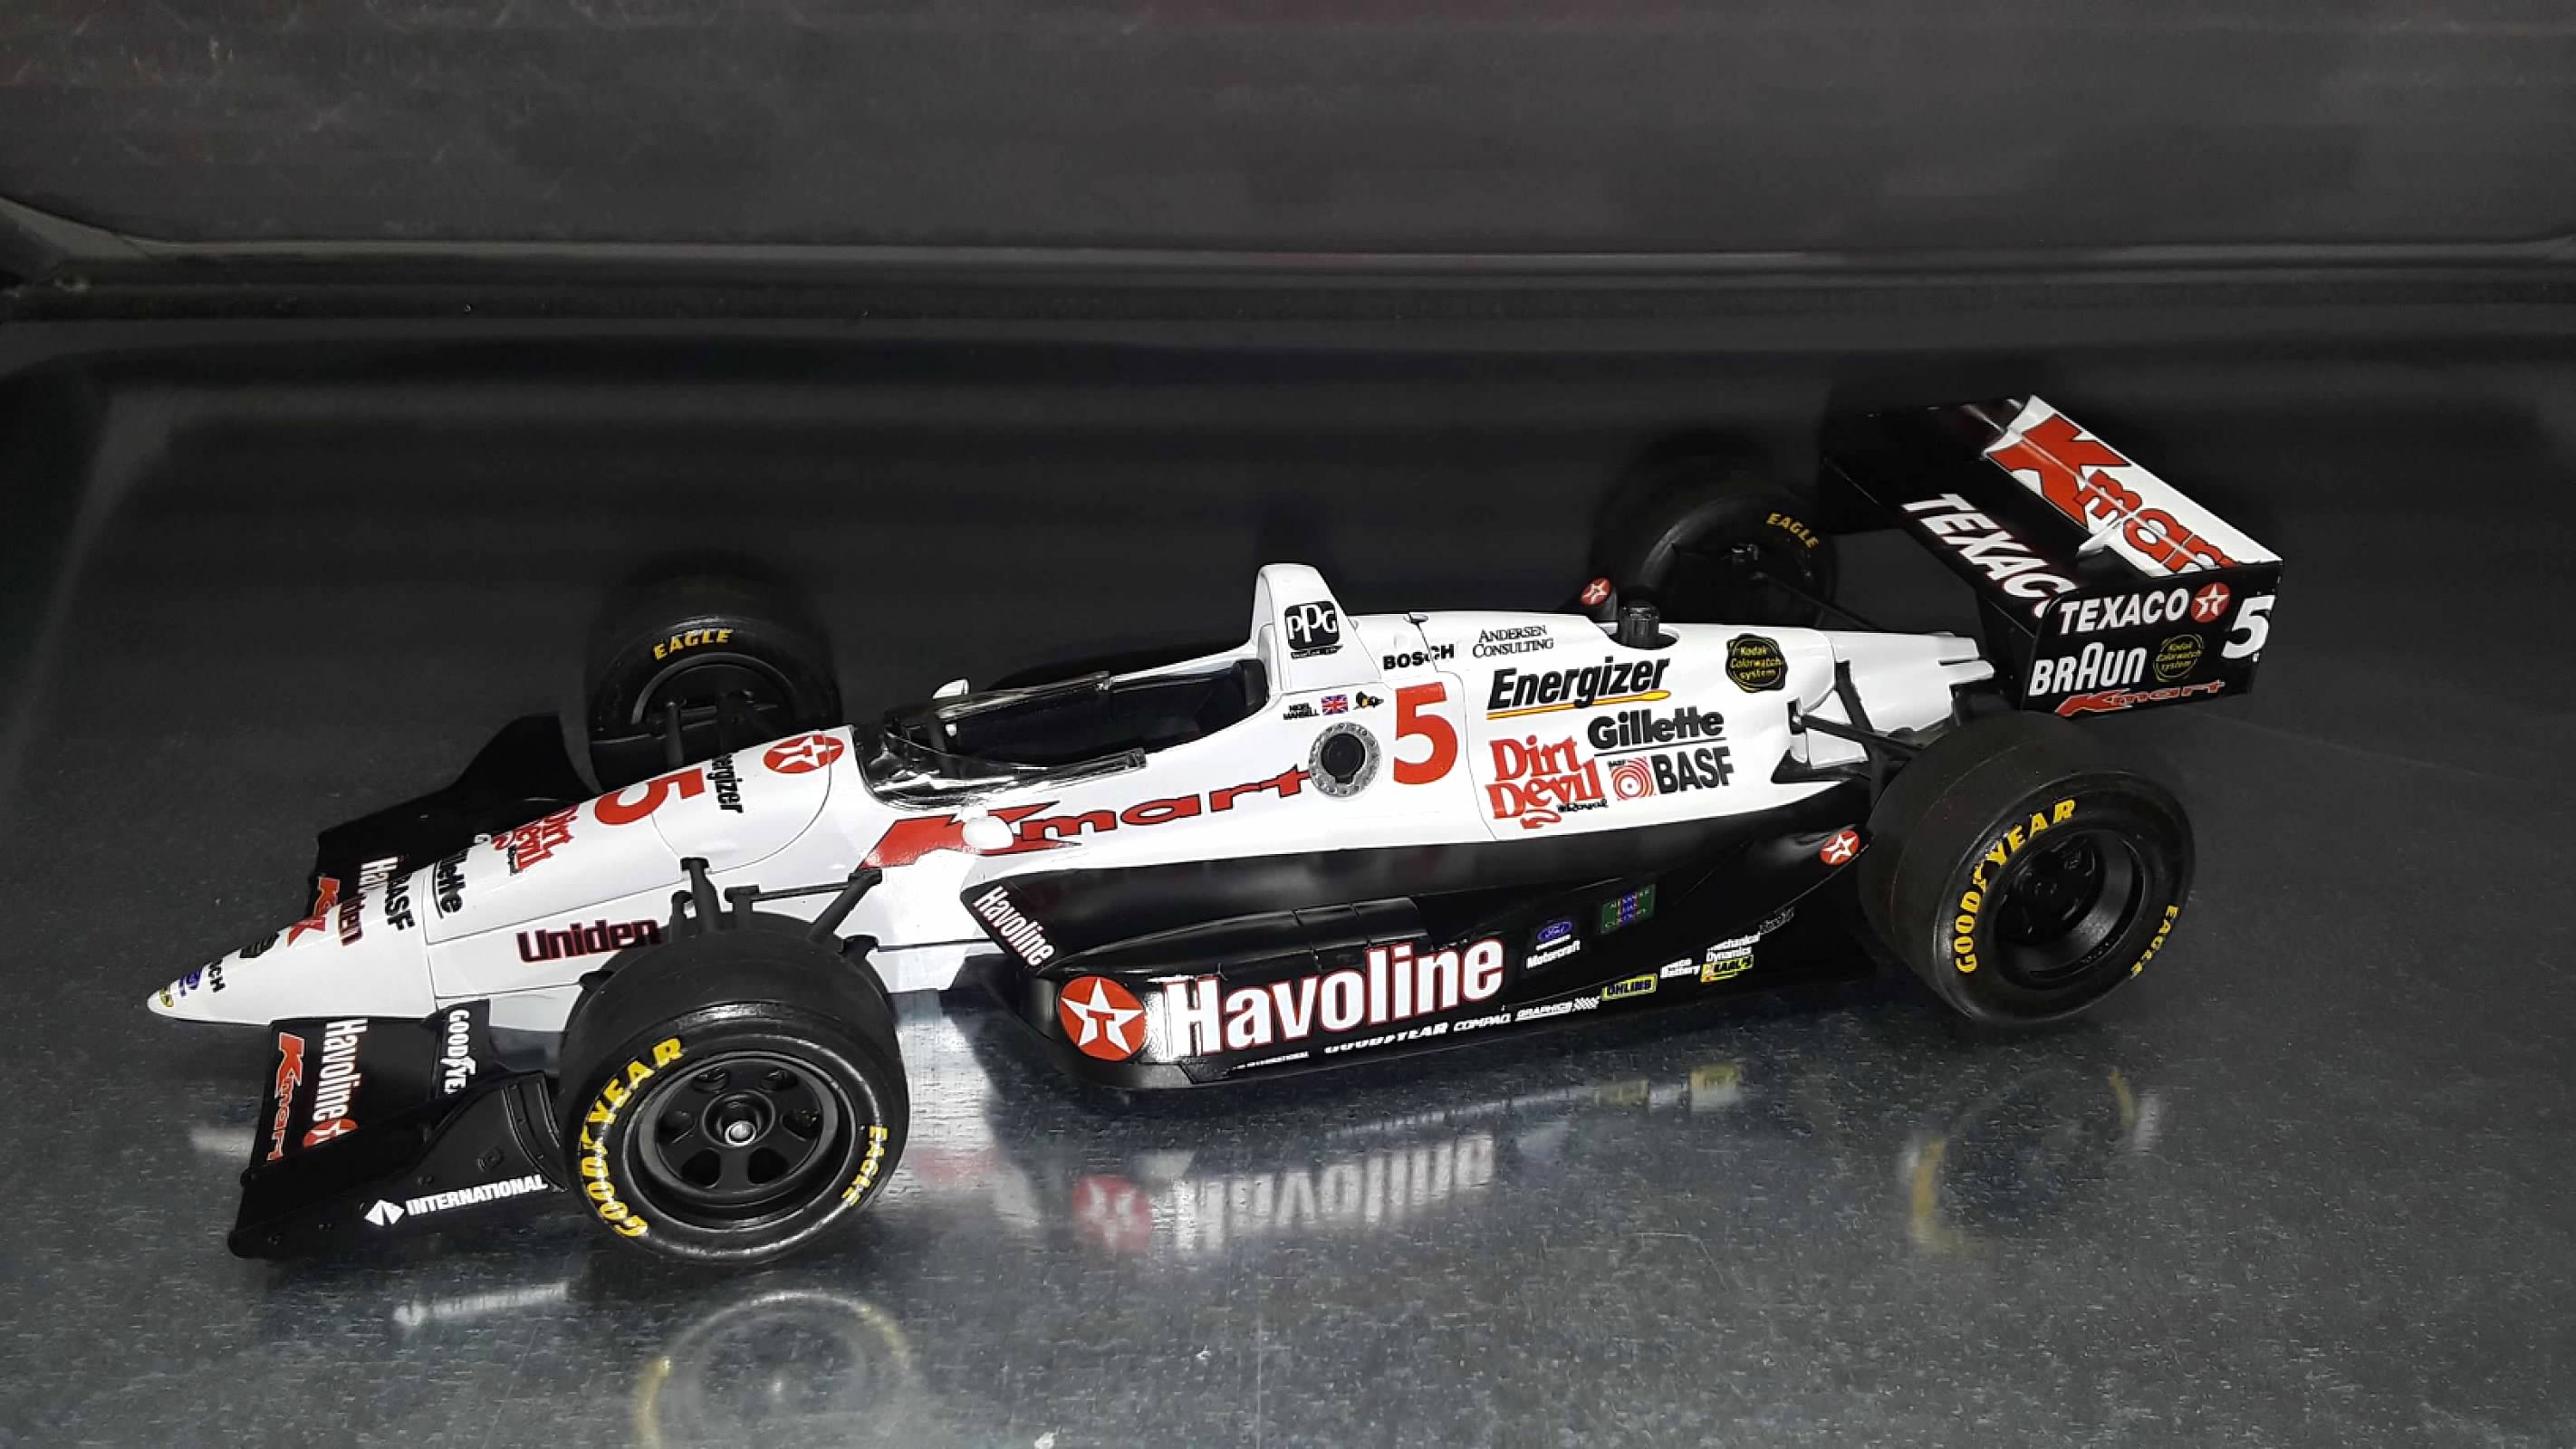
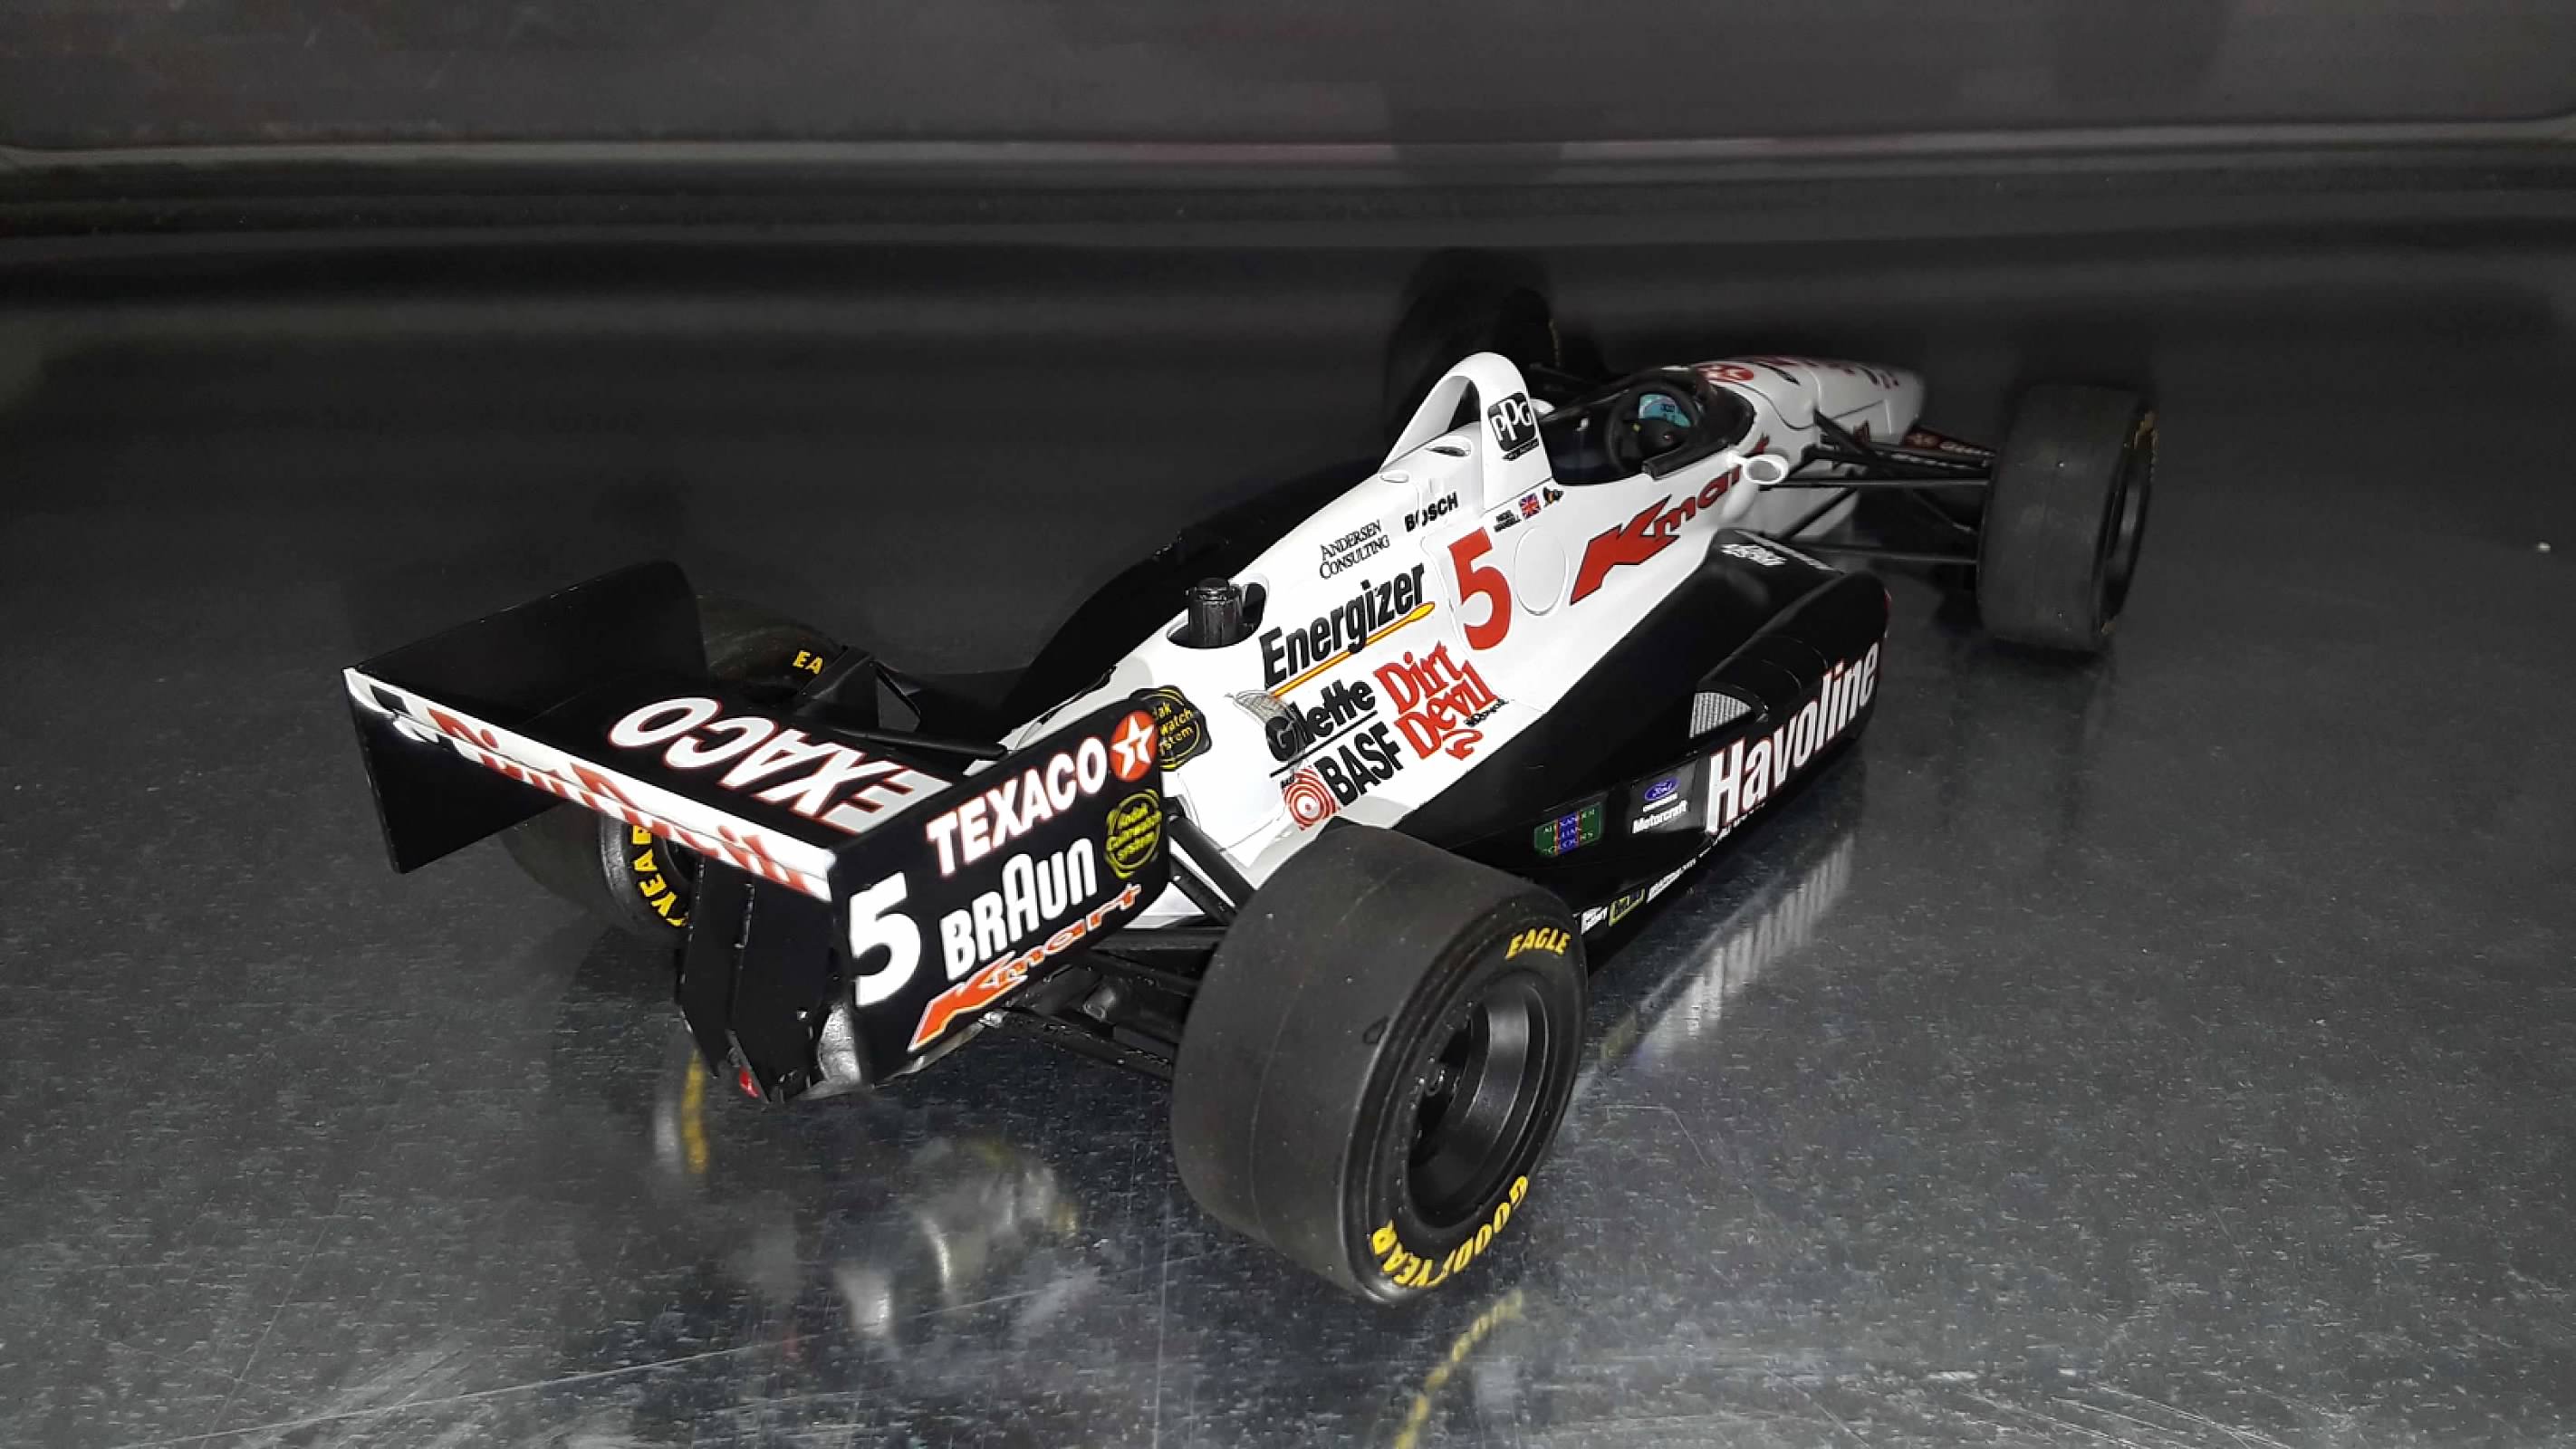
Did the 1/20 Tamiya Lola T93/00 Ford Newman Haas car of Nigel Mansell. This is a snap-tite kit, but I built it like a normal kit, except where the snap parts were sufficient - it's actually a pretty decent kit for a snap-tite kind. Anywho, here are some build pics and final shots.
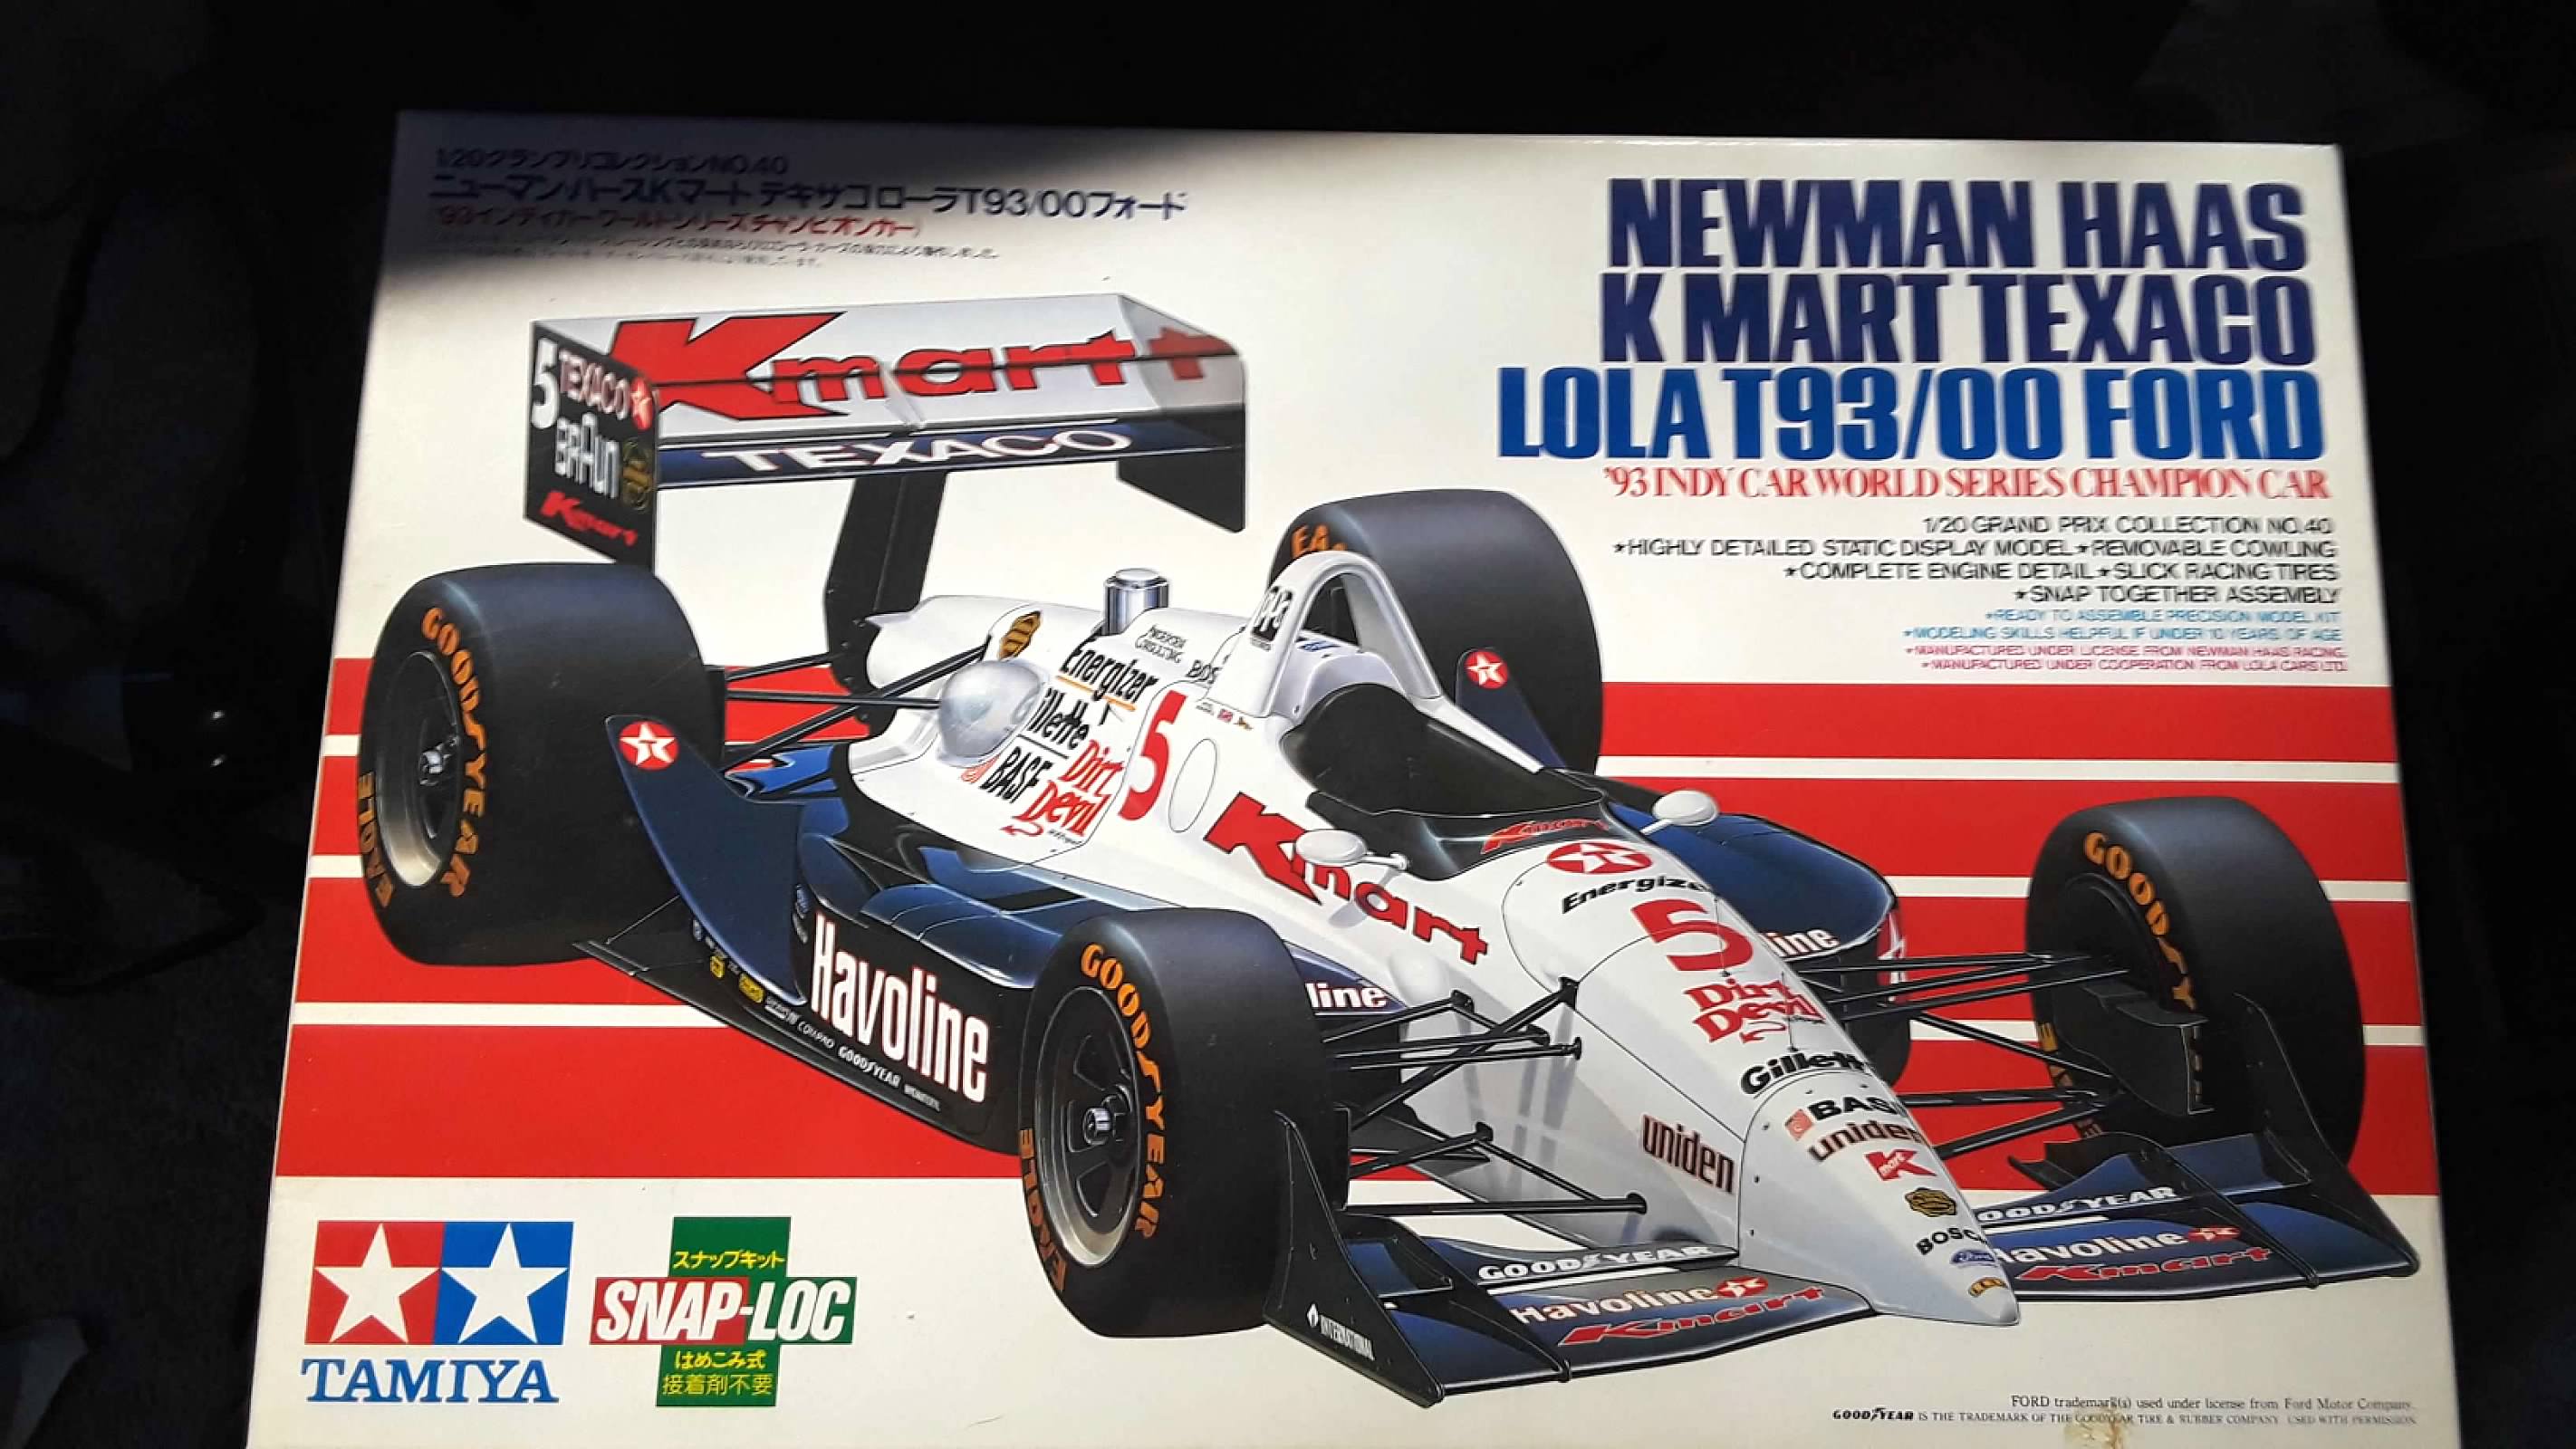
Had to order new decals as the old ones were yellow - glad Indycals has these...

Tried out some new primer I had gotten right before we packed up.
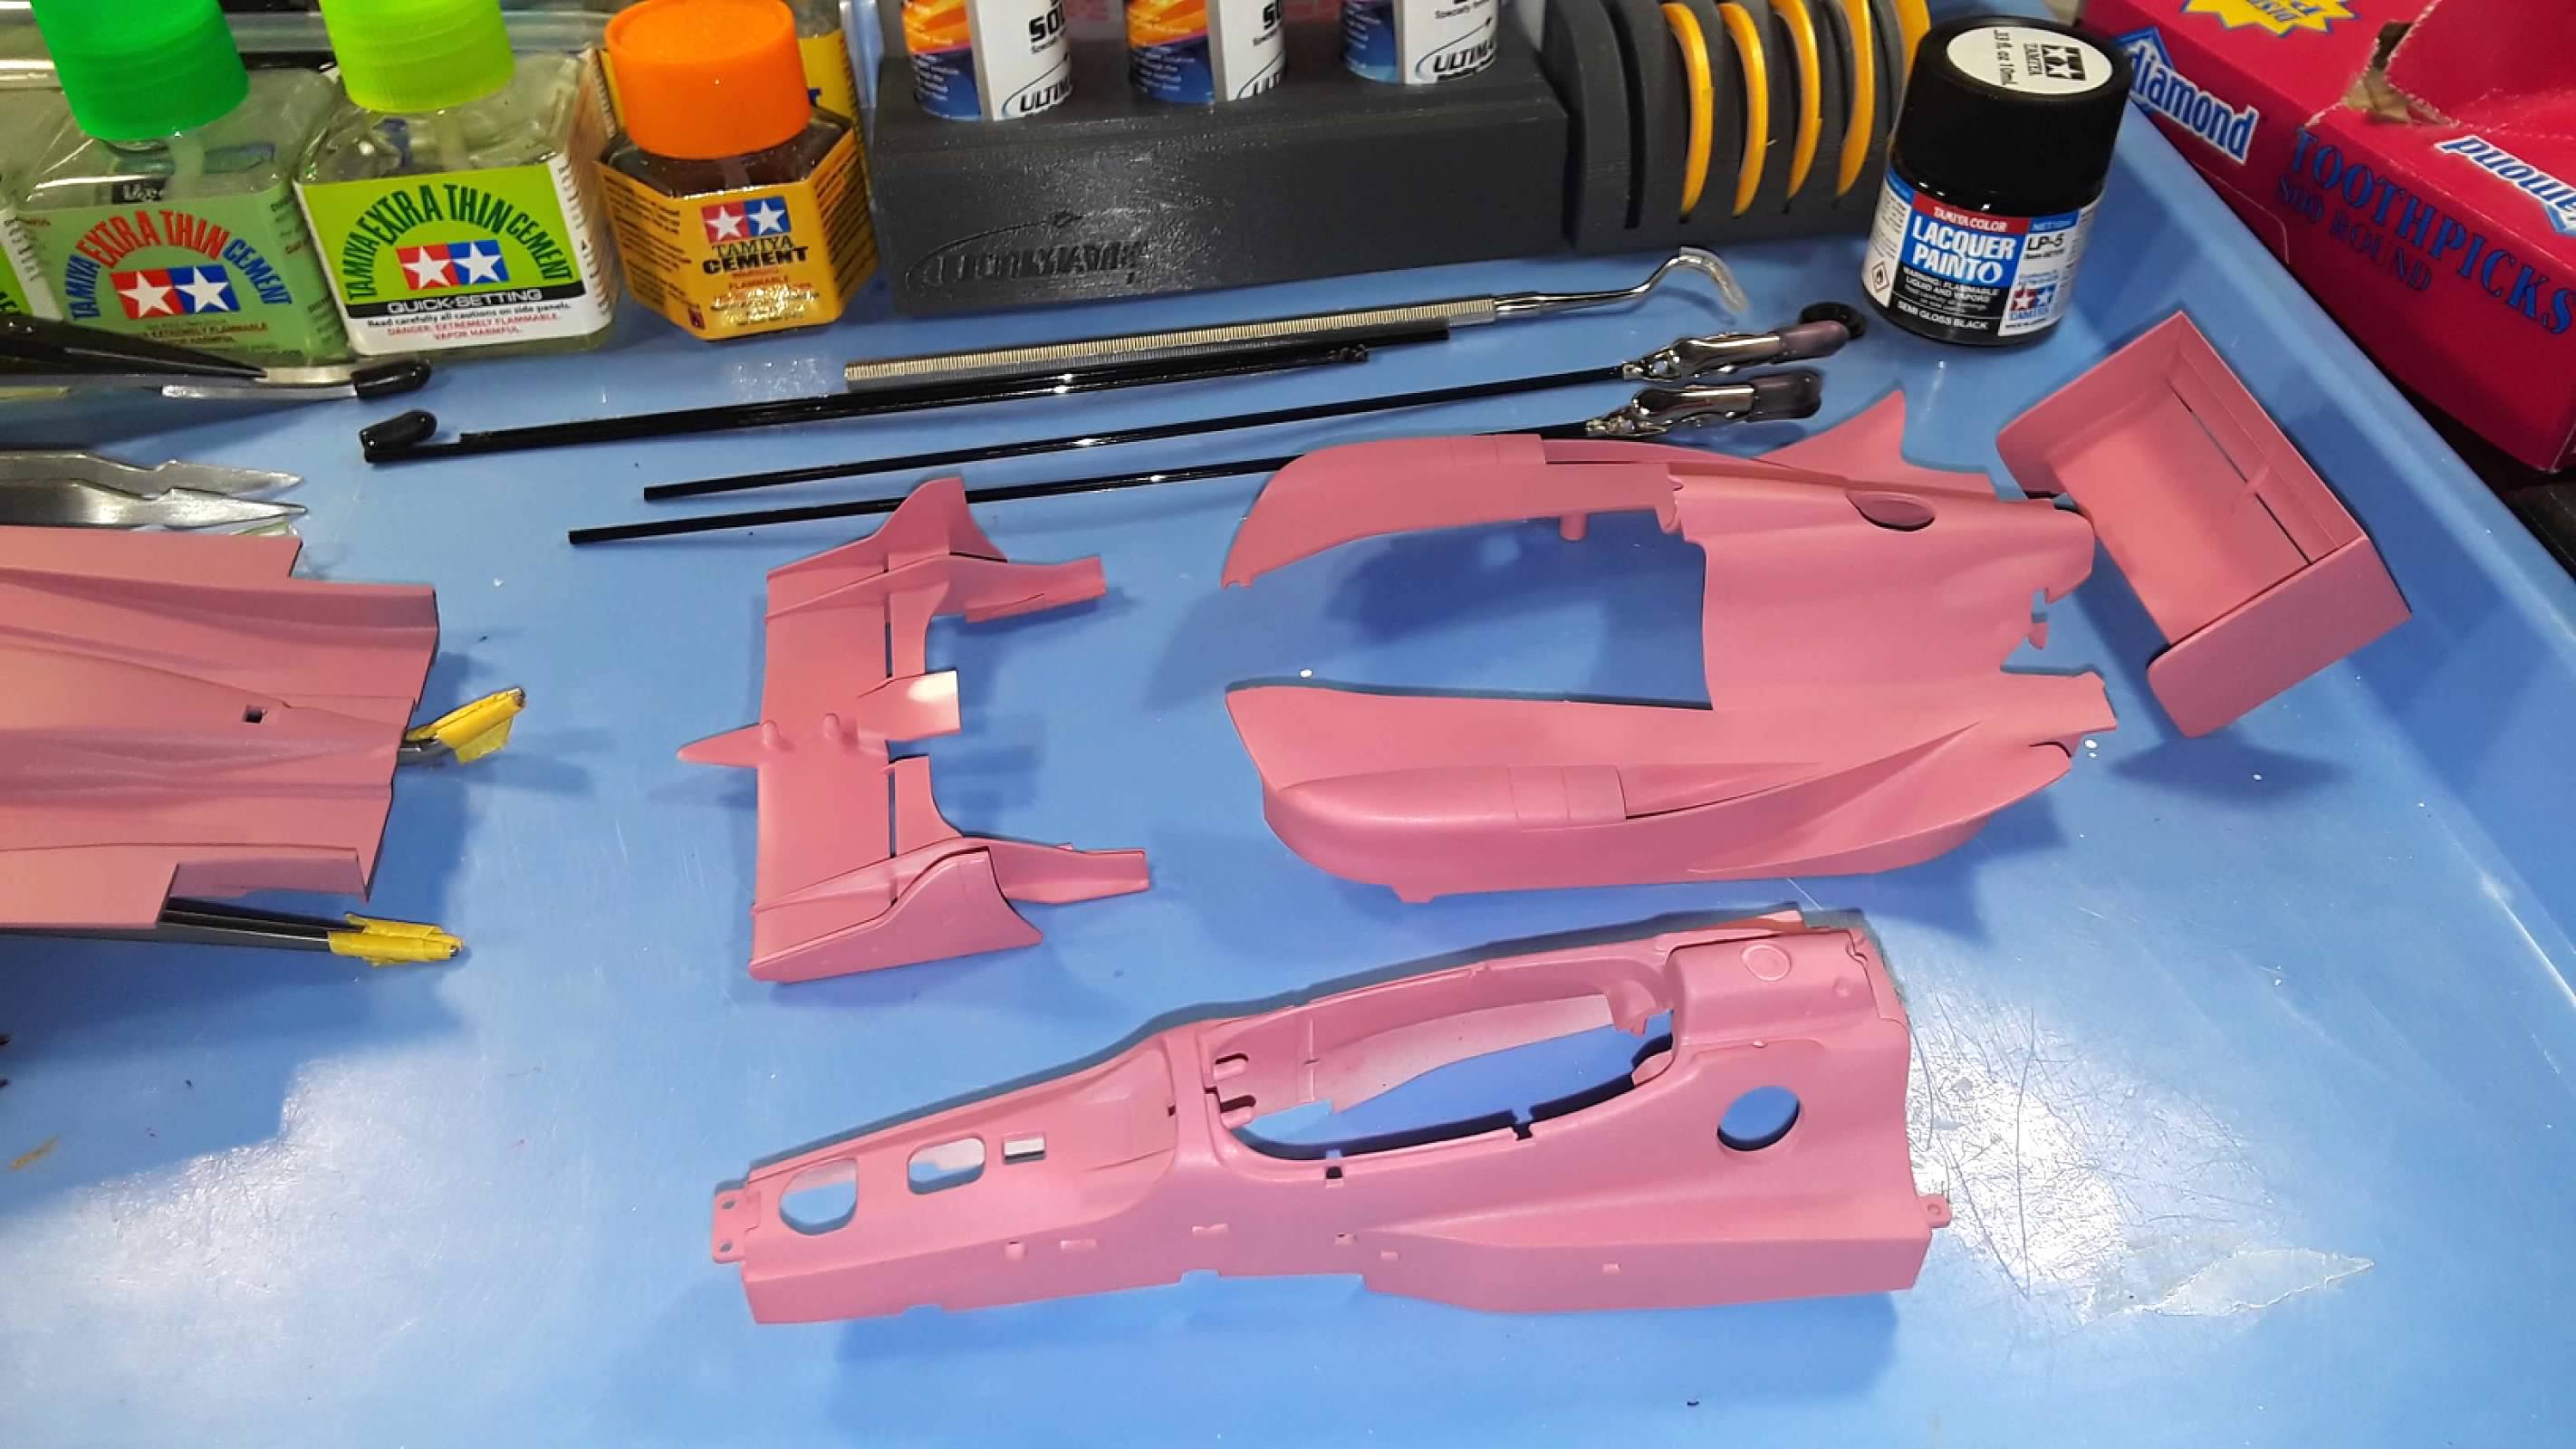
Painting the body pieces and adding the decals.
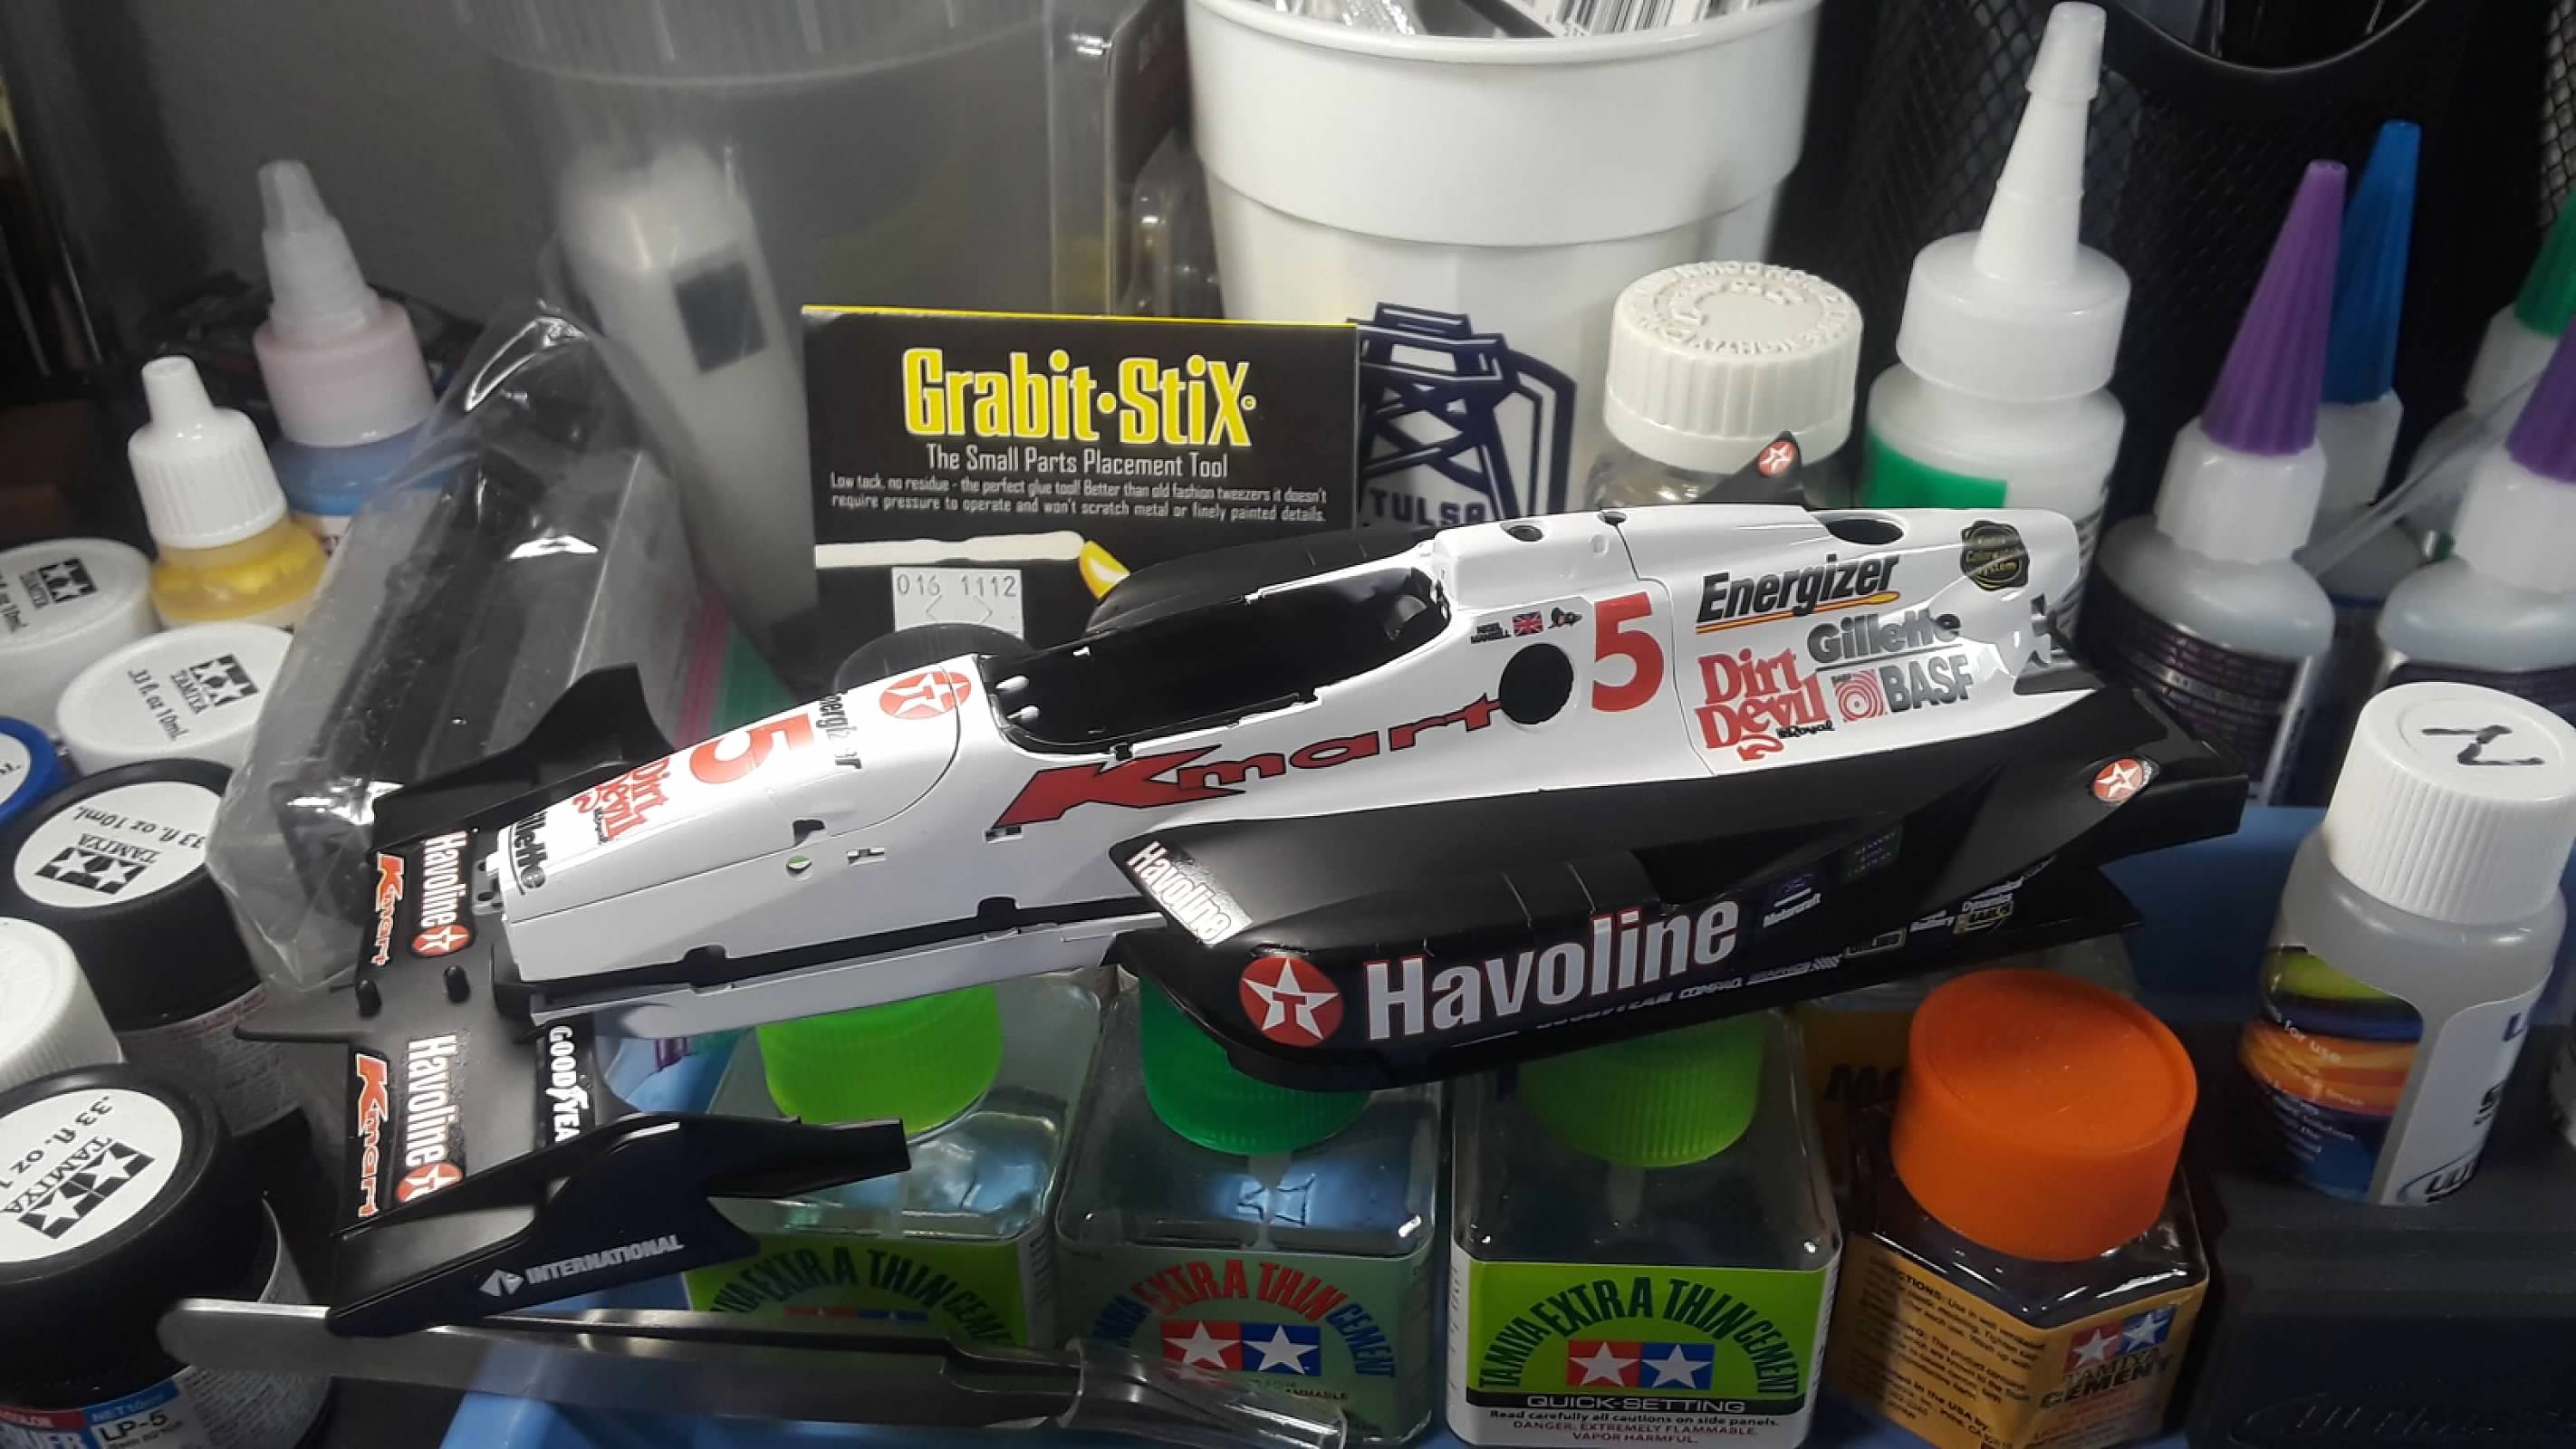
Finished up!
Thanks for looking in!!
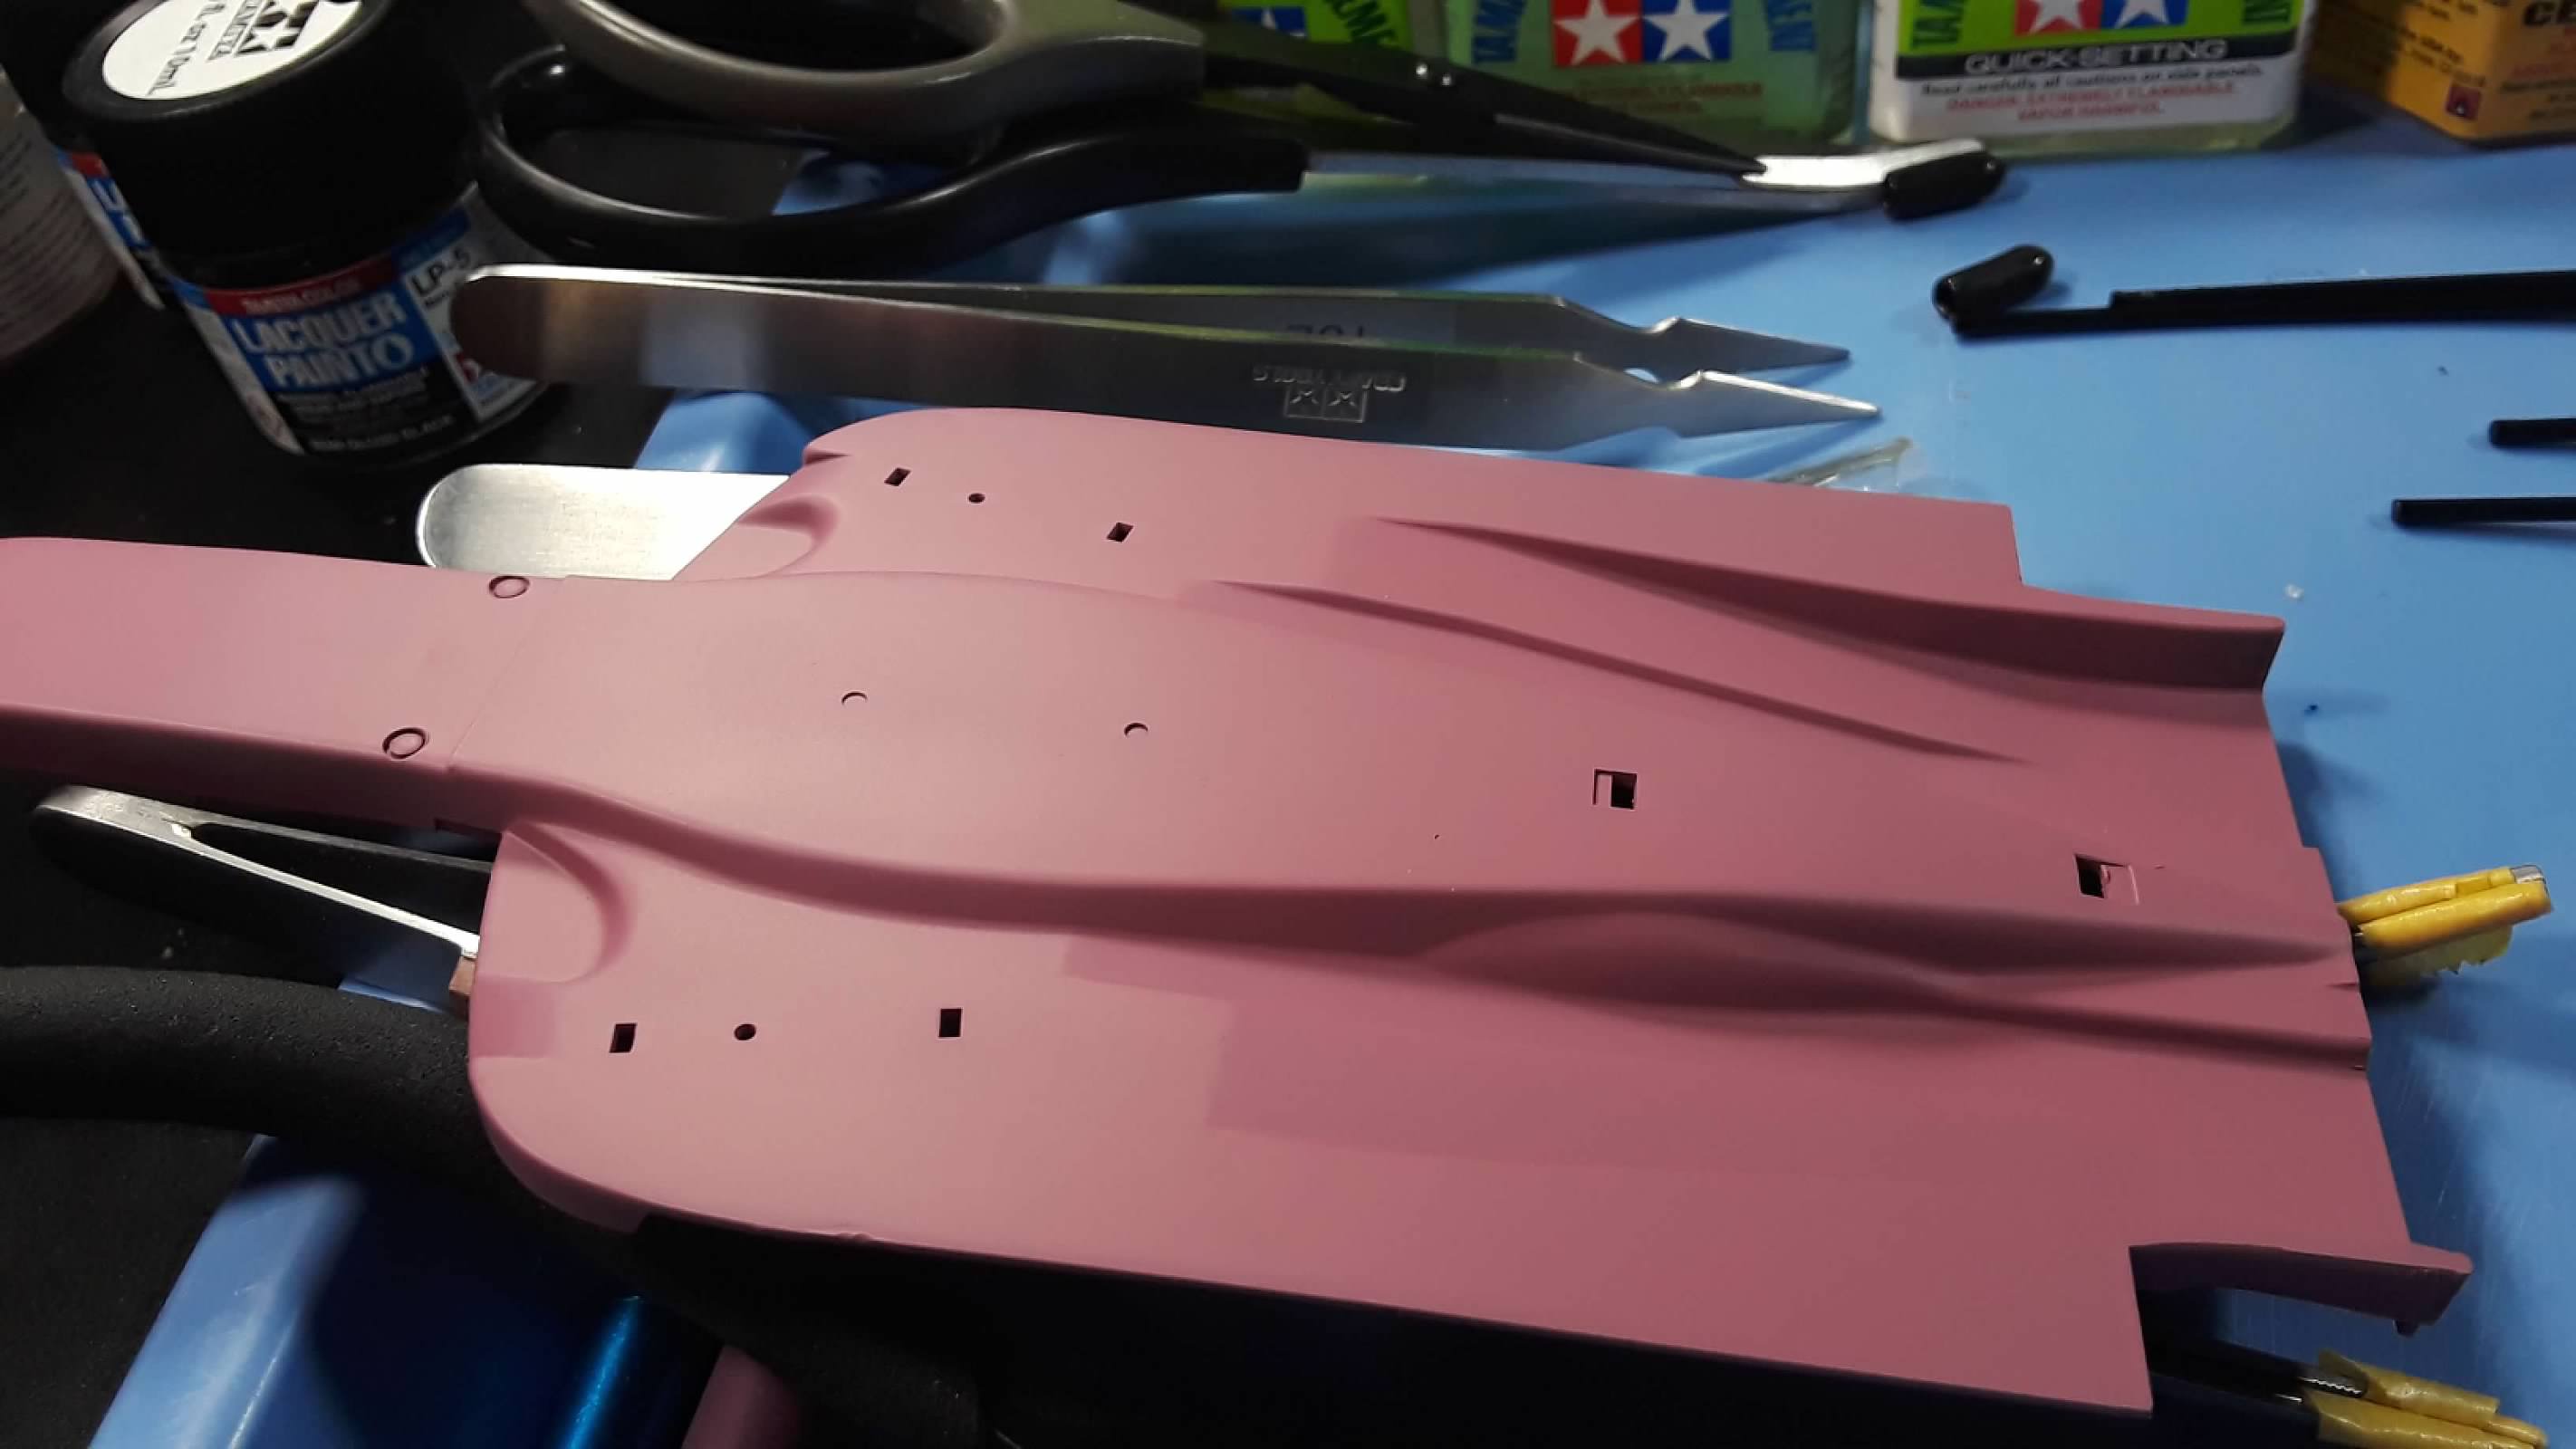
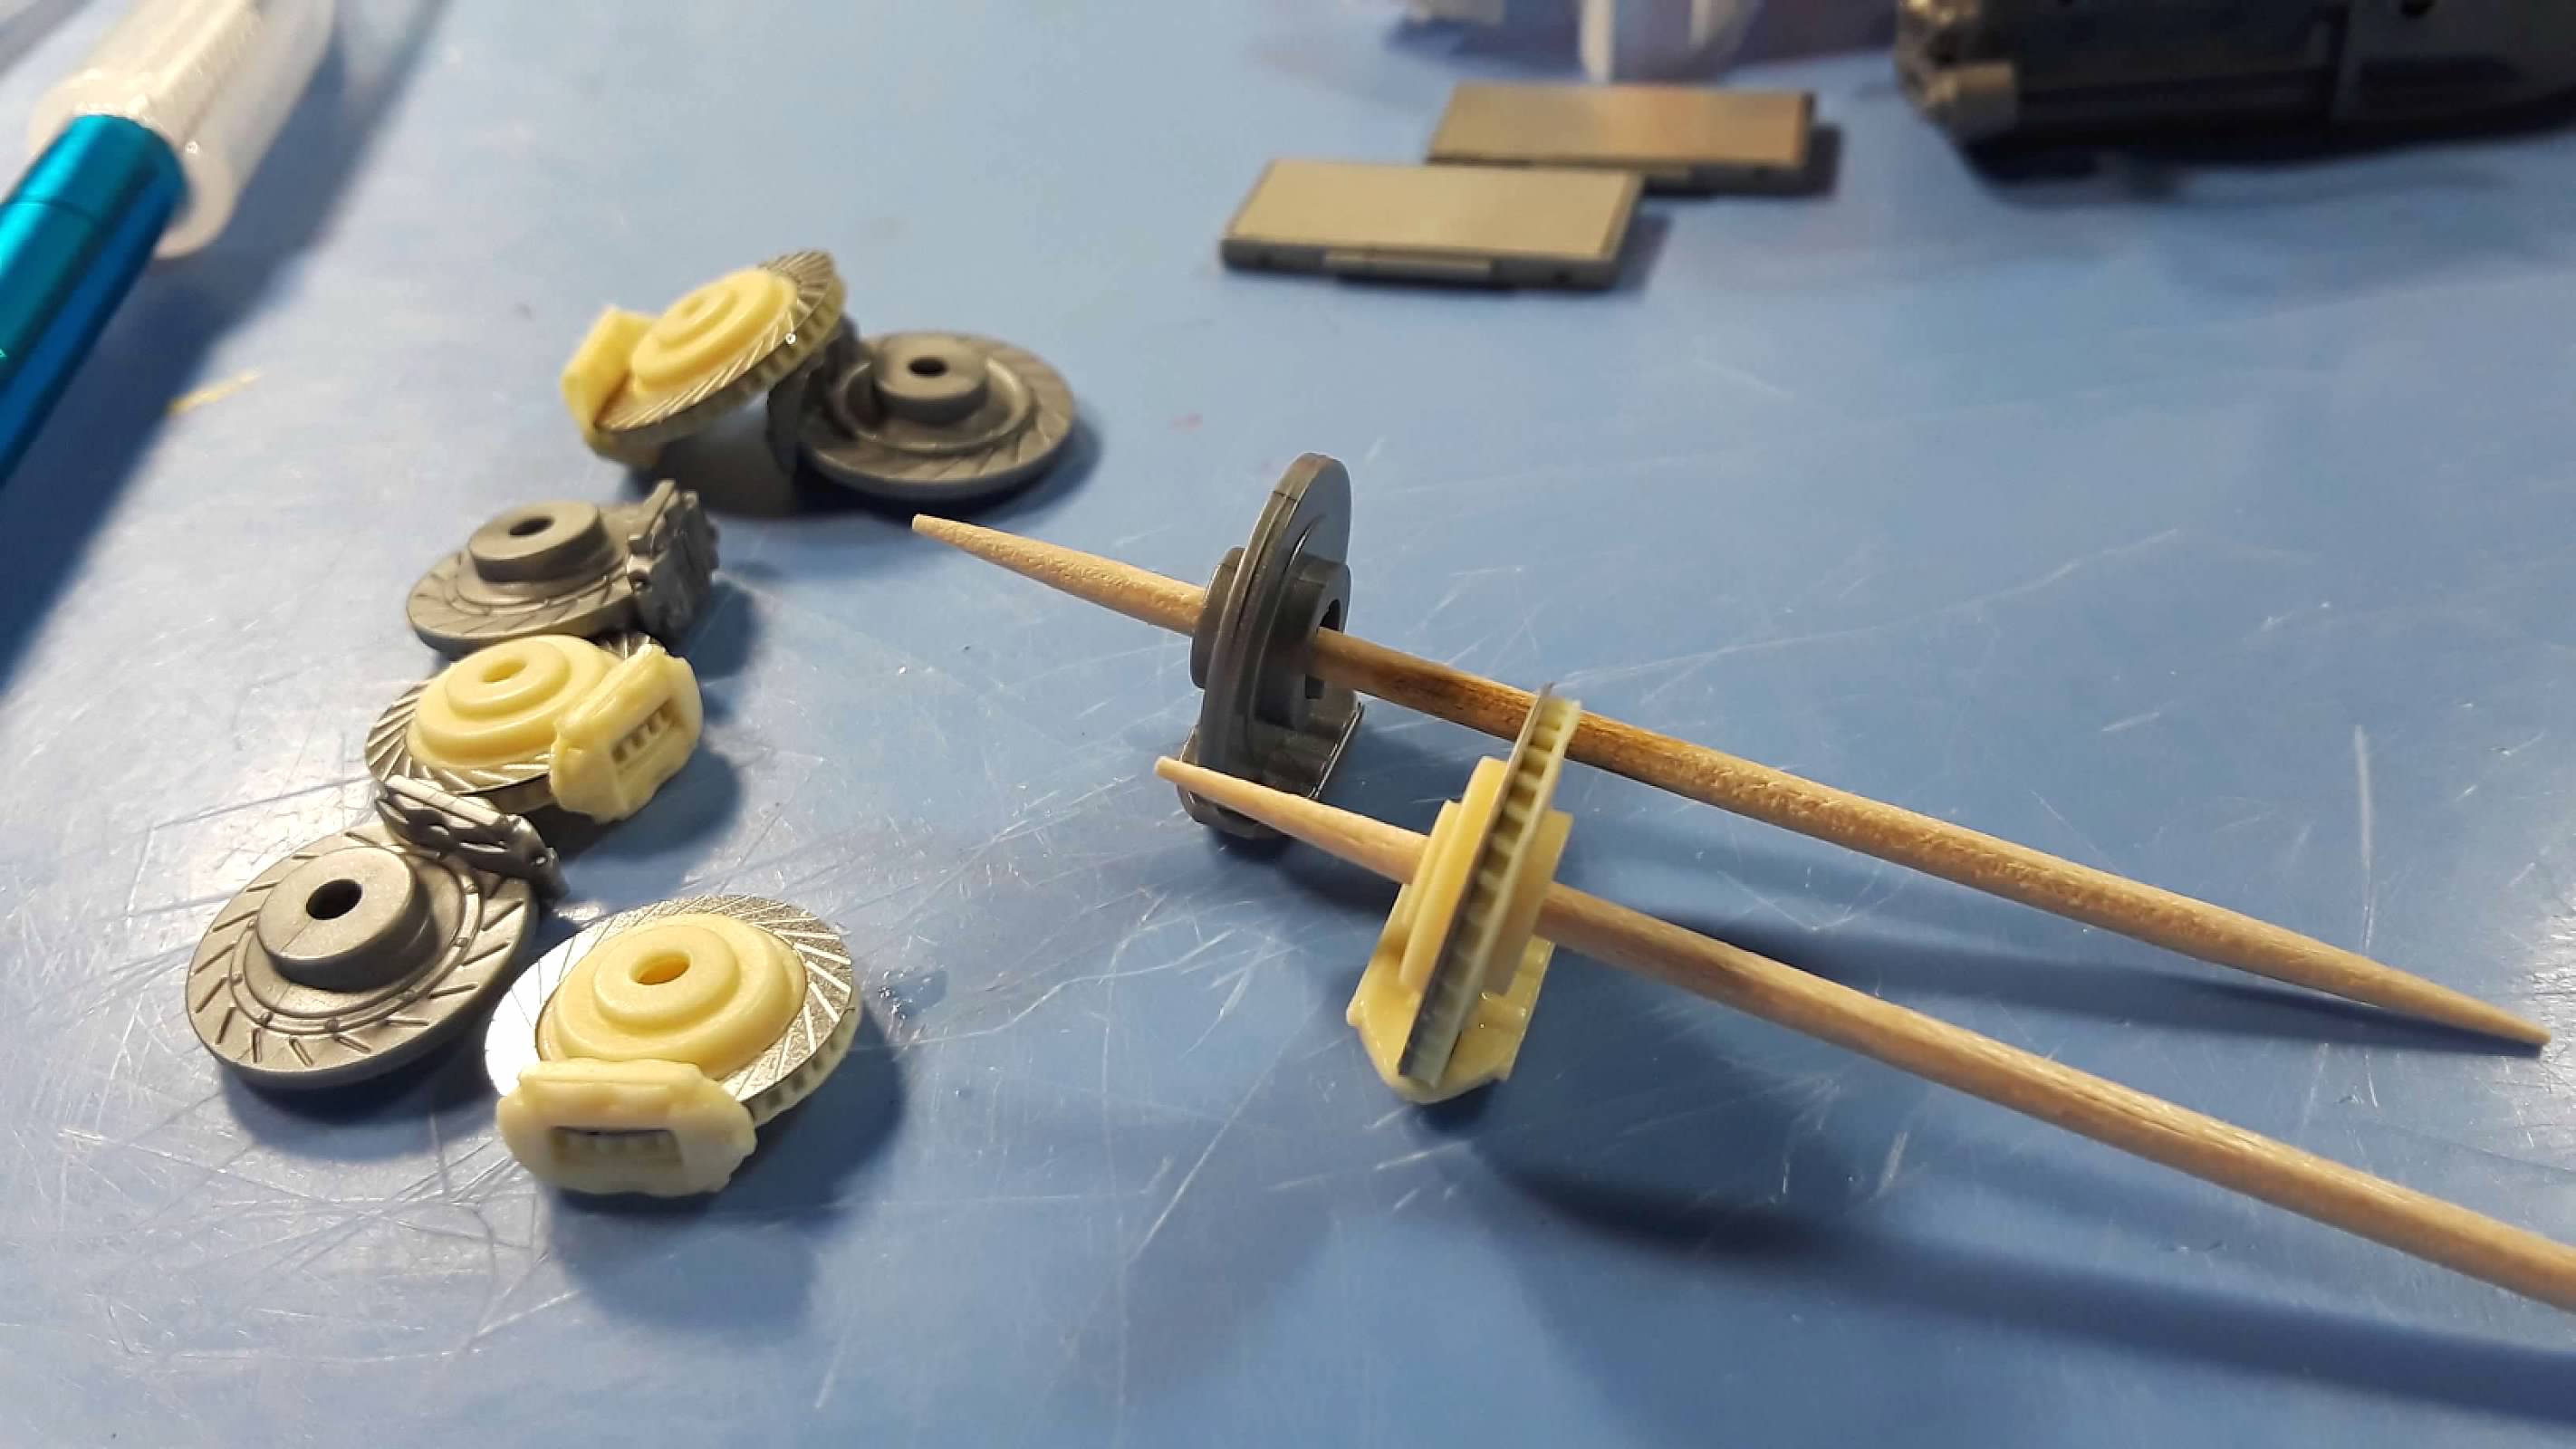
And I'm back on the Jagermeister Alfa Romeo 155 DTM... I'm doing a Detail-Up set on this one, first time trying resin and metal parts on a kit. I may post some updates on it as I go - I've already got about 10-12 hours in it and haven't even really started. Lol !! All the PE parts are pretty fiddly but so far it's looking a lot better than stock.
ie.: Here's the brakes built up with the aftermarket parts versus the stock parts:
Thanks Pete, and good luck with the move!! I moved us halfway across the US by myself - at 51 years old that, to date, is the dumbest thing I've ever done.Congratulations on the Indycar build. It has turned out really well even if you had to replace the yellowed decals. This kit, and the oval-spec Dick Simon kit, are both on my wishlist & will be added to my growing stash in the future. It's good to know Indycals have replacements as I hope to build both as Newman-Haas cars. One Nigel & one Mario.
Your move mirrors what I have coming up later this year so I'm not building at the moment. Just waiting to get set up in my new place & making sure I have everything I need once I'm in.
Good luck with the Alfa & please post updates of your build. The Jagermeister car is the same kit as the factory-livery kit with just a change of decals & mould colour. The factory car is also on my wishlist so I'm very interested to see how it turns out.


Lucky for me, I only have to move a few suburbs away so nowhere near as daunting as a cross country relocation.Thanks Pete, and good luck with the move!! I moved us halfway across the US by myself - at 51 years old that, to date, is the dumbest thing I've ever done.
I'll try and keep up in here, but I post to a model dedicated forum, already have a WIP thread going... and I L-O-V-E the DTM Alfa's, have all 3 of them. The factory Red one, the Martini one, and the Jager car.
Oh yes, Paul.https://intscalemodeller.com/index.php
The thread is in the "Models Work in Progress" / "Road Vehicles", down towrads the bottom. Lot of talented people there.
And no, had to do two trips - but it's done and will never be done again. LOL!!
I've run into the Tamiya yellowing decals myself, and it's quite disappointing!! Notice that the aftermarket cigarette brand decals did not turn yellow...Finally got my room setup after our move from Oklahoma to Florida. Kicked off the return to modelling with an Indy car build.
Did the 1/20 Tamiya Lola T93/00 Ford Newman Haas car of Nigel Mansell. This is a snap-tite kit, but I built it like a normal kit, except where the snap parts were sufficient - it's actually a pretty decent kit for a snap-tite kind. Anywho, here are some build pics and final shots.
You should clear coat your models, especially the decal areas (ie., the bodywork), as this will keep the decals from yellowing. I have a Tamiya Ferrari F189 I did over 25 years ago that the decals haven't yellowed.I've run into the Tamiya yellowing decals myself, and it's quite disappointing!! Notice that the aftermarket cigarette brand decals did not turn yellow...
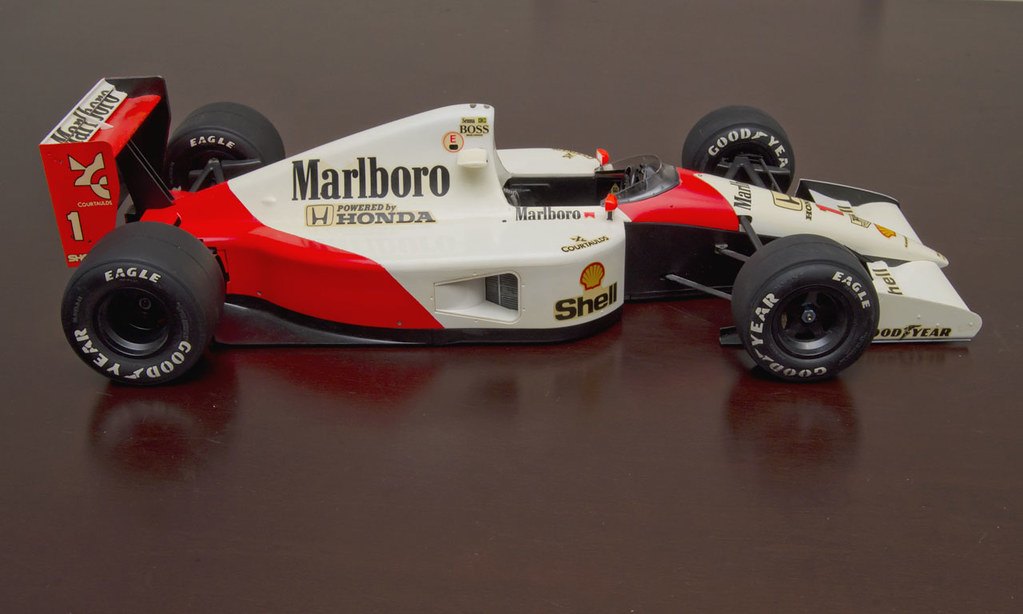
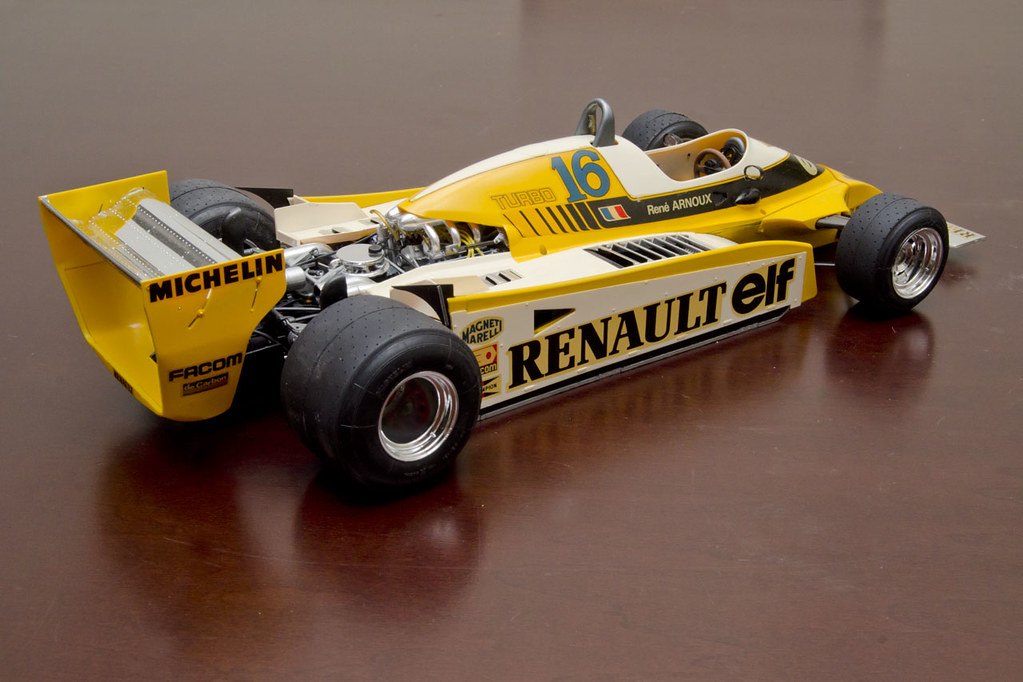
Another model... These are both from Tamiya's 1/12 Grand Prix collection, and are excellent kits, other than the decal fad.
I also have that same Indycar, and was also impressed with the quality of the kit, not expecting much because of the snap-together. It could do with more detail under the bodywork, but I've never been able to bother... And that rear wing assembly is molded as one piece!
This one has a light clear coat of Tamiya Clear over it. Had no clue what I was doing back then (still don't, really), but clearing your model's bodywork will protect the paint and the decals.BTW, here are some Rene Arnoux replacement decalsI've run into the Tamiya yellowing decals myself, and it's quite disappointing!! Notice that the aftermarket cigarette brand decals did not turn yellow...
Another model... These are both from Tamiya's 1/12 Grand Prix collection, and are excellent kits, other than the decal fad.
I also have that same Indycar, and was also impressed with the quality of the kit, not expecting much because of the snap-together. It could do with more detail under the bodywork, but I've never been able to bother... And that rear wing assembly is molded as one piece!
Speaking of acrylic paints, does anybody here know if coloured/pigmented paints take an equally long time to cure compared to their clear counterparts? I sprayed some Mr Hobby acrylic clear (the green canned one) out of a spray can onto my car body, and masked the entire body off in order to spray the engine bay with Tamiya’s XF-1 using an airbrush. Waited around 1 to 1.5 months before masking, but still, after I have sprayed the XF-1, done the detail painting, and taken off the masking tape, this happens:I stay away from acrylic clear coats because I find they take way too long to fully cure (not dry, but cure. There is a difference and that difference can be up to a few months).
")
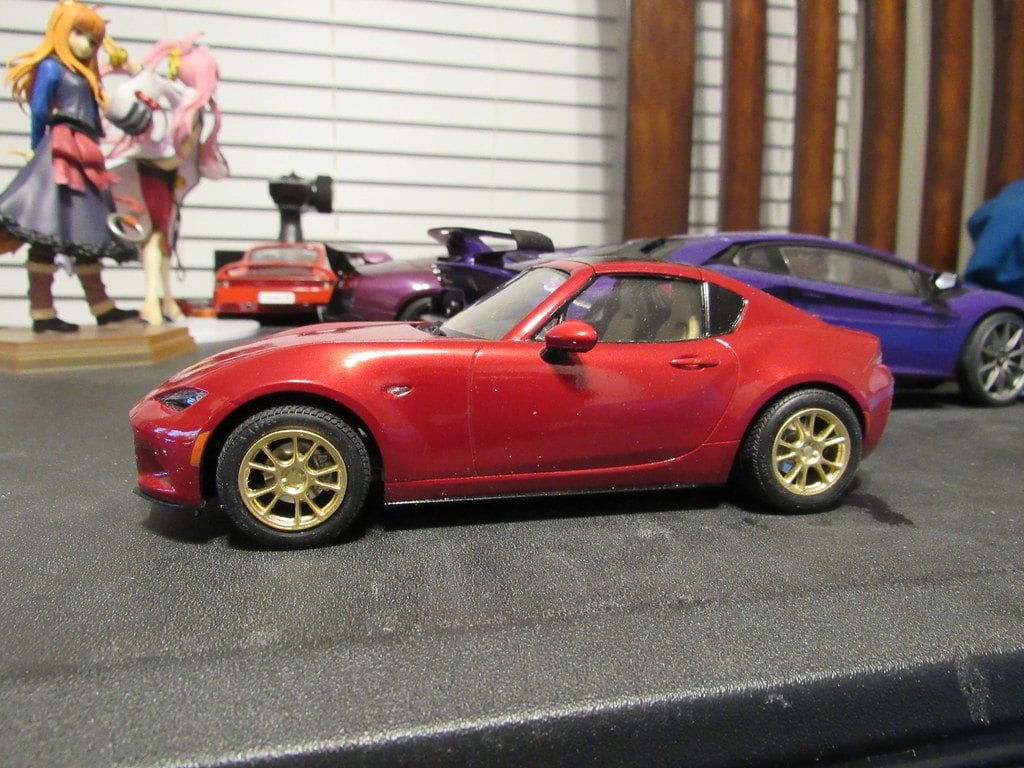
Latest finished model
View attachment 1188077
View attachment 1188078
View attachment 1188079
View attachment 1188080
An older Fujimi kit, but it came out okay. I 3D modeled and printed the front grille piece as the original wasn't great. Other than that a fairly standard build that I didn't fuss over too much.
Up next is a Ford GT 40...

Dragon models 1/6 scale 1/4 Ton Willis Jeep.And... what is it? Who made the kit, what scale, anything you did that's not in the kit, etc.?
Nice job.Another project that's been sitting in the stash for years done. Despite not feeling great about this one when I finished, the pictures actually make it look pretty great!
View attachment 1200298View attachment 1200299View attachment 1200300
It's the 1/24 scale Fujimi kit. I believe the Revell is a rebox of the Fujimi so should be the same as mine. The Meng is a newer mold.Nice job.
What scale & who makes the kit?
I have the Revell 1/24 version of this, as well as the Meng 1/24 1966 Le Mans 24hr winner in my stash.