General Model Kit Building Thread

A Z1! What kit is this? I love that it has opening hood, trunk and even those weird downward sliding doors. it looks really good in that purple!
It's made by Revell Germany. The opening bits are really cool for such a relatively low cost kit (the only other kit I have with opening bits out of the box is a much more expensive Aoshima Murcielago). I'm also really glad the kit exists. It's a BMW Z1! That's weird and I love it.
I actually mixed the paint using translucent red from Tamiya and mixing some purple mica powder into it. I was trying to match BMW's magic violet they used for this car with... uh, mixed results.
 
That's a really nice shade of blue. Can't wait to see them finished 👍

Thanks. I was a bit wary of that colour at fist because I didn’t know how well other colours would go over it. So far I’ve only used a metallic gold which sits brilliantly. There will be some flat colours going on some details to wards the end, so I’m still wondering how it will take those, and if a dark wash will work.
 
This car has a lot of details when it comes to coloring. It's taking me a lot of time to finish. Most of the trim is done though. Just need to set the decals so I can finally clear coat it.

20210608_154828.jpg

20210608_154751.jpg


Also, been doing some shopping and got me these. More normal, regular yet pretty cool cars! This is what I'm loving about the hobby. Most scale models are pretty obvious super cars and such. Kits are much more varied.
Screenshot_20210607-204453_Email.jpg
 
Is there any way you can get the glass out?
I don't know if I want to do that. Bonding the glass is really difficult and there are just a few bonding points which are probably already melted due to the plastic cement. This is not going to be a perfect fix, but at least I'll get rid of most of the horrible orange peel that this things has.

I might have to take the spoiler off. Hopefully I can bond it back again. I already started and it's going pretty well. It will take a lot of work though. I will try not make these mistakes again. And hey, if I mess up, I can get another kit just for the body. This Supra isn't too expensive thankfully.
 
Last edited:
Took me a few hours, but it looks so much better! The paint is now smooth with very little remains of orange peel. A lot of shine too! too bad my camera doesn't do it justice. I'll probably do some retouches to my other two previous models. they don't have a lot of orange peel, if any, but they could use some extra shine.

20210630_155237.jpg

20210630_155209.jpg
 
And off we go with a new project! I'm doing a few modifications, by using two different brand kits of the same car. There are some features that the main kit has that I don't like, so I'm using the other as a donor, which has more accurate versions of said features. This should be interesting!

Finished most of the engine today. It's one of those all white plastic kits, so it's a bit of a pain to cover it up. Looking good so far!
20210701_175444.jpg

20210701_185800.jpg

Painting those miniscule white line on the intake manifold and the "Viper" logo on the valve cover was "FUN," let's just say...
 
Last edited:
I have a bad habit of abandoning projects and resuming previously abandoned projects.

I’ve resumed work on the 1903 Ford Model A Rear Entrance Tonneau.
As you guys have seen in the past, I scratchbuilt some pedals, detailed the headlamps, steering wheel, and added a gear lever/handbrake to the driver seat.
8CEAFD47-0789-4334-A95E-56ECC8250AE4.jpeg

48399324-B7FD-459B-986A-B2849AEBDEAE.jpeg


Now I’ve got to the point of replicating the black painted wood trim as seen on the real car.
1625547746958.jpeg

The model completely lacks any detail of these moldings throughout the car. So I used some 0.20” styrene rod and some superglue to create the trim.
9DE3C702-ACF5-4AEE-80E1-E7A288B1260C.jpeg
526B487F-9620-4493-9799-230C6A6D6848.jpeg


The car also has a few side steps which were molded to the body and were atrociously out of scale so I cut the step off the plastic support and replaced the support using some thin wire.
30A8C3F8-21B2-4E2D-86C1-0EC7017F9A93.jpeg


I also started scratch building a surrey style roof with fringing on the sides which was a popular luxurious option or aftermarket accessory for cars of the turn of the century.
F6B9A6A3-63FA-4F6E-8DE3-2E5467D548CC.jpeg
9DDDF77C-21EA-4C6A-92EB-78FF39406A7D.jpeg
A32DE3B9-DE66-4F08-B84A-81049EE3753A.jpeg

I cut a textured styrene sheet and painted it Tamiya Flat Black and cut some white paper to use for the fringing and glued it down with some white glue. I still have to cut slits in the paper for the “fringe look” and color it black as well. But once the model is finished, I’ll use some brass rod to mount it.
73CFBDAB-D822-4D9B-B836-F14FE8120879.jpeg
F17901EC-35E2-4536-B42E-CB99A2A179EC.jpeg
 
Last edited:
I have a bad habit of abandoning projects and resuming previously abandoned projects.

I’ve resumed work on the 1903 Ford Model A Rear Entrance Tonneau.
As you guys have seen in the past, I scratchbuilt some pedals, detailed the headlamps, steering wheel, and added a gear lever/handbrake to the driver seat.
View attachment 1065363
View attachment 1065372

Now I’ve got to the point of replicating the black painted wood trim as seen on the real car.
View attachment 1065374
The model completely lacks any detail of these moldings throughout the car. So I used some 0.20” styrene rod and some superglue to create the trim.
View attachment 1065368View attachment 1065366

The car also has a few side steps which were molded to the body and were atrociously out of scale so I cut the step off the plastic support and replaced the support using some thin wire.
View attachment 1065370

I also started scratch building a surrey style roof with fringing on the sides which was a popular luxurious option or aftermarket accessory for cars of the turn of the century.
View attachment 1065377View attachment 1065378View attachment 1065379
I cut a textured styrene sheet and painted it Tamiya Flat Black and cut some white paper to use for the fringing and glued it down with some white glue. I still have to cut slits in the paper for the “fringe look” and color it black as well. But once the model is finished, I’ll use some brass rod to mount it.
View attachment 1065369View attachment 1065371
Good job on the styrene rod body detailing.
 
I’ve gotten a little further on the 1903 Ford.
Some more body work:
06FBE0CB-0D3B-422B-AB16-47D4239559CF.jpeg


I finished fixing the rest of the side steps and are ready for paint:
01247823-906A-4547-AD26-44074778CF9C.jpeg


The fringing is cut on the surrey roof. I’m considering covering the roof with leather but I’m not sure yet. I’m also not sure what color I want the fringing to be yet.
5B56873A-B1DB-4679-8E9D-E1B33DF7284A.jpeg


The spark advance/timing control and linkage was molded vaguely into the steering column so I sanded it off and added some wire to replicate the brass rod going down:
CBE561E7-50D9-46A4-99CA-CA927C8615CC.jpeg


The kit’s steering wheel hub on thewheel fits over the steering column for easy installation. But this gives it a very cheap and toy-like appearance.
E2ABE8BF-EC33-41C3-9A10-2AB8D55CEE69.jpeg


So I cut the rim off the hub and spokes and scratch built my own hub and more scale correct spokes. And not the steering wheel hub is flush (for the most part) with the column.
C69733B1-3939-4664-A7B1-2A63A9E75B8D.jpeg
384ACFFA-6DBA-41E3-9334-2B99AE25C20F.jpeg
75B69233-7358-4A00-90AF-0AB24F372B97.jpeg


The 1903 Ford, as well as many other cars with a rear tonneau at the time had optional wicker luggage baskets that mounted on the sides of the car. The kit comes with these baskets and I decided to use them on the model. Most of these baskets in reality had one or two leather buckles holding them closed and I wanted to add some.

I first painted the baskets with some Testors Flat Tan and then dry brushed Tamiya Flat Brown over them. To create the straps, I cut some brown leather I had laying around into small strips and glued them to the baskets.
59547B3E-FA15-483B-9535-D0C0E21CC01D.jpeg

Then I just bent some wire to simulate some buckles.
C44A4DF5-8FF2-43DB-9ECD-DA0D3F5C4FF8.jpeg
 
Last edited:
Progress is slow with my new project. These two are very old kits and have a lot of fitment issues, but it's going well so far.

So basically I really want an original Viper, but none of the good brands like Tamiya have one. So I bought two old kits, one from AMT and the other from Revell to see which one has the better result. Right out of the box I've got a few surprises.

The AMT kit is very old, yet it has so much better detail. More parts and also more accurate. However it does have it's weird quirks, like the wheels, which for some reason are way too small, despite the tire size is correct.
20210722_162158.jpg

Revell (left), AMT (right). I've decided to use the Revell wheels and tires, though I have to figure out a way to adapt it, the hubs are completely different.
20210722_162049.jpg

This is the AMT frame (above) and the very ugly, all white with molded parts Revell frame (under). I have to figure out how to cut those hubs from the Revell frame and adapt them to the AMT one without making the wheels and tires stick out too much.
20210628_165114.jpg

Another thing I had to modify was the brakes. I'm using the Revell ones since they look more accurate and fit better behind the wheels. However, all four brakes look the same and that is incorrect in the first gen Viper. The rear brakes should be a single piston caliper. So I bought a set of 3D printed brakes, cut the caliper (which matches more the Viper's rear brakes) and adapted them to the rotor after some sanding.
20210628_170318.jpg

Here's the result. Above is the rear brake with a smaller caliper to "mimic" the single caliper brake. below is the front brake which looks as it should. Painting the "Viper" lettering should be interesting.
20210722_163254.jpg

This is just a comparison between the AMT and the Revell frame. The Revell model feels pretty cheap. There is no steering and most parts which are individual in the AMT are just molded into the ugly white plastic.
20210722_162633.jpg

Just the engine alone is a huge difference. The Revell (white) is all just two pieces, plus the intake, where the AMT was at least 12 separate pieces, not counting the ignition coils, alternator, oil filter and throttle bodies. So much better.
20210722_163453.jpg

The frame is even two separate pieces.

I hope this little Frankenstein kit ends up okay. It's far from perfect, but I hope I mange to produce something decent. Maybe not as good as a Tamiya, but at least the nicest looking First Gen Viper kit.
 
Last edited:
Progress is slow with my new project. These two are very old kits and have a lot of fitment issues, but it's going well so far.

So basically I really want an original Viper, but none of the good brands like Tamiya have one. So I bought two old kits, one from AMT and the other from Revell to see which one has the better result. Right out of the box I've got a few surprises.

The AMT kit is very old, yet it has so much better detail. More parts and also more accurate. However it does have it's weird quirks, like the wheels, which for some reason are way too small, despite the tire size is correct.
View attachment 1069144
Revell (left), AMT (right). I've decided to use the Revell wheels and tires, though I have to figure out a way to adapt it, the hubs are completely different.
View attachment 1069145
This is the AMT frame (above) and the very ugly, all white with molded parts Revell frame (under). I have to figure out how to cut those hubs from the Revell frame and adapt them to the AMT one without making the wheels and tires stick out too much.
View attachment 1069146
Another thing I had to modify was the brakes. I'm using the Revell ones since they look more accurate and fit better behind the wheels. However, all four brakes look the same and that is incorrect in the first gen Viper. The rear brakes should be a single piston caliper. So I bought a set of 3D printed brakes, cut the caliper (which matches more the Viper's rear brakes) and adapted them to the rotor after some sanding.
View attachment 1069147
Here's the result. Above is the rear brake with a smaller caliper to "mimic" the single caliper brake. below is the front brake which looks as it should. Painting the "Viper" lettering should be interesting.
View attachment 1069148
This is just a comparison between the AMT and the Revell frame. The Revell model feels pretty cheap. There is no steering and most parts which are individual in the AMT are just molded into the ugly white plastic.
View attachment 1069149
Just the engine alone is a huge difference. The Revell (white) is all just two pieces, plus the intake, where the AMT was at least 12 separate pieces, not counting the ignition coils, alternator, oil filter and throttle bodies. So much better.
View attachment 1069150
The frame is even two separate pieces.

I hope this little Frankenstein kit ends up okay. It's far from perfect, but I hope I mange to produce something decent. Maybe not as good as a Tamiya, but at least the nicest looking First Gen Viper kit.
AMT and Revell have always been rivals when it comes to American car models. They release the same cars yet both brands can vary greatly. In some cases Revell comes out with newer molds that trump over AMT’s older molds but I have to say, the details from the Revell Viper kit especially the engine look subpar compared to the AMT version.
Great detail work so far! 👍
 
Last edited:
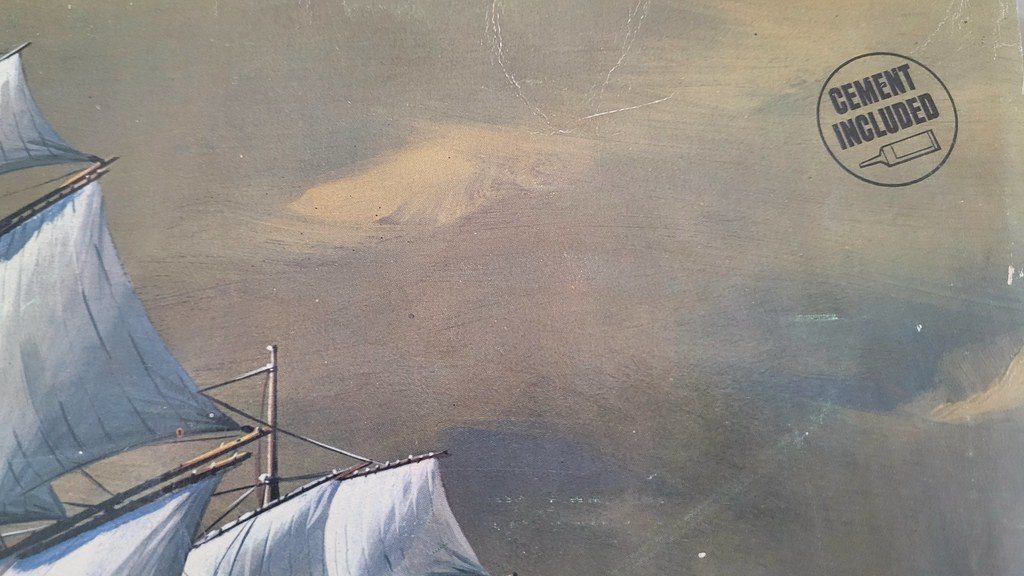
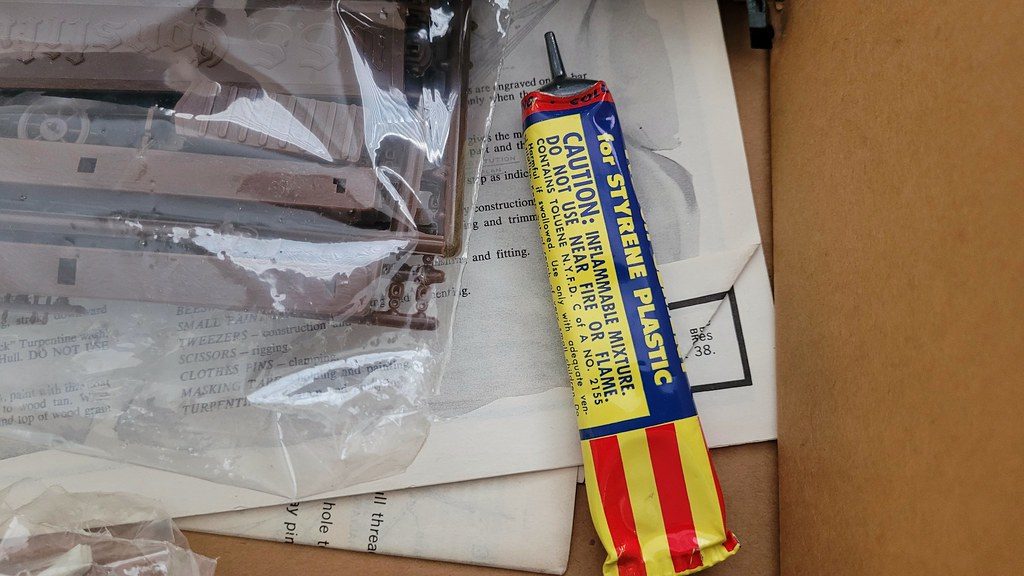
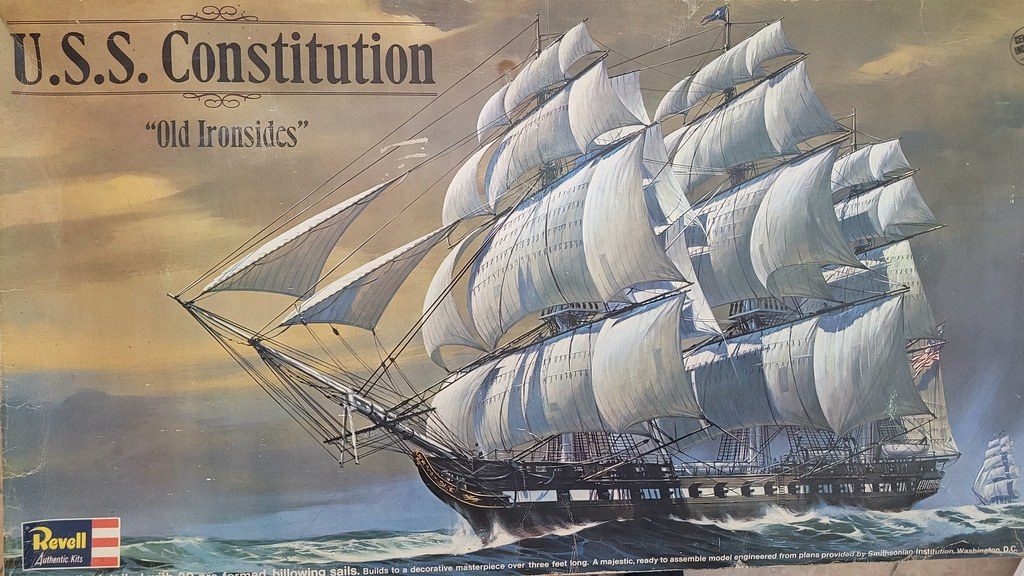
Really started digging around in the box of that USS Constitutuin kit I got on eBay to replace the cat-torpedoed one I posted about earlier, and found something unexpected!!!

First the box cover:
51736596794_dbc5f11591_b.jpg


At the top right...
51735951076_8e96834487_b.jpg


And here it is!!!!
51735951866_9f573ba9f9_b.jpg


Still squishy, not dried up and solid! I wonder if it's a bit different from the stuff you find in the stores these days! I know you can still get toluene-based cement, but... ?
 
Last edited:
@wfooshee That glue dates back to the 60's. I can't tell you if it will work better than current glues since I haven't used in about that long. It will probably be thicker, stringy, and for sure smell more. Give it a try!
 
Last edited:
Back