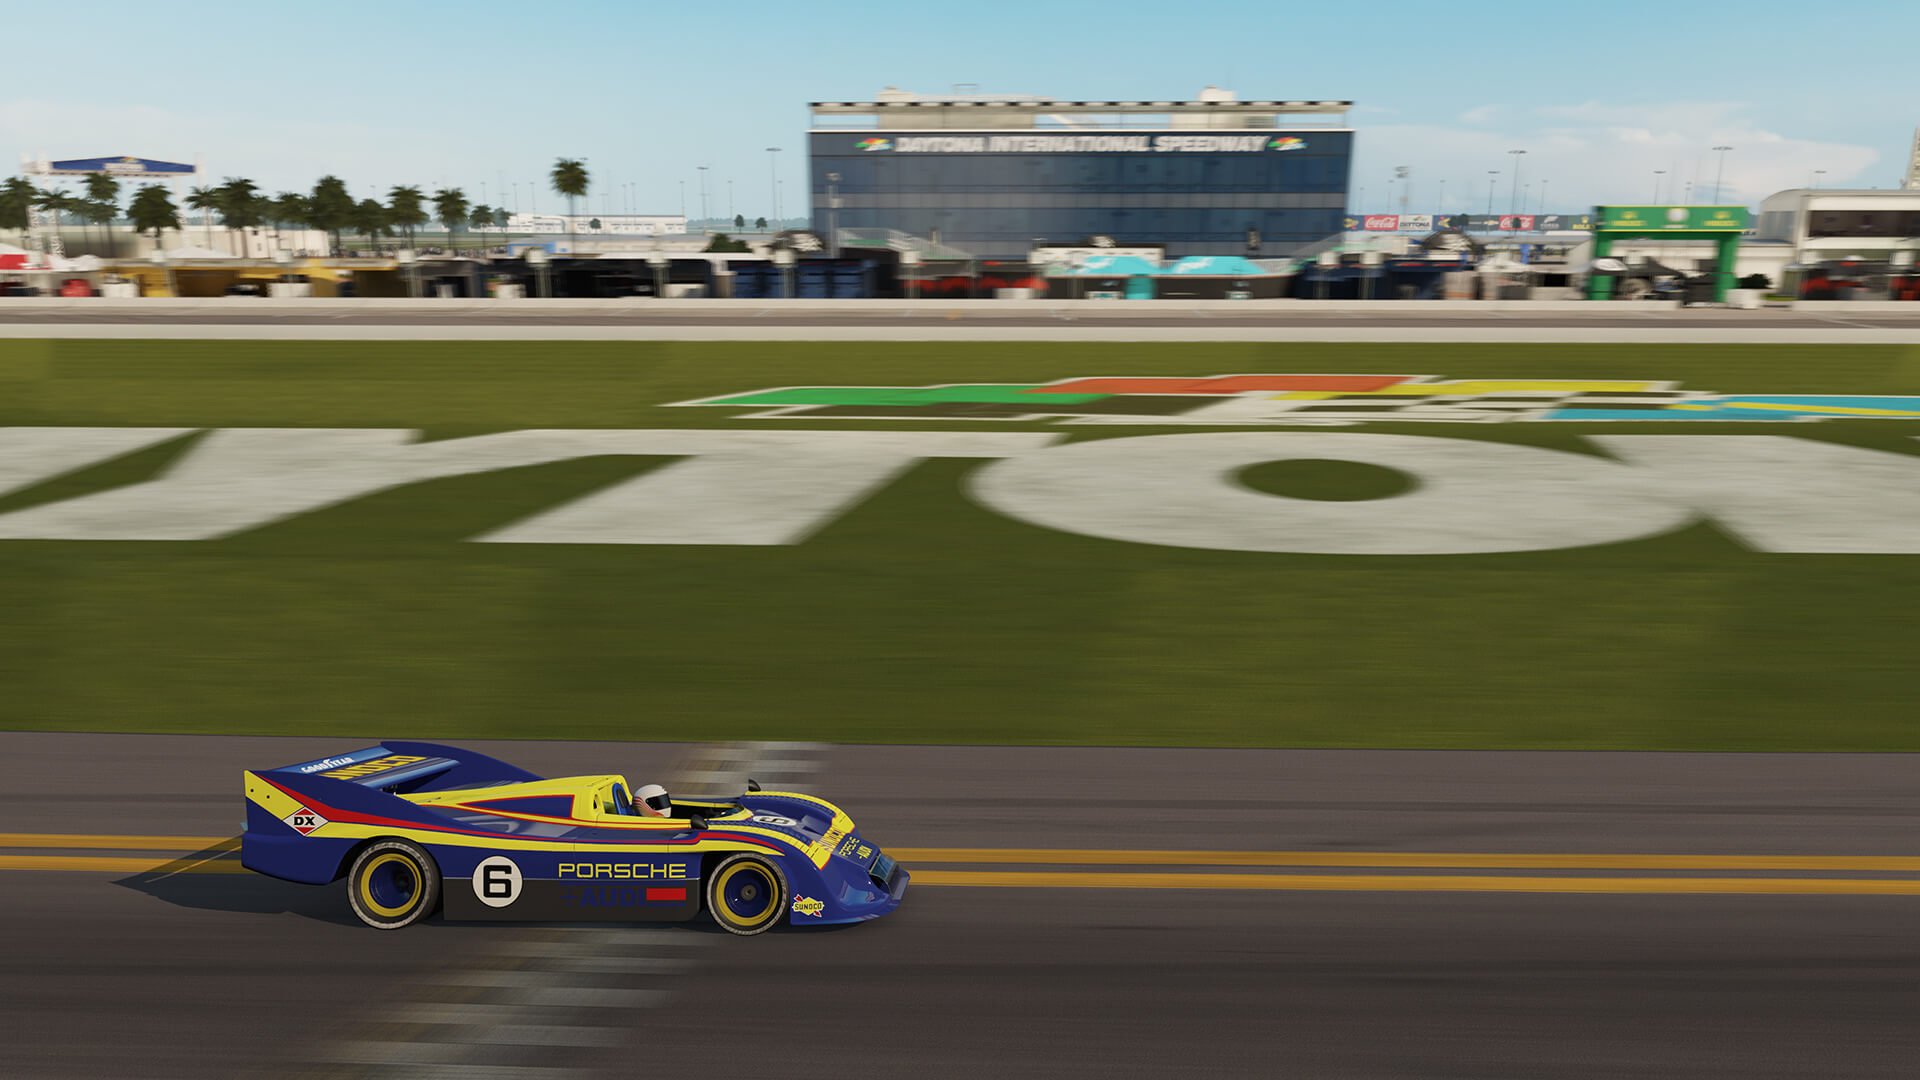
The December update for Forza Motorsport 7 spiced things up quite a bit. Besides this month’s spotlight car being the V8-powered BMW M8 GTE, there are a few changes going on under the hood.
One thing in particular is the all-new physically based force feedback system. As many players will attest, Forza Motorsport is an endearing experience when using a pad. From tire lockup, down to loss of grip — it’s all at the players fingertips.
The wheel experience has been less than stellar, however. While hooking up a proper rim-and-pedals added to the authenticity, the feedback always felt heavy-handed and inconsistent. Now, Turn 10 is promising a much improved experience for wheel users.
Simply put, FFB is now created as the tire rolls along, steering in its direction of travel. While the new system is cleaner and much simpler than before, it allows for a more dynamic and nuanced experience with a wheel. This is where things get interesting.
Starting From Scratch
To get the most out of the new system, players will need to set their wheels up properly. Adding to this, a clear understanding of how to use the advance tuning settings is also a requirement. Why? Tuning the car will also affect the experience while using a wheel. For example, messing around with your favorite car’s suspension settings will have an affect on FFB.
As always, start with the default settings before tweaking anything. Wheel settings prior to the update are back to their default values.
Wheel Setup and Tuning goes in-depth with the options players are to familiarize themselves with. You can dive into the full guide down below, though for the sake of time, we’ll only focus on a few of the options.
We’ll start with one of the more talked about settings: normal vs simulation steering. The two steering modes are a hot topic in our community, and a contributing factor to the driving feel and experience. As the guide points out, there are many layered systems at work that result in the Normal setting. Some of these alter inputs, while others alter vehicle dynamics. On the other hand, there’s Simulation steering which disables said systems.
FFB may feel sharper with the Normal assist as it helps to maintain vehicle control during loss of grip. While the car is less agile than with the Simulation assist, it will be more stable as a result.
The latter will come as a surprise to no one, especially veterans. As many will attest, on sim steering once the vehicle steps out and becomes erratic it dashes any hope of recovery almost immediately.
Getting Your Hands Dirty
Now comes what is sure to be the fun part for many: advanced wheel settings. Here, players can tune their wheel setups to get the most out of the game. As mentioned, start with the default settings and get a feel for what’s different before moving further.
Below is every setting available to make for the best experience while using a wheel. For the sake of keeping things tidy, we’ll only go into detail with the first handful of settings. Why? While it may look daunting at first glance, all the deadzone and invert settings fill the same criteria.
As the guide itself suggests, tune for the desired effect one setting at a time.
The first five inputs are as follows: Steering, Acceleration, Deceleration, Clutch, and Handbrake. Each input axis features three adjustable settings: Deadzone Inside, Deadzone Outside, and Invert. As such, we’ll go into a brief explanation of what each of the three settings do.
- Deadzone Inside
The larger this value, the more input is necessary before the associated action occurs. Only adjust this when the action occurs without any direct input – i.e., acceleration.
- Deadzone Outside
This is the exact opposite of the inside value. A higher value results in more travel at the bottom of a pedal, or the final degrees of rotation for the wheel.
- Invert
Reverses the direction of the input axis – i.e., left becomes right, off-throttle becomes on, etc.
With that said, let’s move on to some of the more advanced options that will really liven things up!
- Vibration Scale
Sets the vibration intensity. Pretty straight-forward, right?
- Force Feedback Scale
Sets the overall level of FFB strength on the steering wheel. This affects all feedback to the wheel, including spring and dampers. The value is adjustable, but players risk losing fidelity and causing the wheel to clip.
- Aligning Torque Scale
Sets the overall aligning torque based on the combined mechanical and pneumatic trail. More on that below.
- Mechanical Trail Scale
This scales the length of the static lever arm from the suspension geometry. In other words, this affects the wheels direction of travel, resulting in less tire slip feel. Drifters will feel at home with this setting, but isn’t meant for circuit racers as it tends to overpower feelings of lockup and understeer.
- Pneumatic Trail Scale
This scales the length of the dynamic lever arm from the moving tire contact patch. Scaling this will reduce the dynamic effects of tire deformation.
- Road Feel Scale
Scales higher frequency load inputs coming from the road surface and bumps. As the new system is physically-based, road feel comes from the individual wheel loads. Treat this like a secondary FFB setting that allows you to turn up or down the effects of running over a rumble strip or cobblestone without any ill-effects on aligning torque.
- Center Spring Scale
Sets the dynamic centering force on the steering wheel. Larger values result in a stronger centering force while lower values result in a lower force. Too low may result in steering oscillation (back and forth movement at speed). Too high of a value will reduce the dynamic align torque feedback from the tires.
It’s recommended players not turn this value up significantly; leave it at default values, or turn it down.
- Wheel Damper Scale
Sets the resistance of steering wheel movement. High values result in a heavy feeling while lower will result in a lighter feeling and less resistance. Like the center spring, too low a value will result in steering oscillation. Conversely, too high a value may saturate the feeling of over/understeer.
Wheels with more torque, such as those from Thrustmaster and Fanatec, benefit from a higher damper scale. Those with less built-in torque, such as the Logitech G920 or G29 need little to no damper scale. In fact, it’s recommended that those with either of the two Logitech wheels (and we’d wager others as well) may want to lower the values of both this and the center spring to get more feel from the tires.
- Wheel Rotation Angle/Steering Sensitivity
Adjusts the ratio of the steering wheel’s degree of rotation in relation to the car’s front wheels.
Despite the hand animations in cockpit view not moving more than 90 degrees, it isn’t a reflection of the actual in-game steering angle. Adjusting this will changing the steering ratio of the car. With a higher sensitivity, the steering becomes more responsive. Lowering the sensitivity has the opposite effect.
- Steering Linearity
Sets the mapping between input and steering. Lower values result in more accuracy near the center but less accuracy near full lock. Higher values reverse this: more accuracy near full lock and less near the center. 50 is a linear setting.
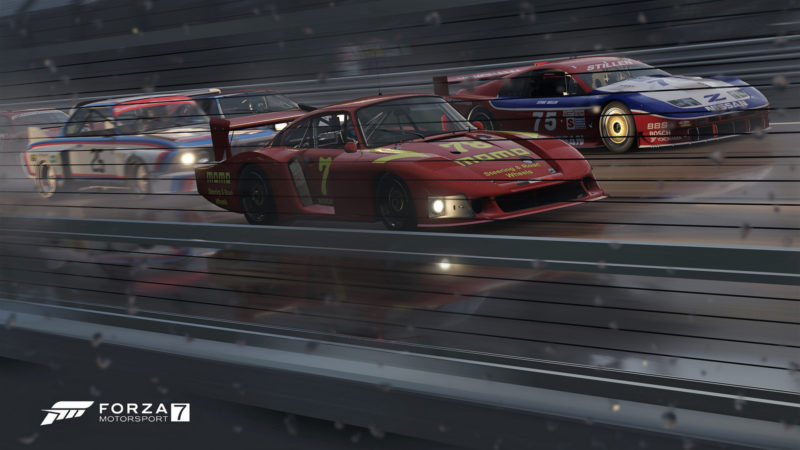
Photomode image courtesy of ClydeYellow.
See more articles on Forza Motorsport 7 Game Updates and Steering Wheels.

